I’ve had this page up now for more than five years, but it’s taken me until 2026 to actually add some commentary to the pictures. Over the years I’ve had various people email me asking questions about my instrument and requesting advice on their own clavichord building plans and projects. The following is a summary of my email responses, along with a more detailed build log.
Build log
I got the idea to build a clavichord in the summer of 2018. At the time I was finishing my digital organ project and was in the mood for something acoustic. I had learned about the clavichord and how it was supposedly Bach’s favourite instrument (indeed Forkel says so in his biography). It seemed to me a more exciting instrument than the – let’s face it – much too mainstream harpsichord.
Not being able to afford an instrument from a proper builder, I figured I’d design one myself as the action and design principles seemed straightforward enough. If I tried copying a historical instrument, I reasoned, I would surely set myself up to fail, since I had no woodworking experience whatsoever.
I can’t begin to explain the problems with this reasoning so I trust I don’t have to. Once I started reading Kenneth Sparr’s famous (“famous”) build log and realised I didn’t even know what a dovetail joint was, I decided against my original idea and thought it was probably wise to take the whole thing rather more seriously. It seemed a good idea to buy plans for a historic instrument and start from there. I bought plans for “Wahlstrom 1732 [sic. – it’s actually from 1752]” from Marc Vogel GmbH. I picked this instrument because many different builders offer it so it surely couldn’t be wholly awful, and I also seem to recall reading somewhere that it’s relatively straightforward as clavichords go. It has a thick bottom, overall sturdy construction and no soundboard barring.
Before committing, however, I sent an email to the Dutch Clavichord Society asking if it might be possible for me to play on one of their members’ instruments. Erik Verbruggen answered and invited me to the Waalse Kerk in Leiden, where I got to play his pedal clavichord, built by Dick Verwolf. This was a delightful experience, and was all the encouragement I needed to go ahead with my project.
When the plans arrived I was quite satisfied with the level of detail. All of the different wood types were clearly laid out, and of course all relevant measurements were included on the schematic. Only the joinery was not clearly indicated.
Having still no real woodworking skills to speak of, I approached a fine wood lumberyard in Zwolle specializing in small quantities. They were quite interested in the project, if a bit skeptical. Their skepticism probably wasn’t mitigated when I sent them the order, which included measurements of essentially all the outer case pieces. They were quite helpful, but I did ask a lot of them.
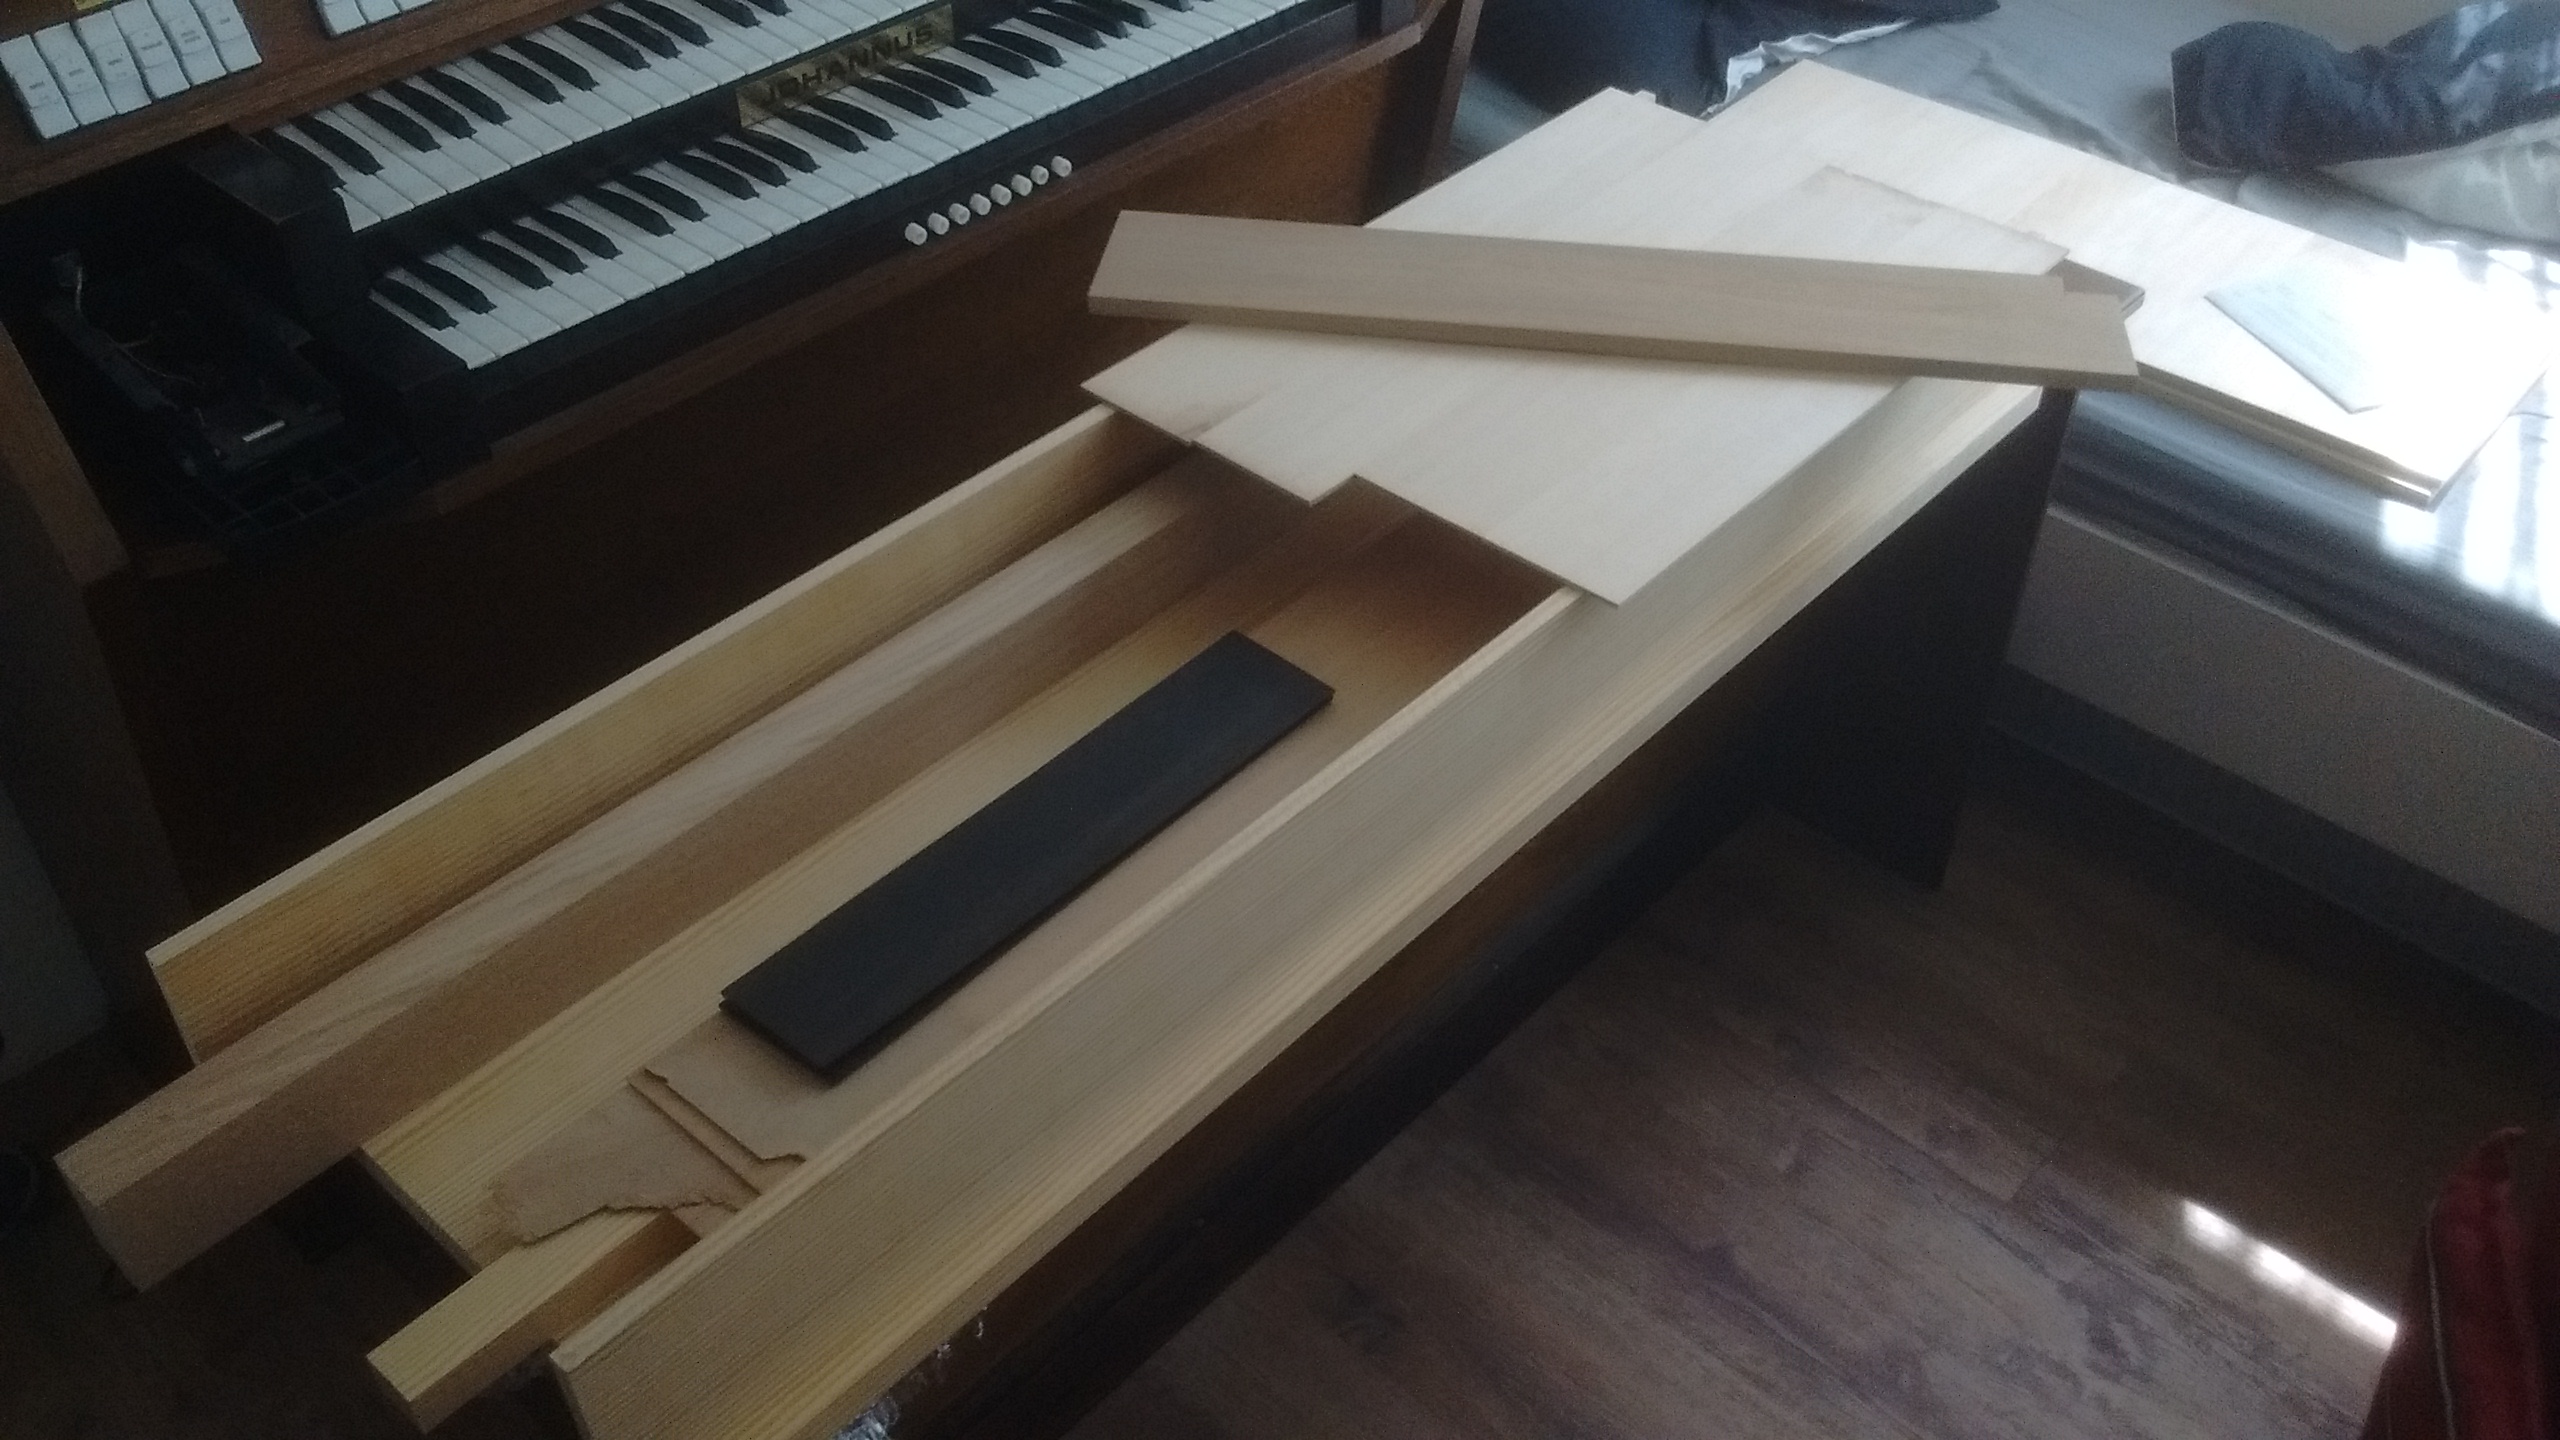 The stock.
In truth, I just didn’t have the skills to resaw or rip accurately. My father had a small table-saw and the necessary equipment for some DIY carpentry, but no joinery saws or even a hand plane. I knew quite well that I would have to practice some joinery before starting properly, so I bought some japanese saws (cheap dozuki and ryoba) and made a small dovetail-box out of spruce. Then I started work on the clavichord.
The case was rather simple and things progressed smoothly. I cut the belly from solid pine, which I think Joris Potvlieghe does also. I don’t know how common that is on historic instruments. Keep in mind that, at this point, I still did not have a hand plane! All surface and edge finishing at this point was done with sandpaper – truly a fools errand.
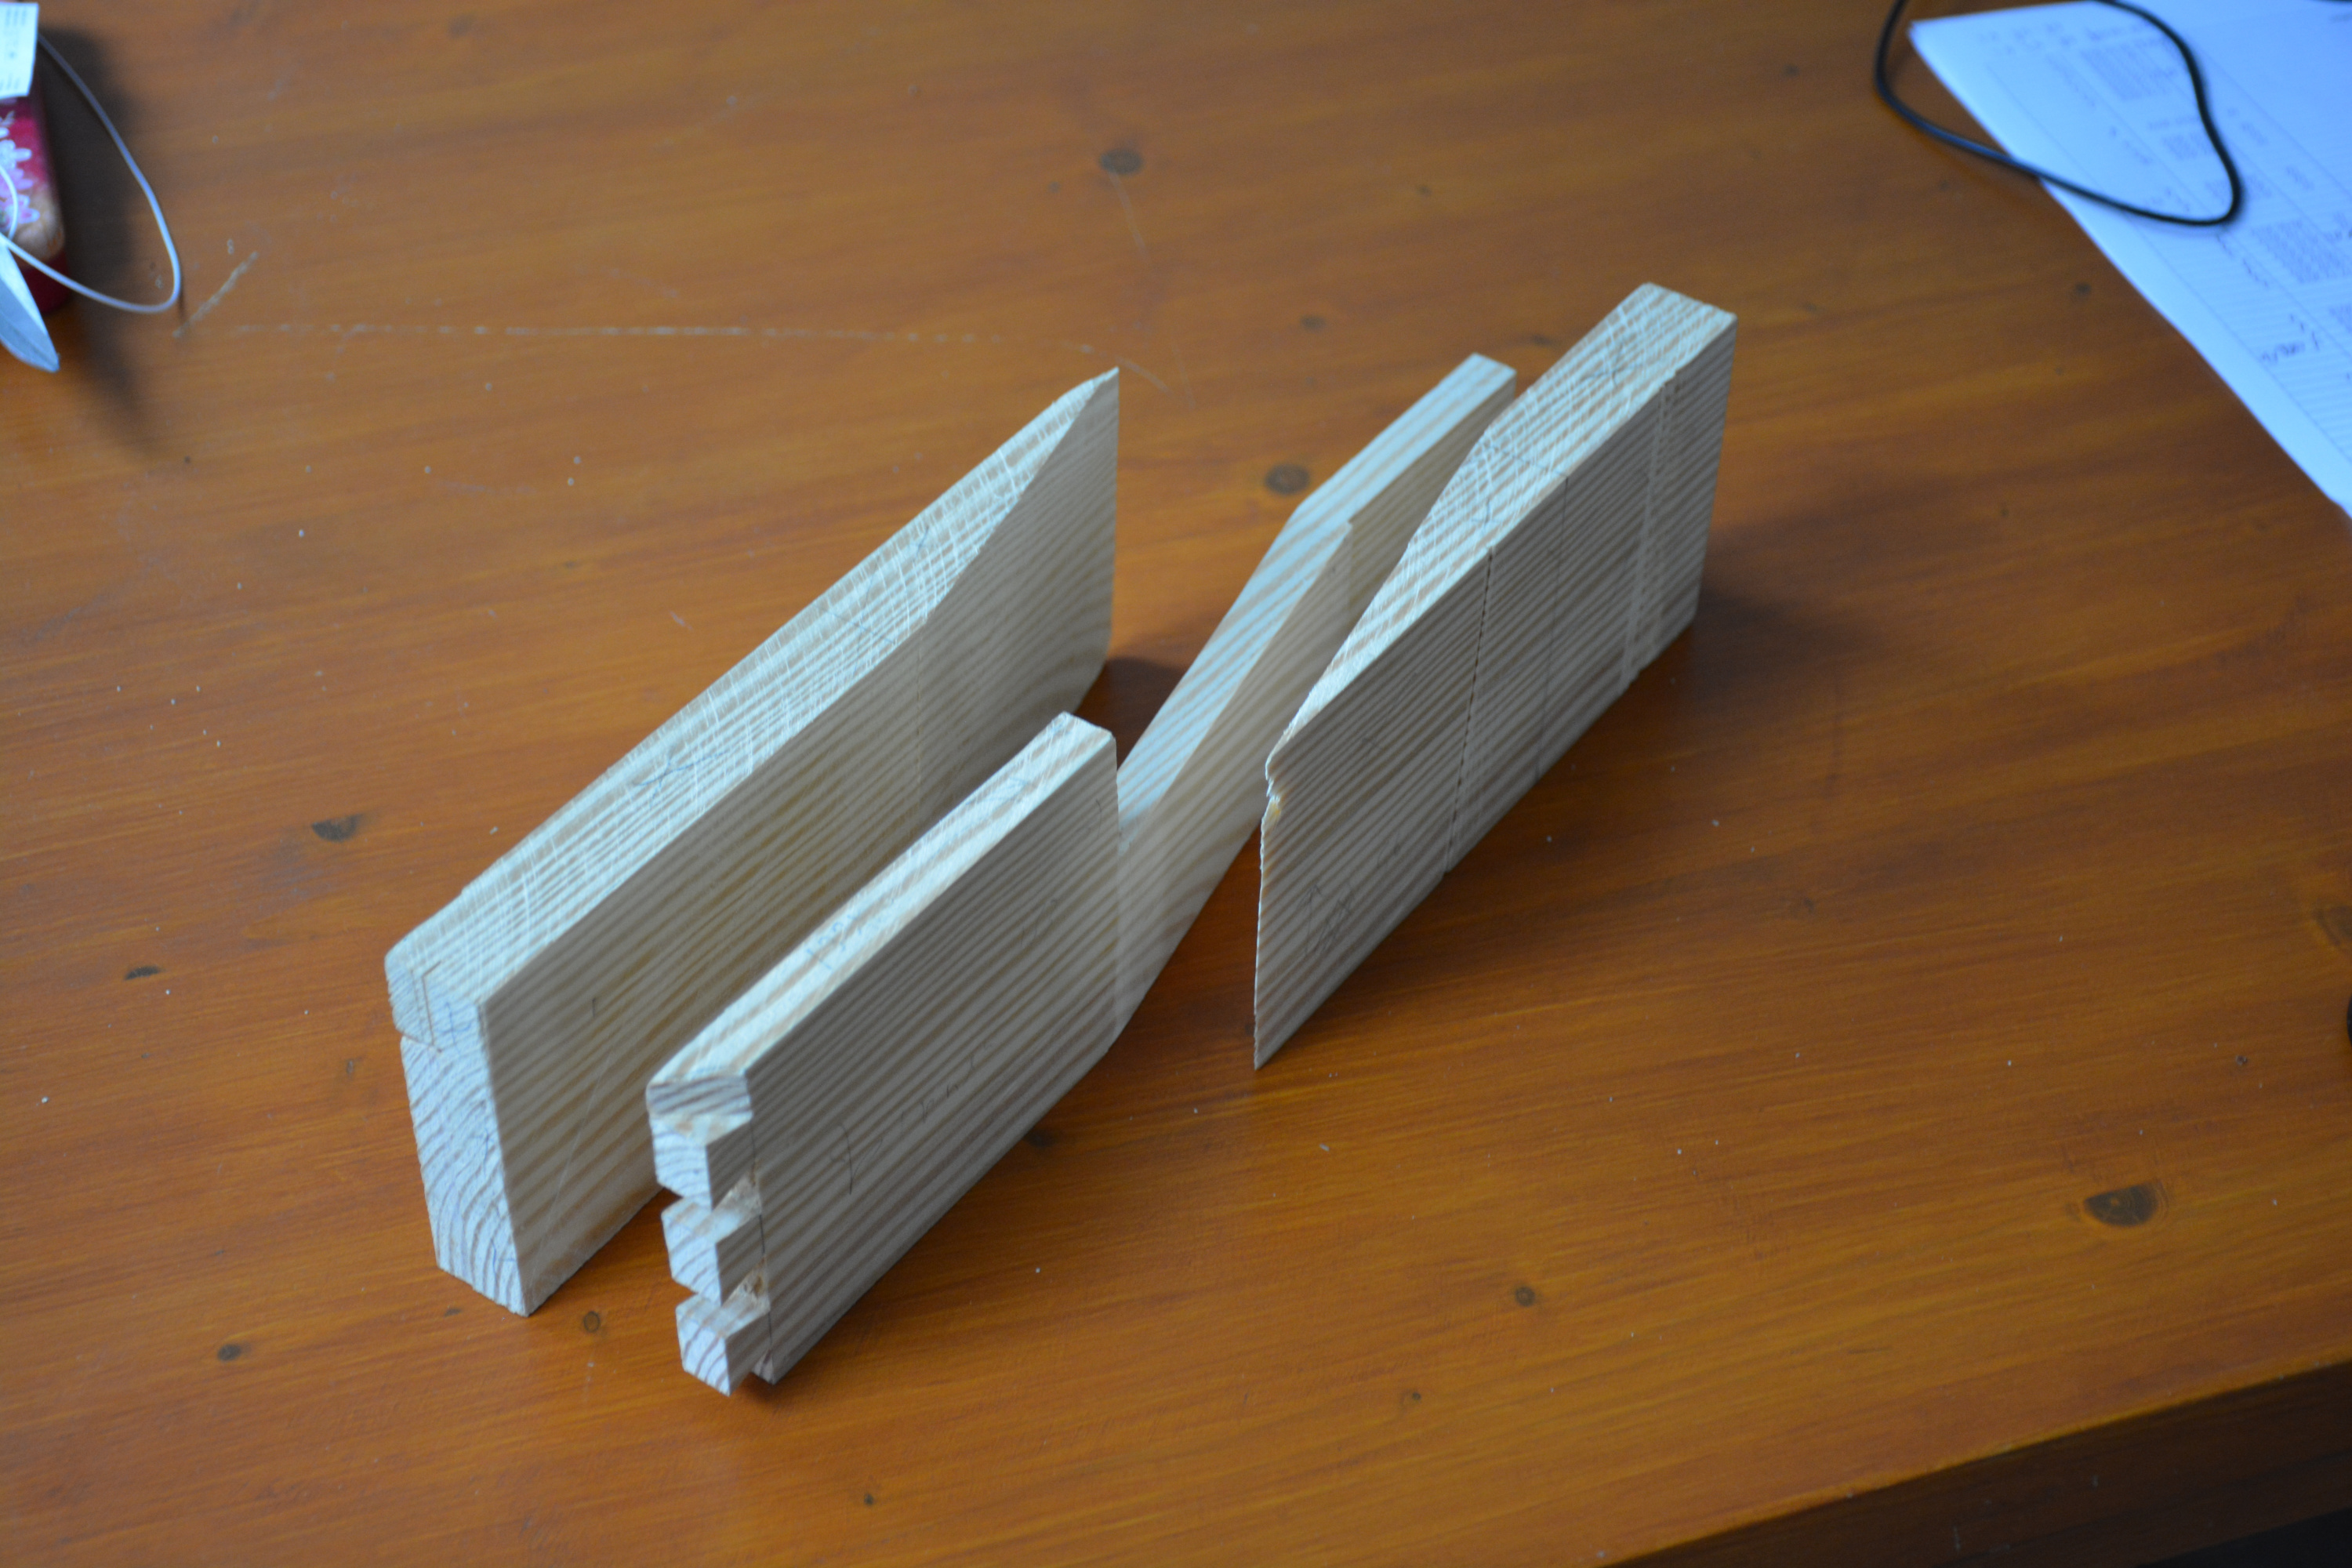 The belly rail, extracted from a solid block of pine.
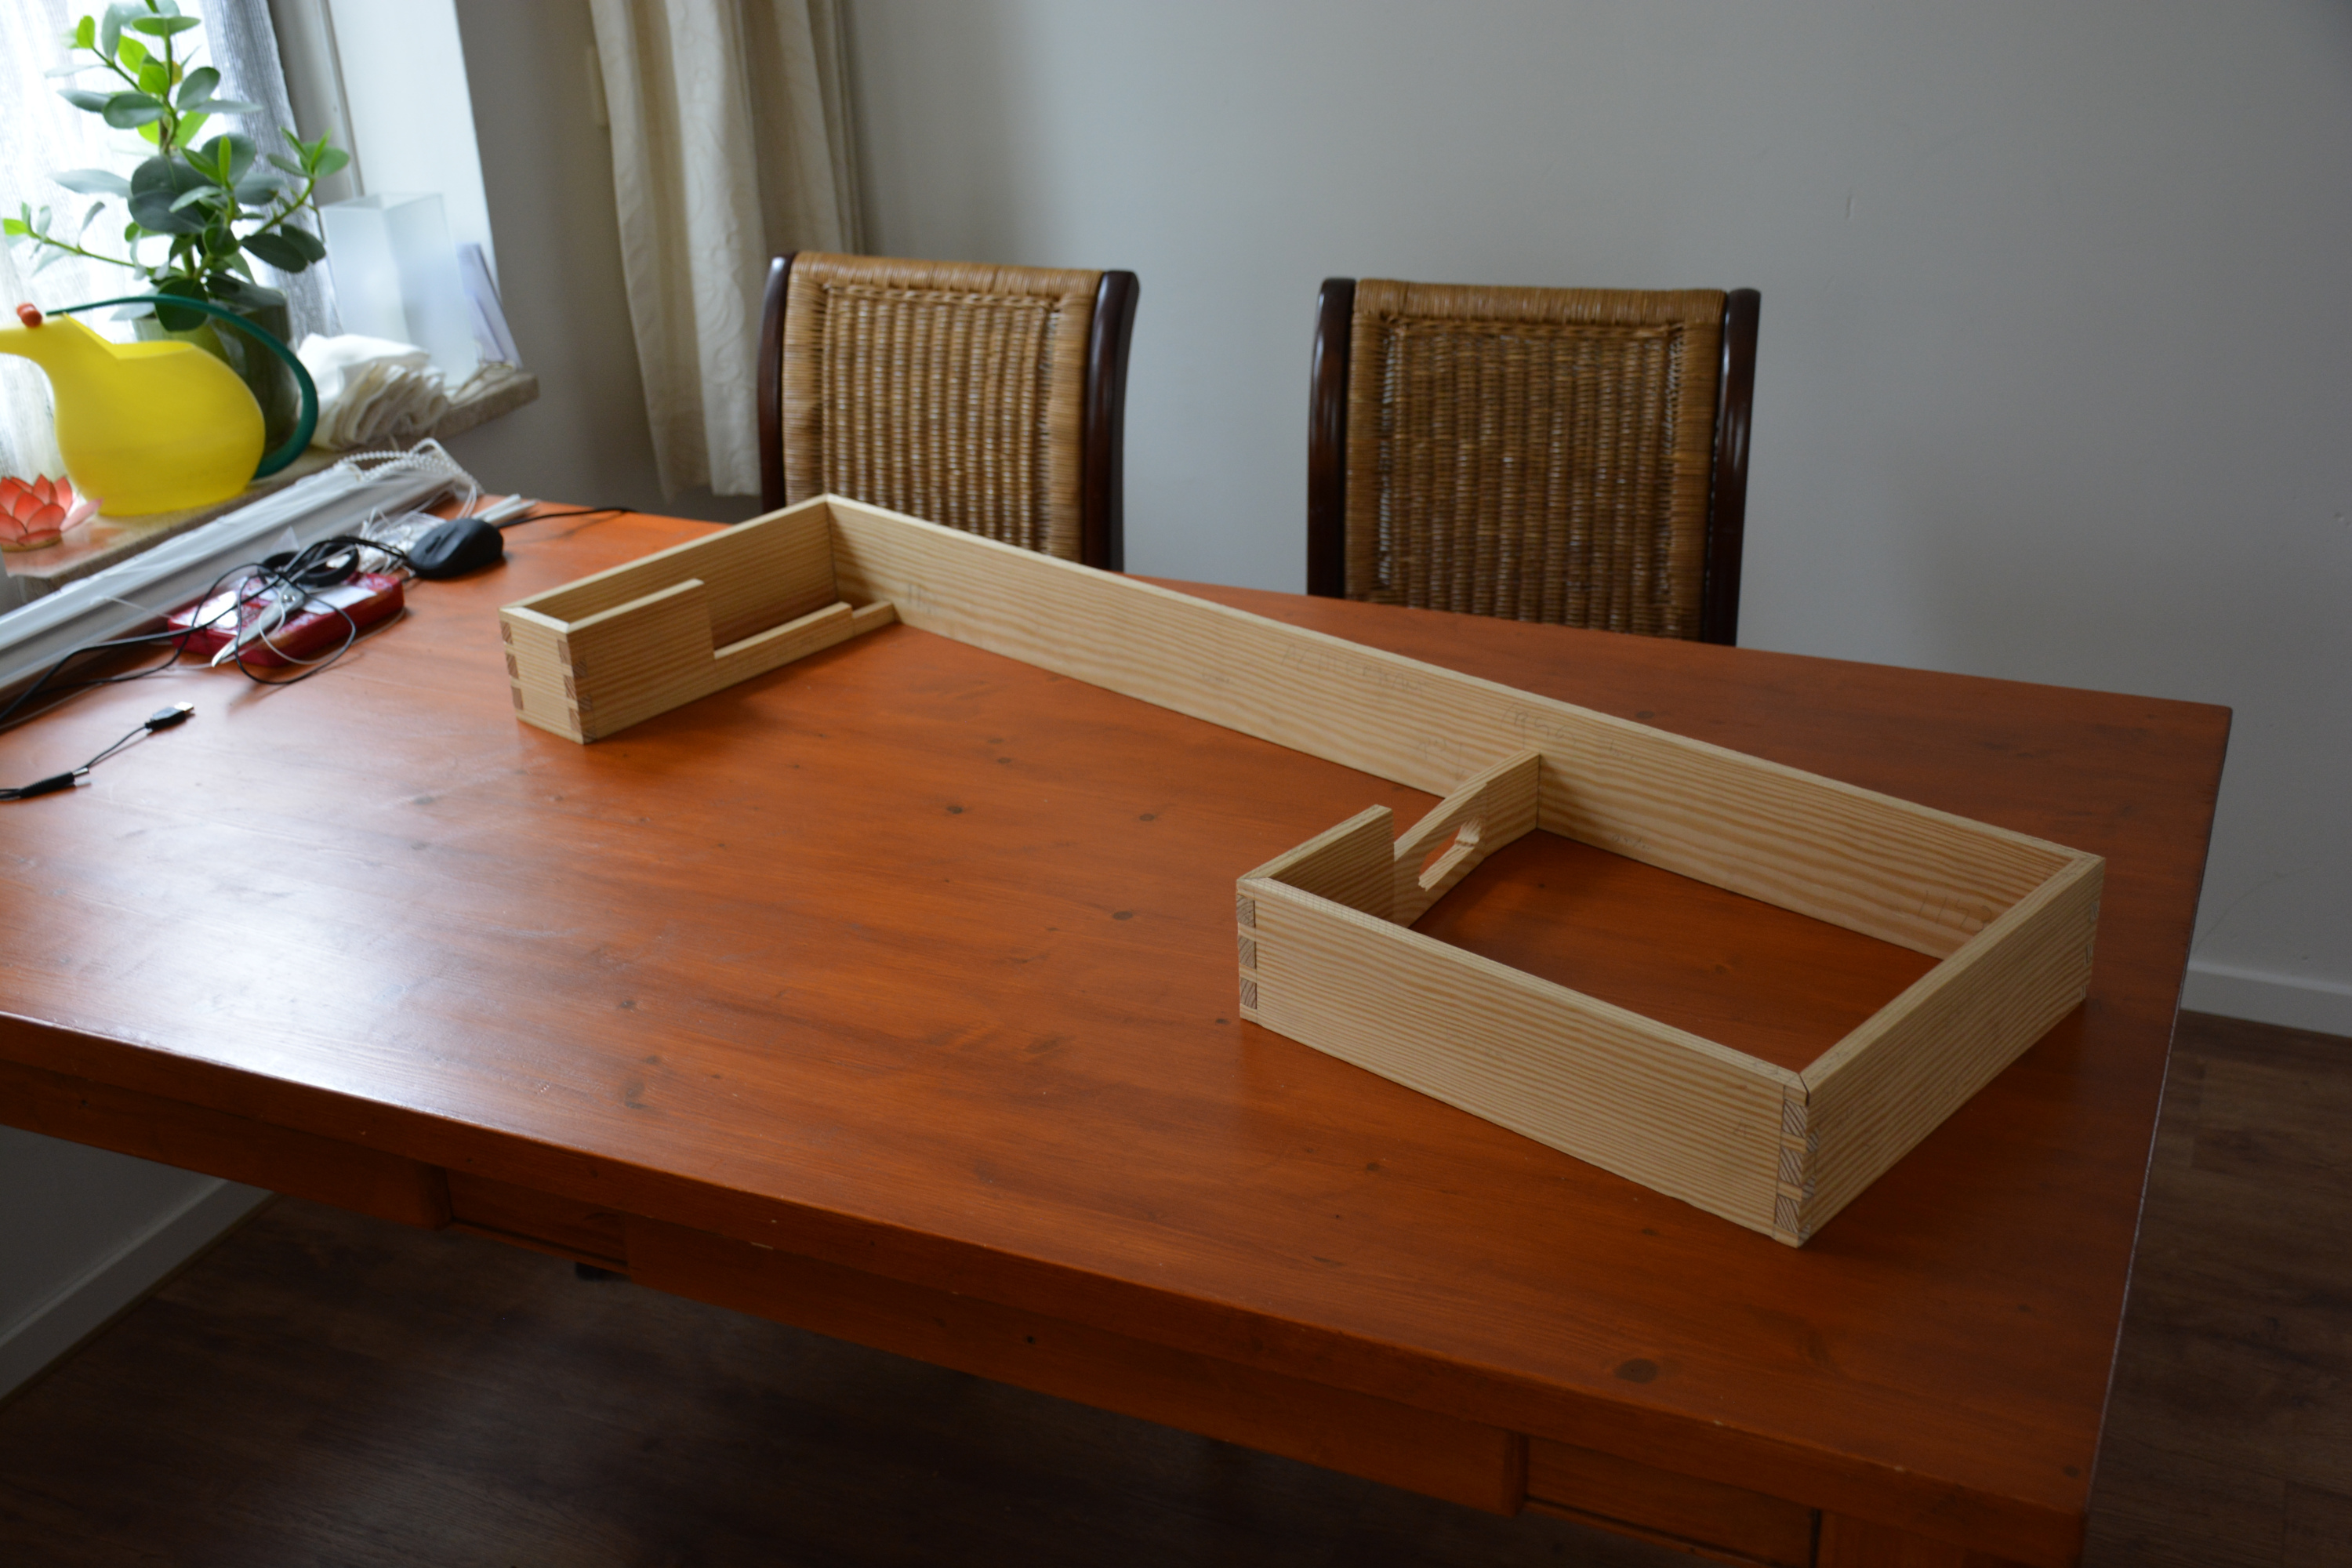 The assembled frame.
Glueing the frame onto the case bottom was quite a challenge. At the time I thought using glue alone would not be sufficient (actually, seeing as I trued the edges with sandpaper and had nowhere near enough clamps, I may have been right). I read in this build report/thesis that Hass used dowels to attach his case. In Grant O’Brien’s book Ruckers I read the same thing. Now, being incompetent, I figured they meant the kind you pick up from a DIY centre, using dowel centering pens. So that’s what I did, along with a good amount of glue. Did the dowels help? Who can say. In the end there was a bit of a gap on the left side of the instruments, so I also added some screws there before finishing.
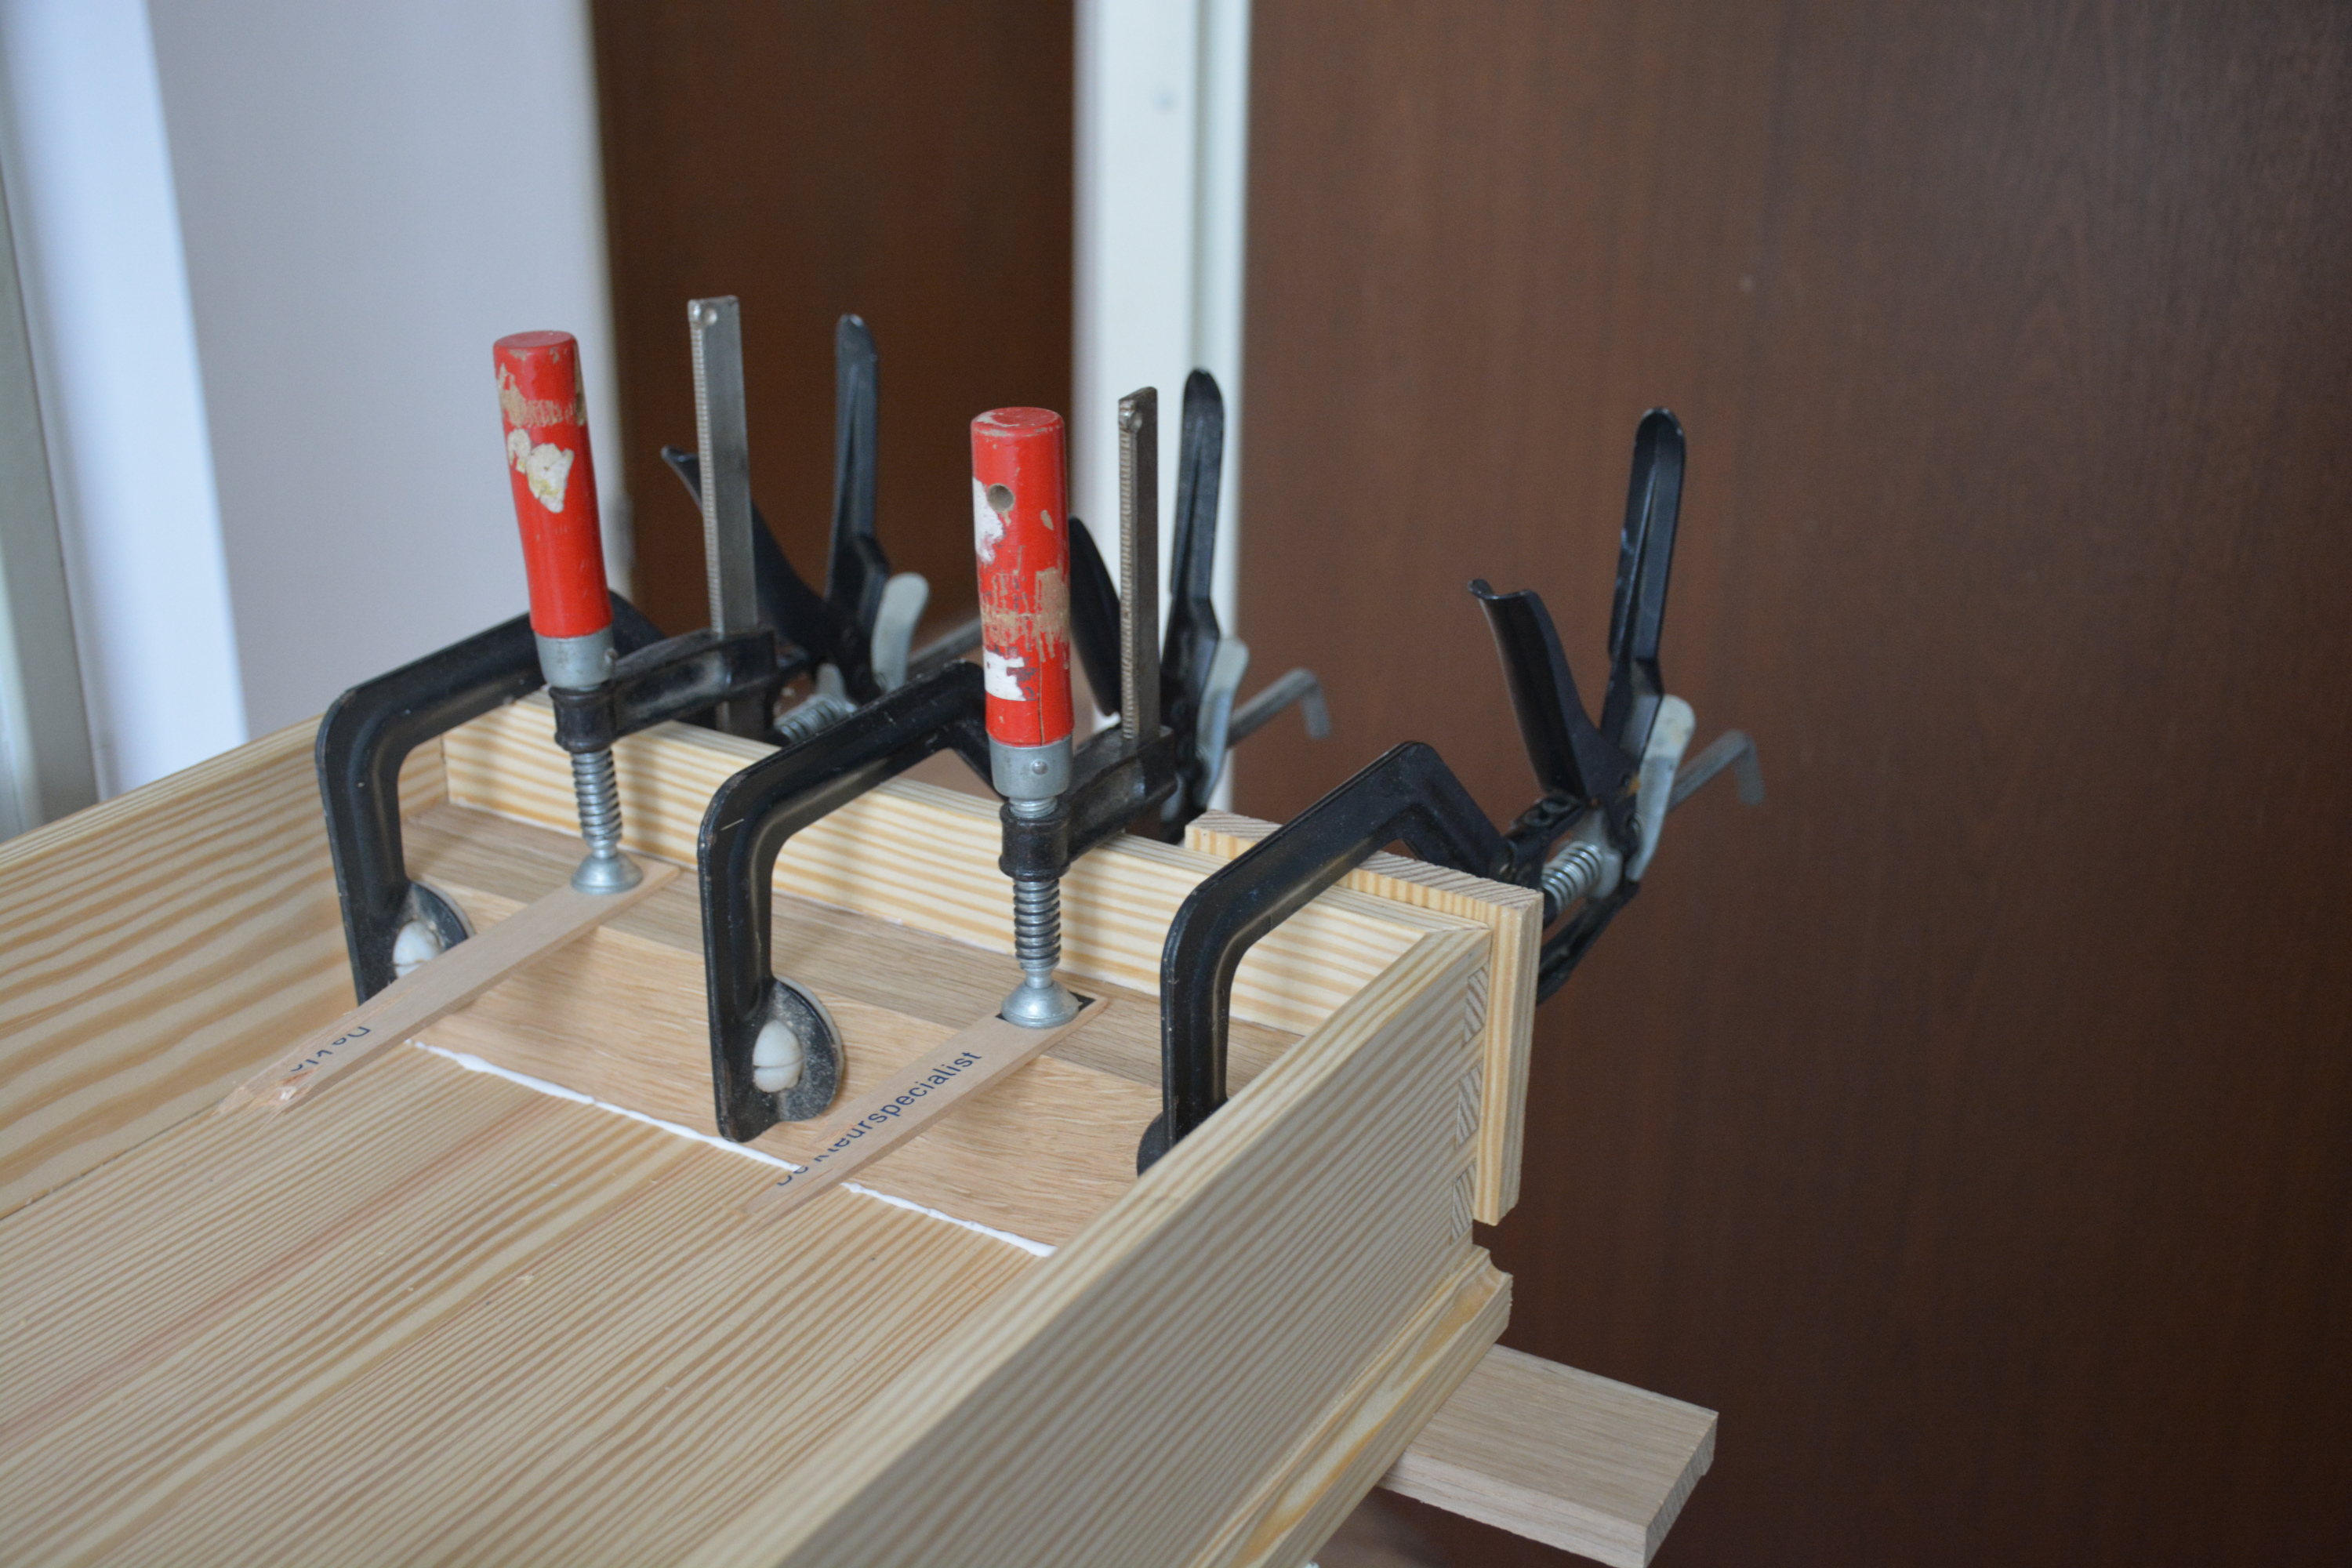 Glueing the wrestplank onto the bottom and sides.
 Learning how to use a hand plane.
At some point I finally bought a hand plane (cheap crappy little modern Stanley). By this point I had learned quite a bit of hand tool woodworking, if mostly passively, from YouTube channels like Paul Sellers. Sharpening chisels and planes was not a problem by this point.
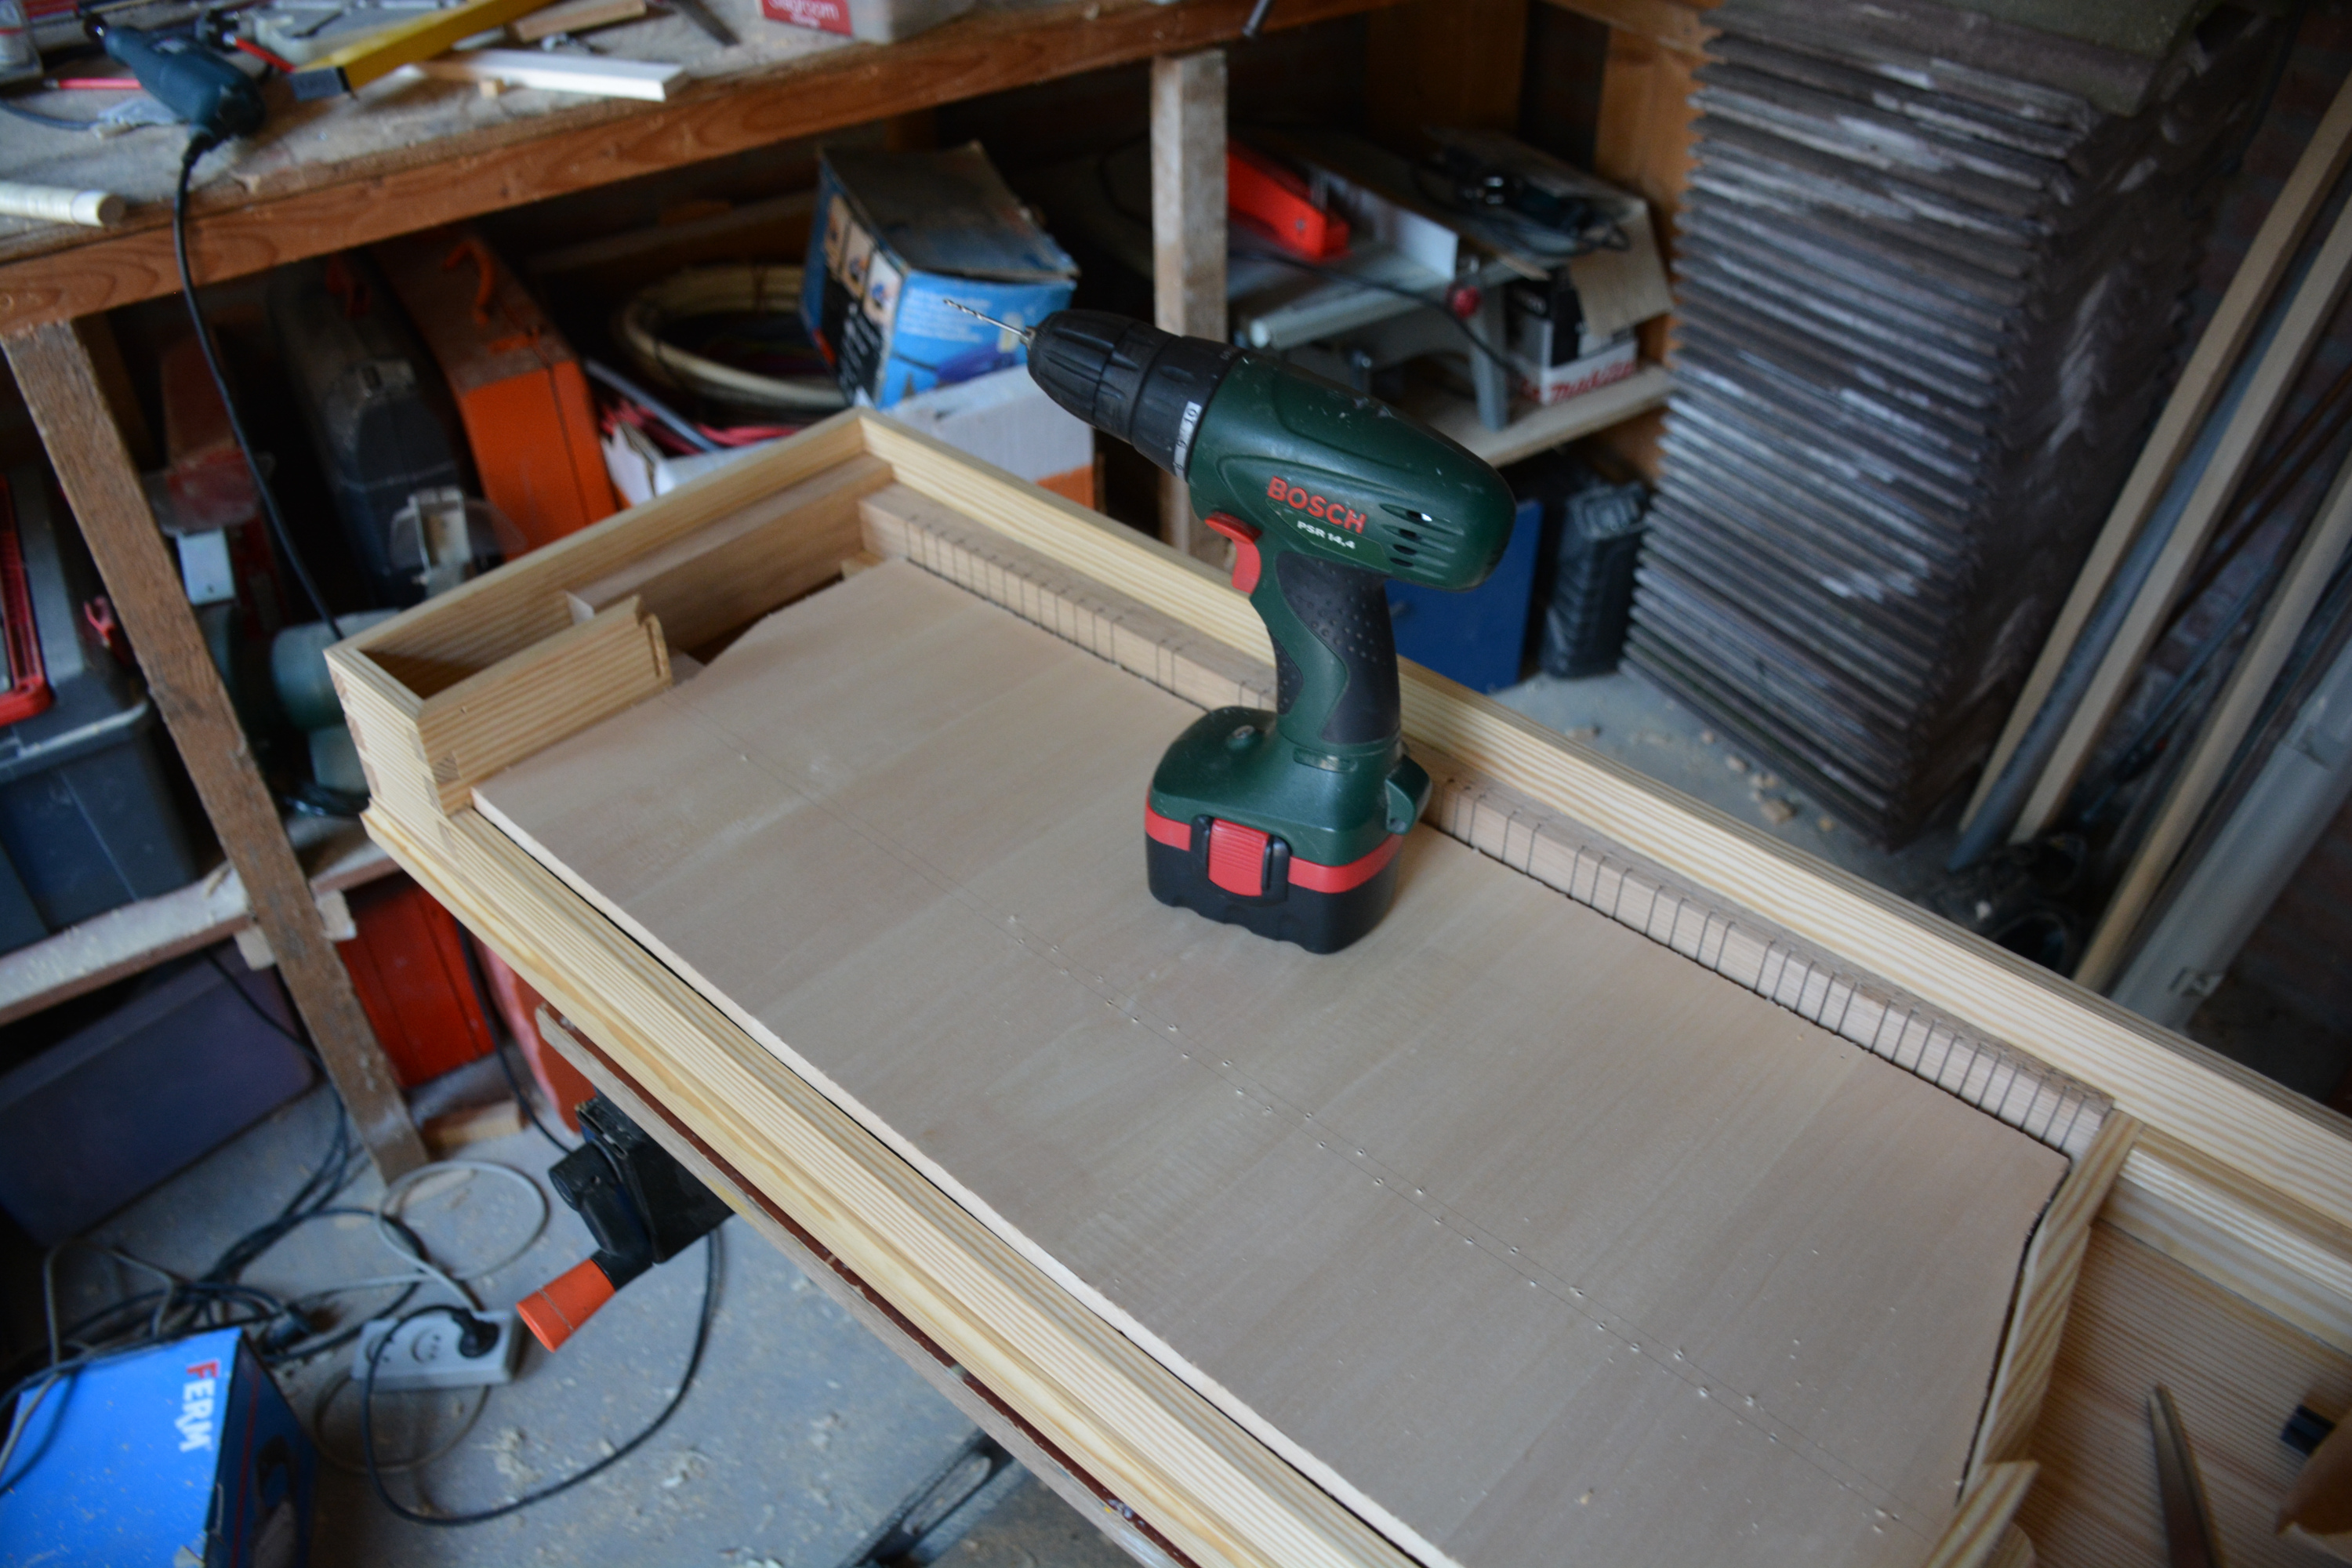
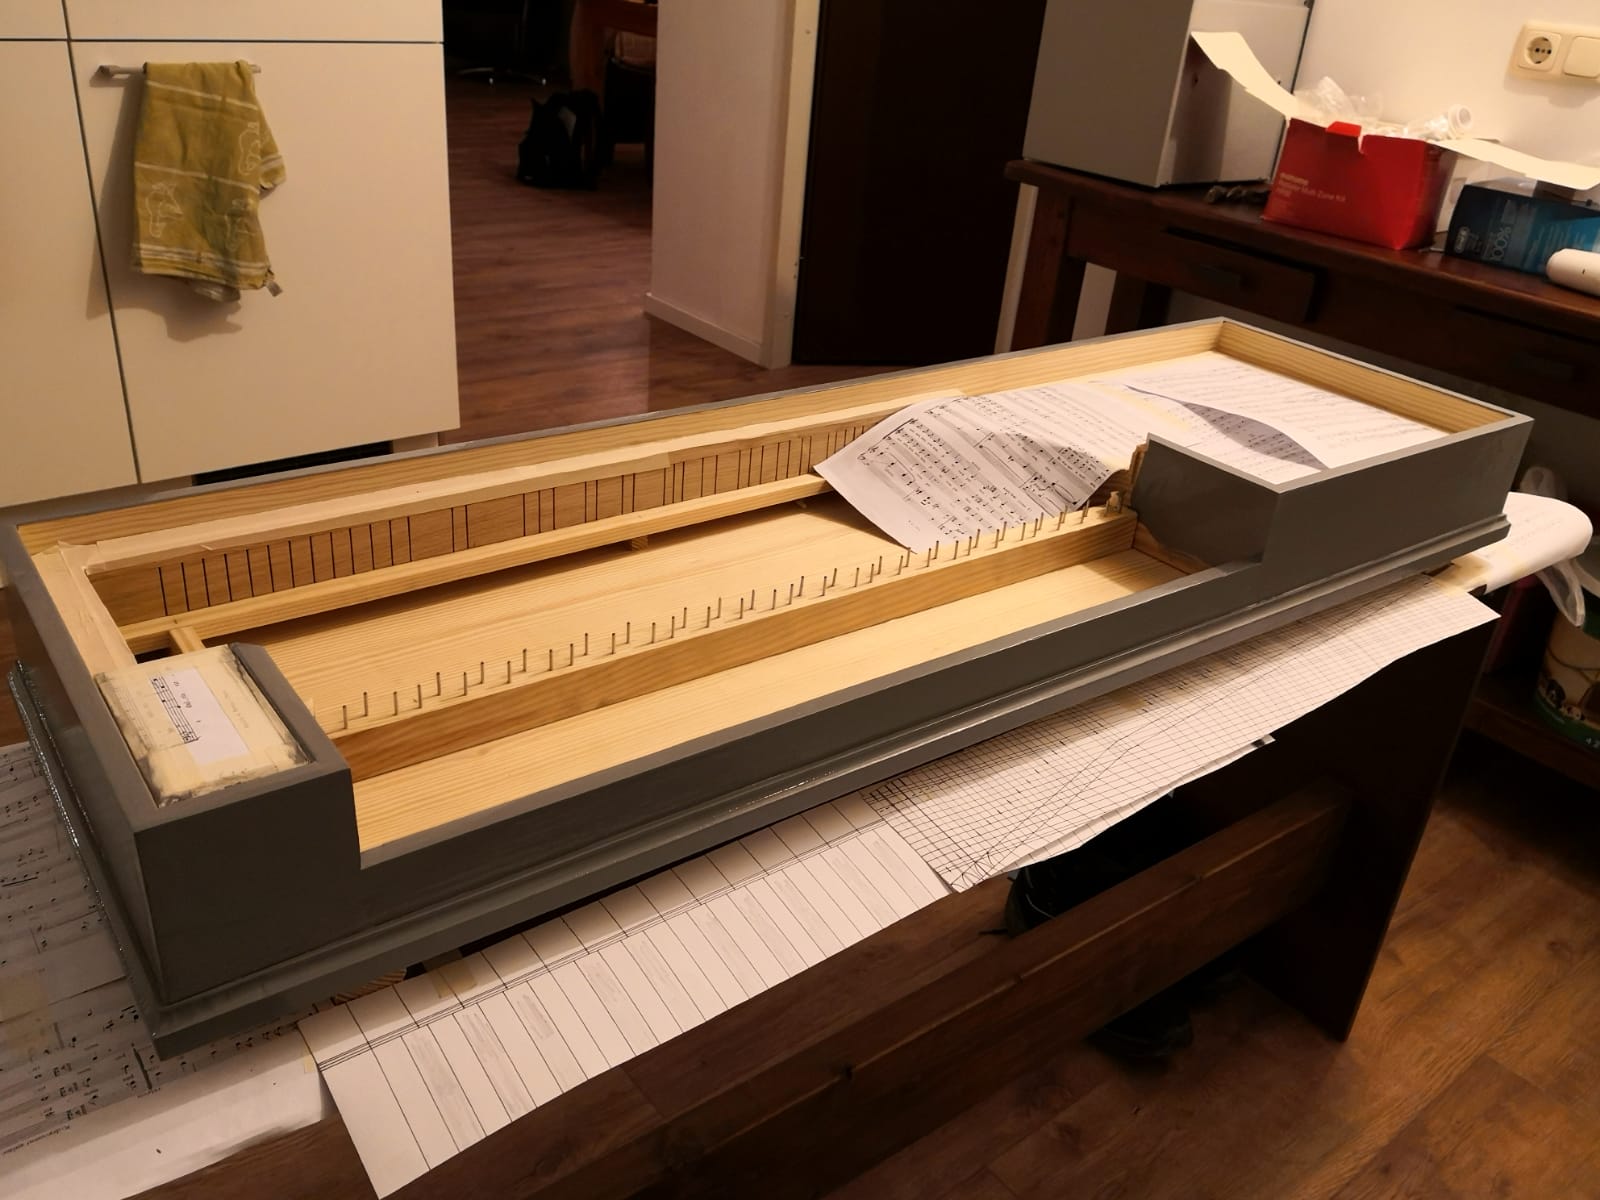
 Overview shot with the bottom attached to the frame. The soundboard liners, touchrail and bass hitchpin rail have also been attached.
At this point in the process I made a short vlog.
Work progressed steadily until I had to start work on the keyboard. I was quite underprepared for this. It is probably the trickiest part of the instrument.
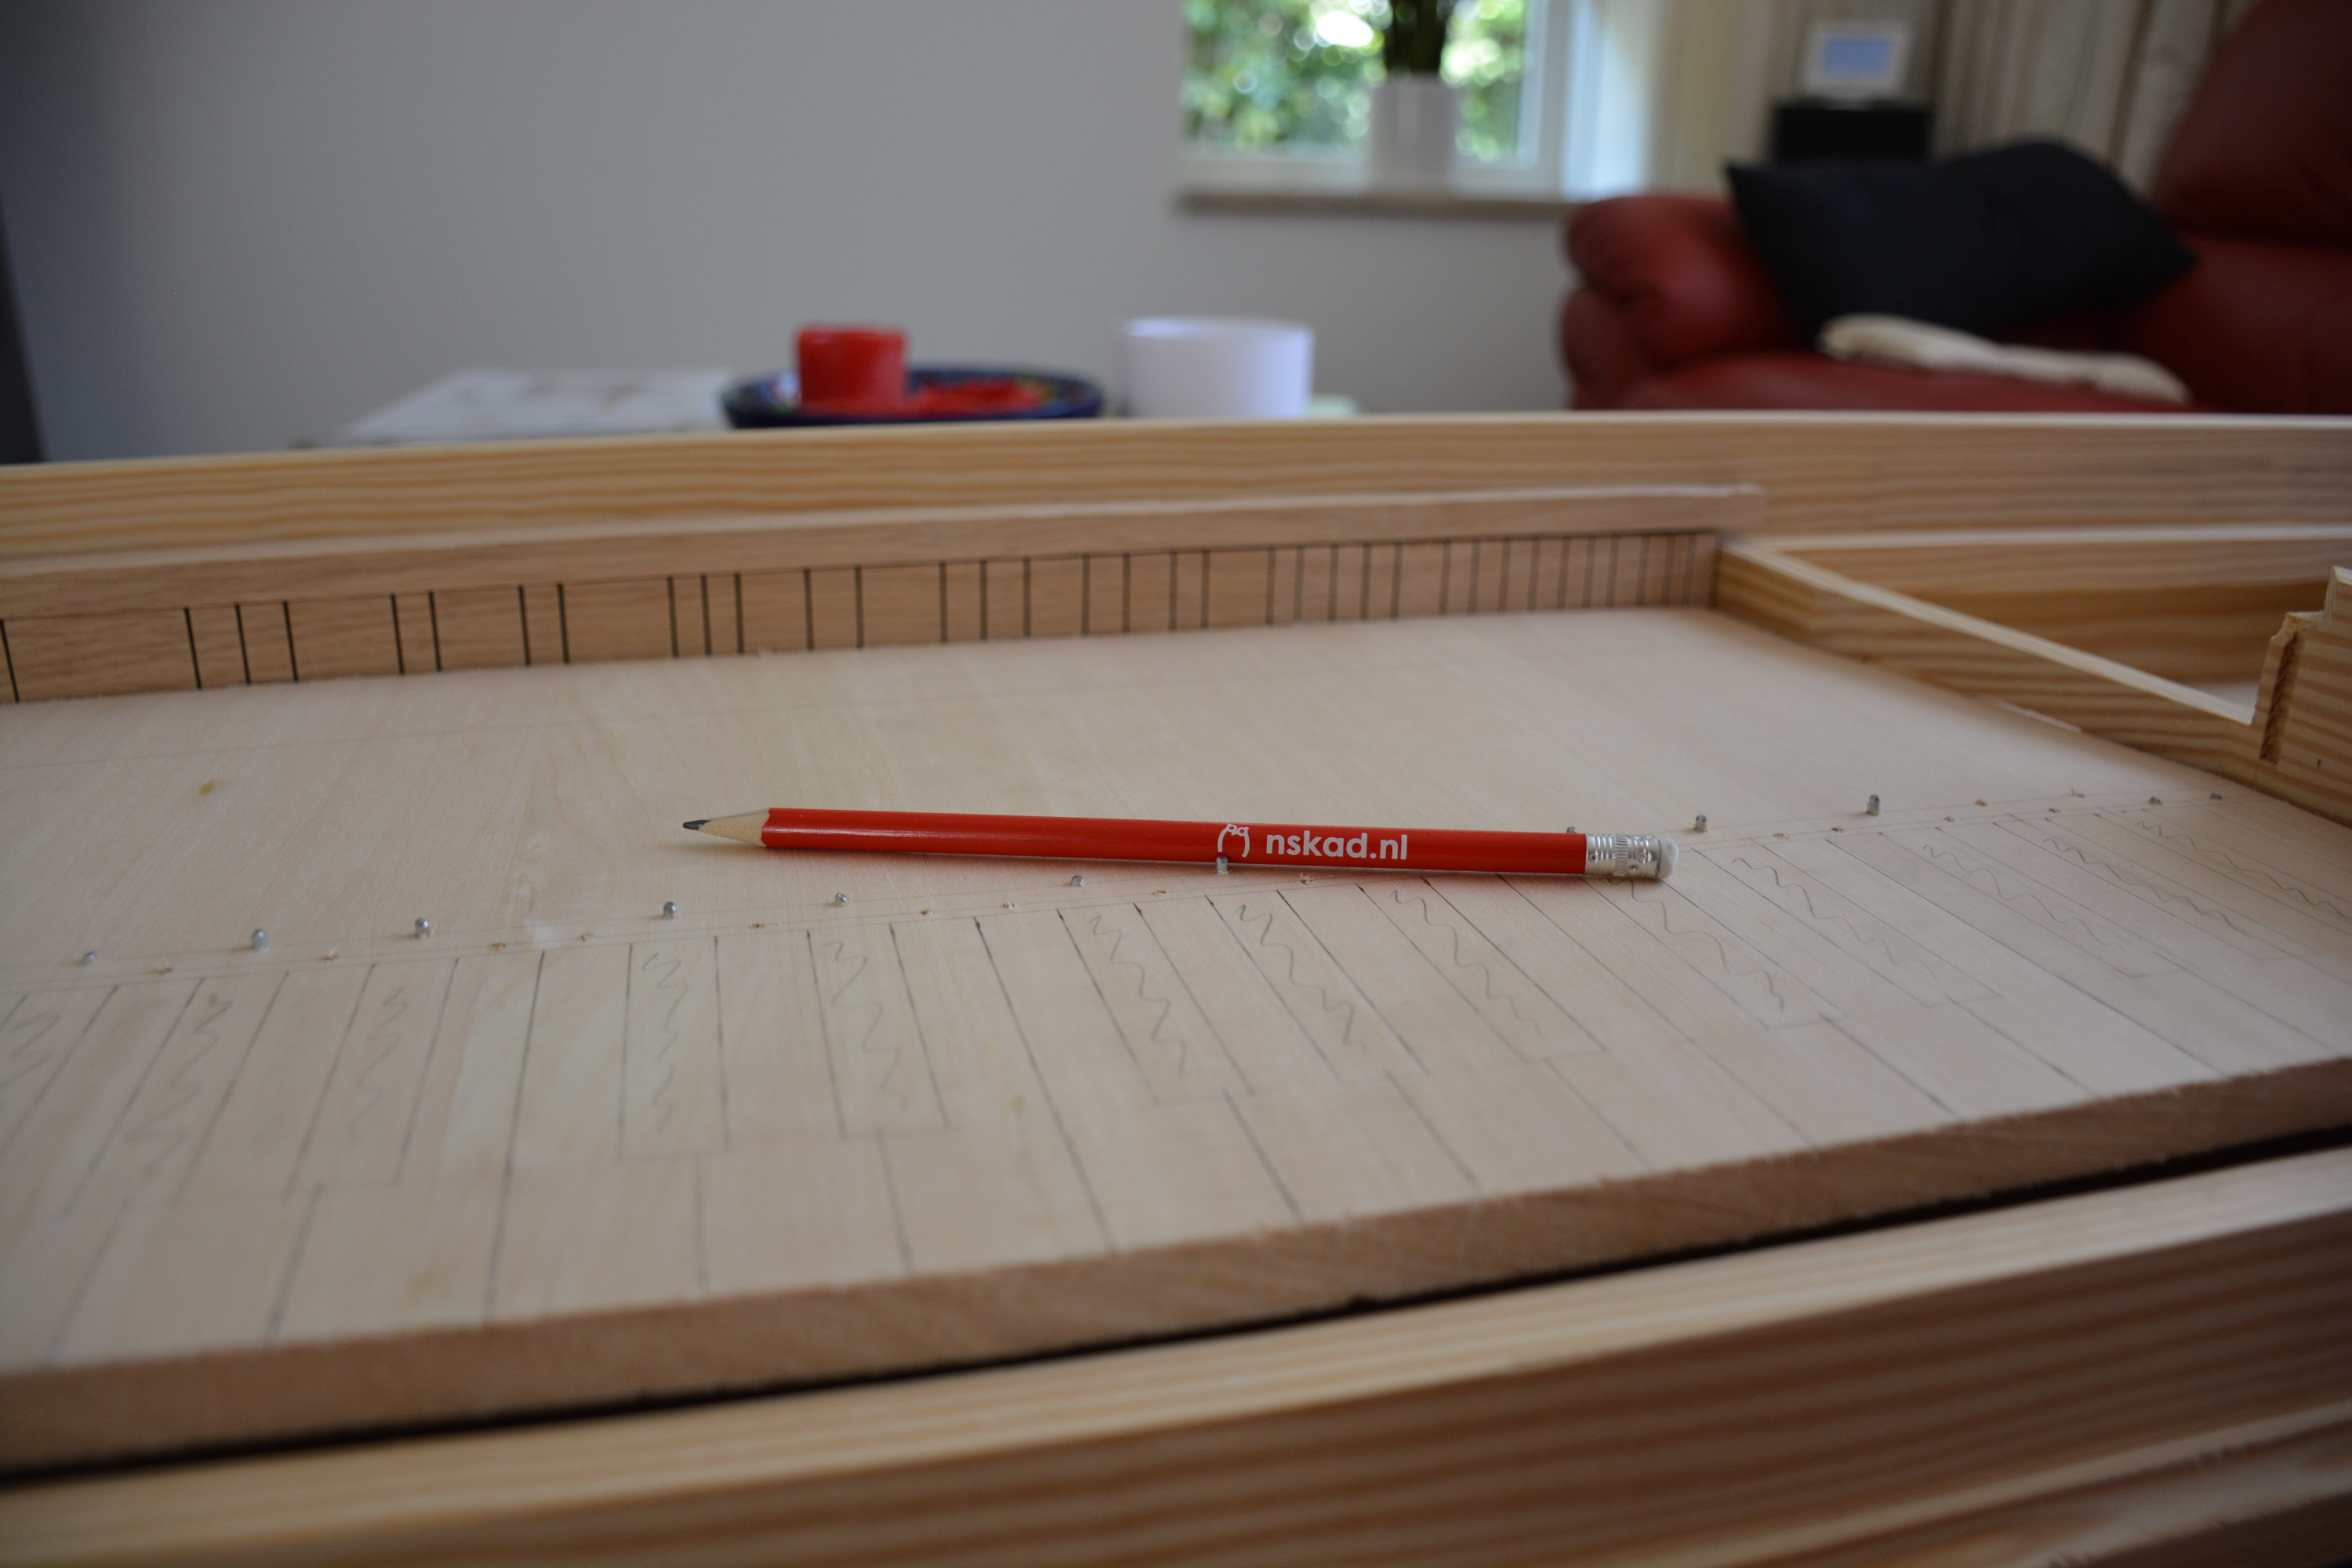
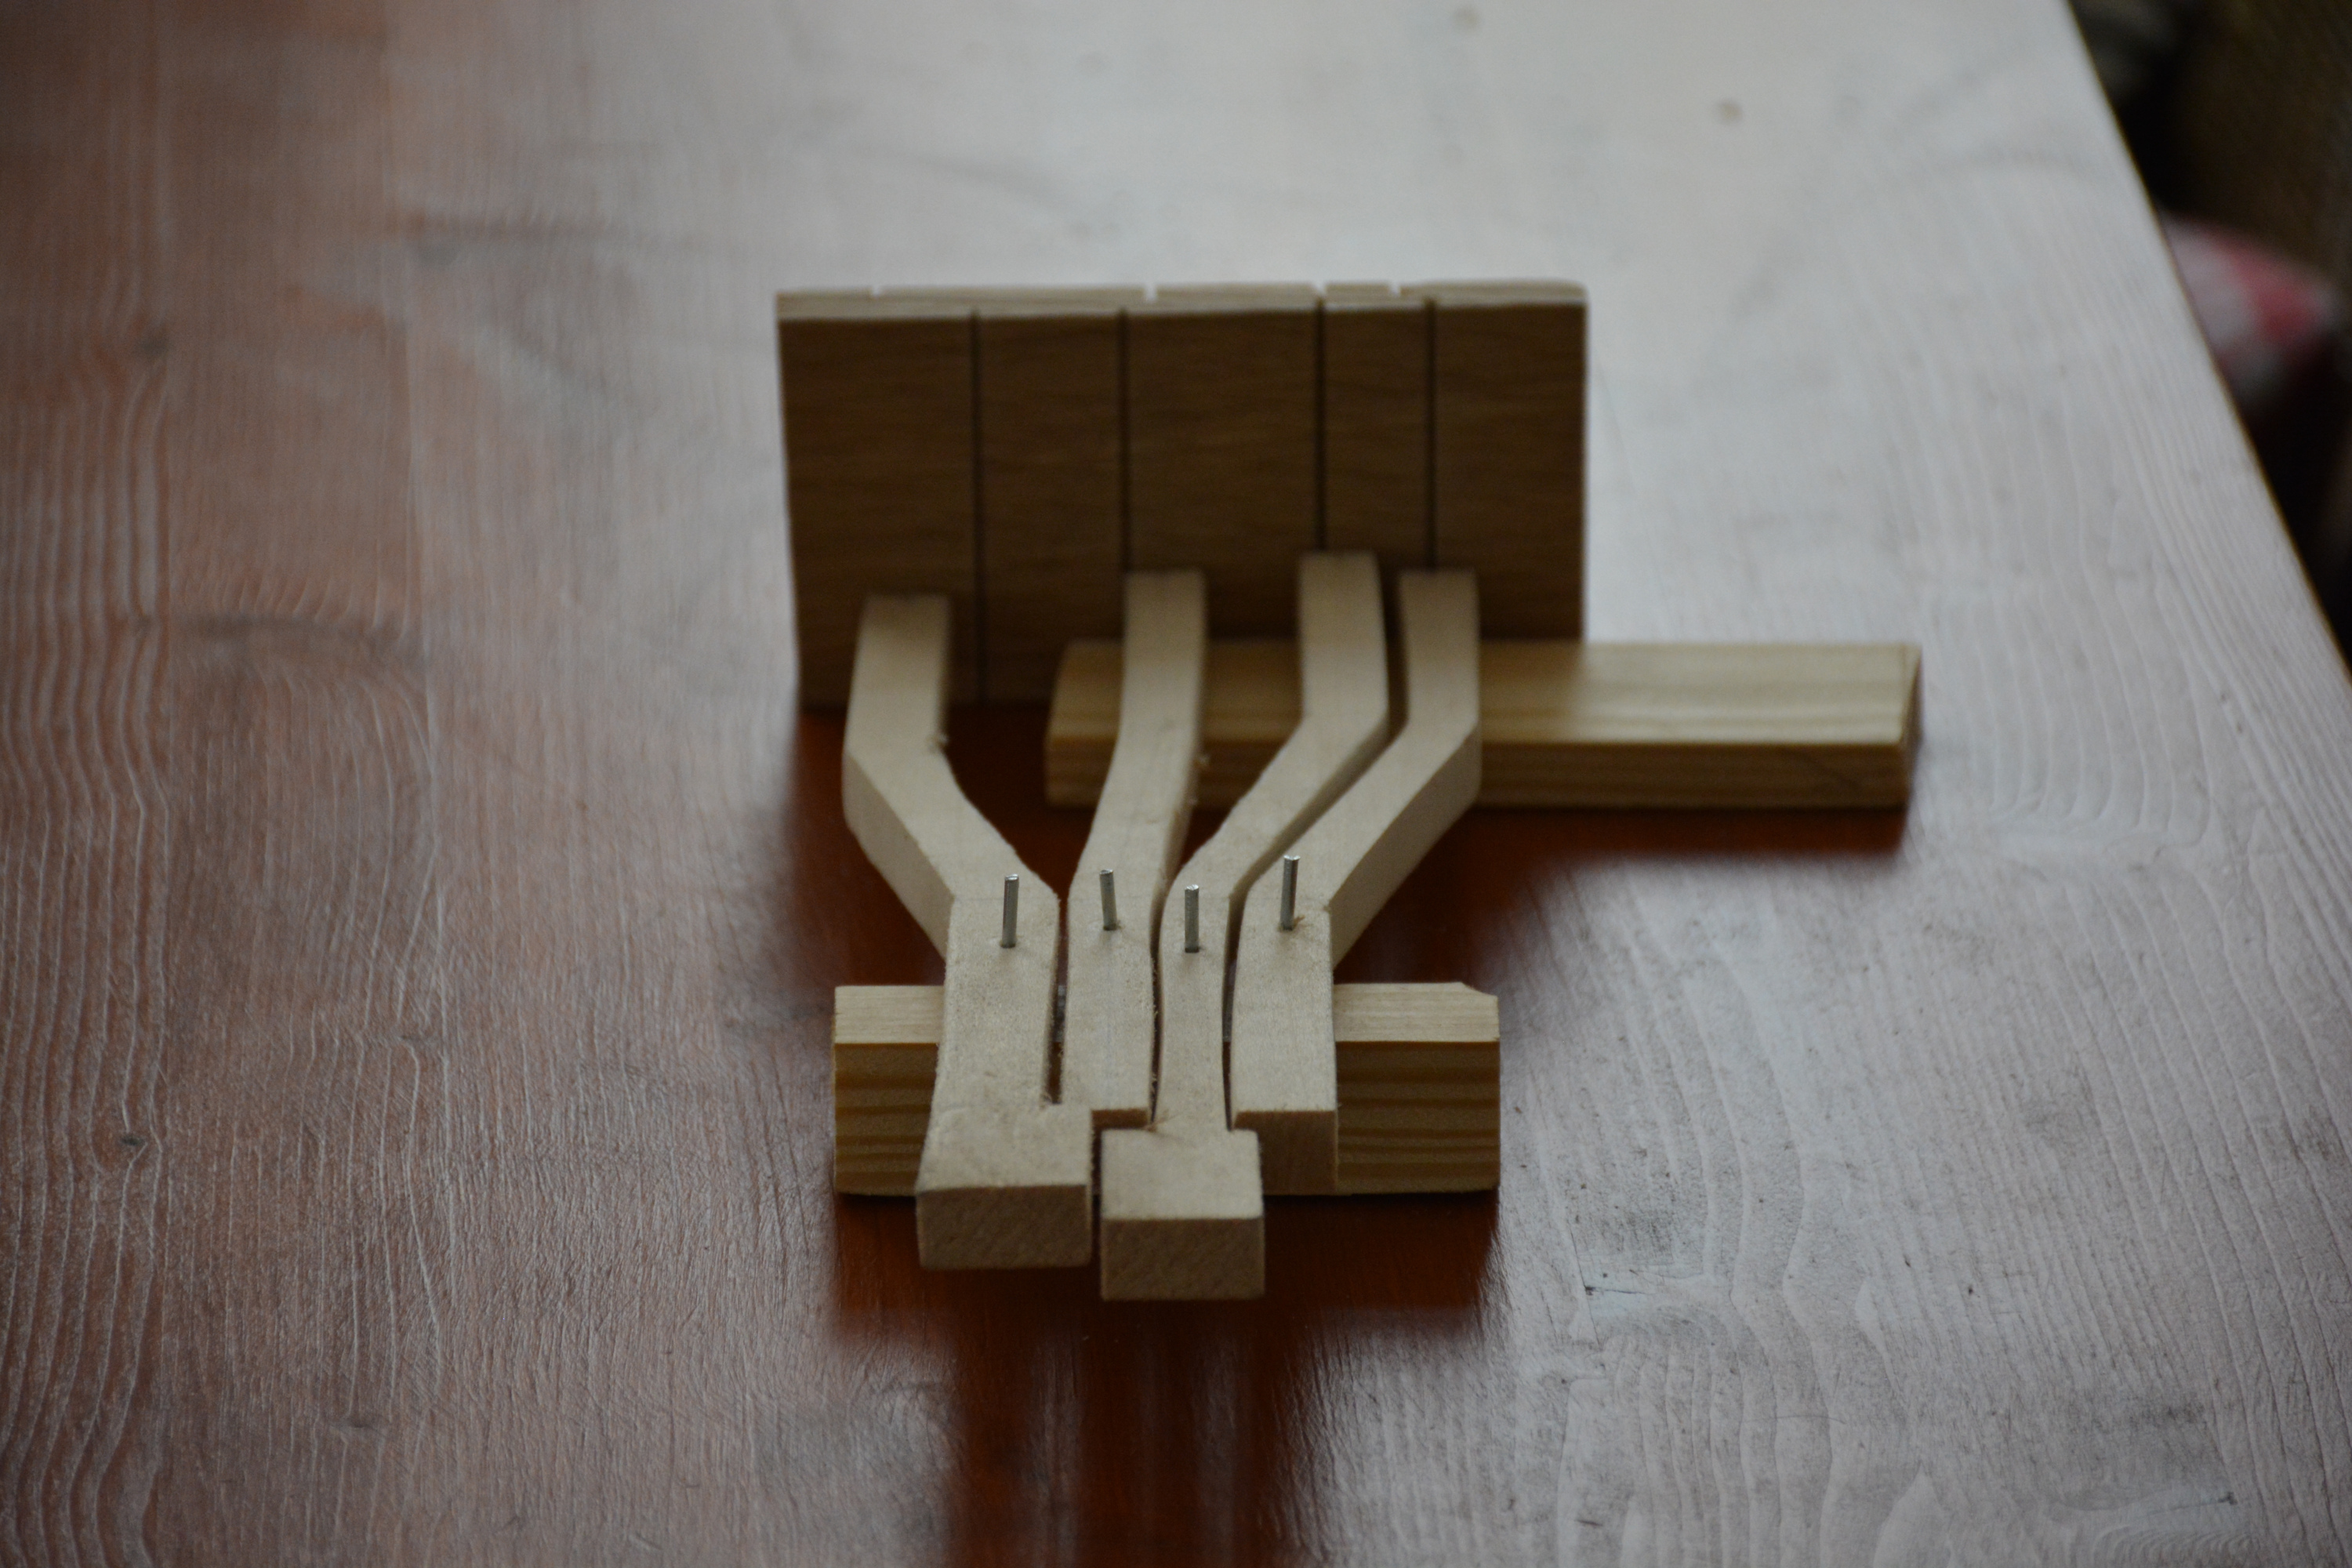 A key tester for finding the best way of cutting the guide rack slots.
I read Kenneth Sparr’s report on making guide rack slots over and over again but couldn’t quite make head nor tail of it. Besides, he was using a bandsaw and I didn’t have one of those at this point. I understood the principle: you need the contact patch between slot and pin to be as small as possible to reduce friction and noise, but you also need the slot to have quite a precise width to match your pins. I’m still not entirely sure how I would do it for my next instrument, but it would probably involve a jig and two saw cuts per slot. I ended up using quite a thick crosscut saw that happened to be about the same width as my guide pins, which I cut from a sheet of ~1 mm brass. I achieved the final fit with – what else – sandpaper…
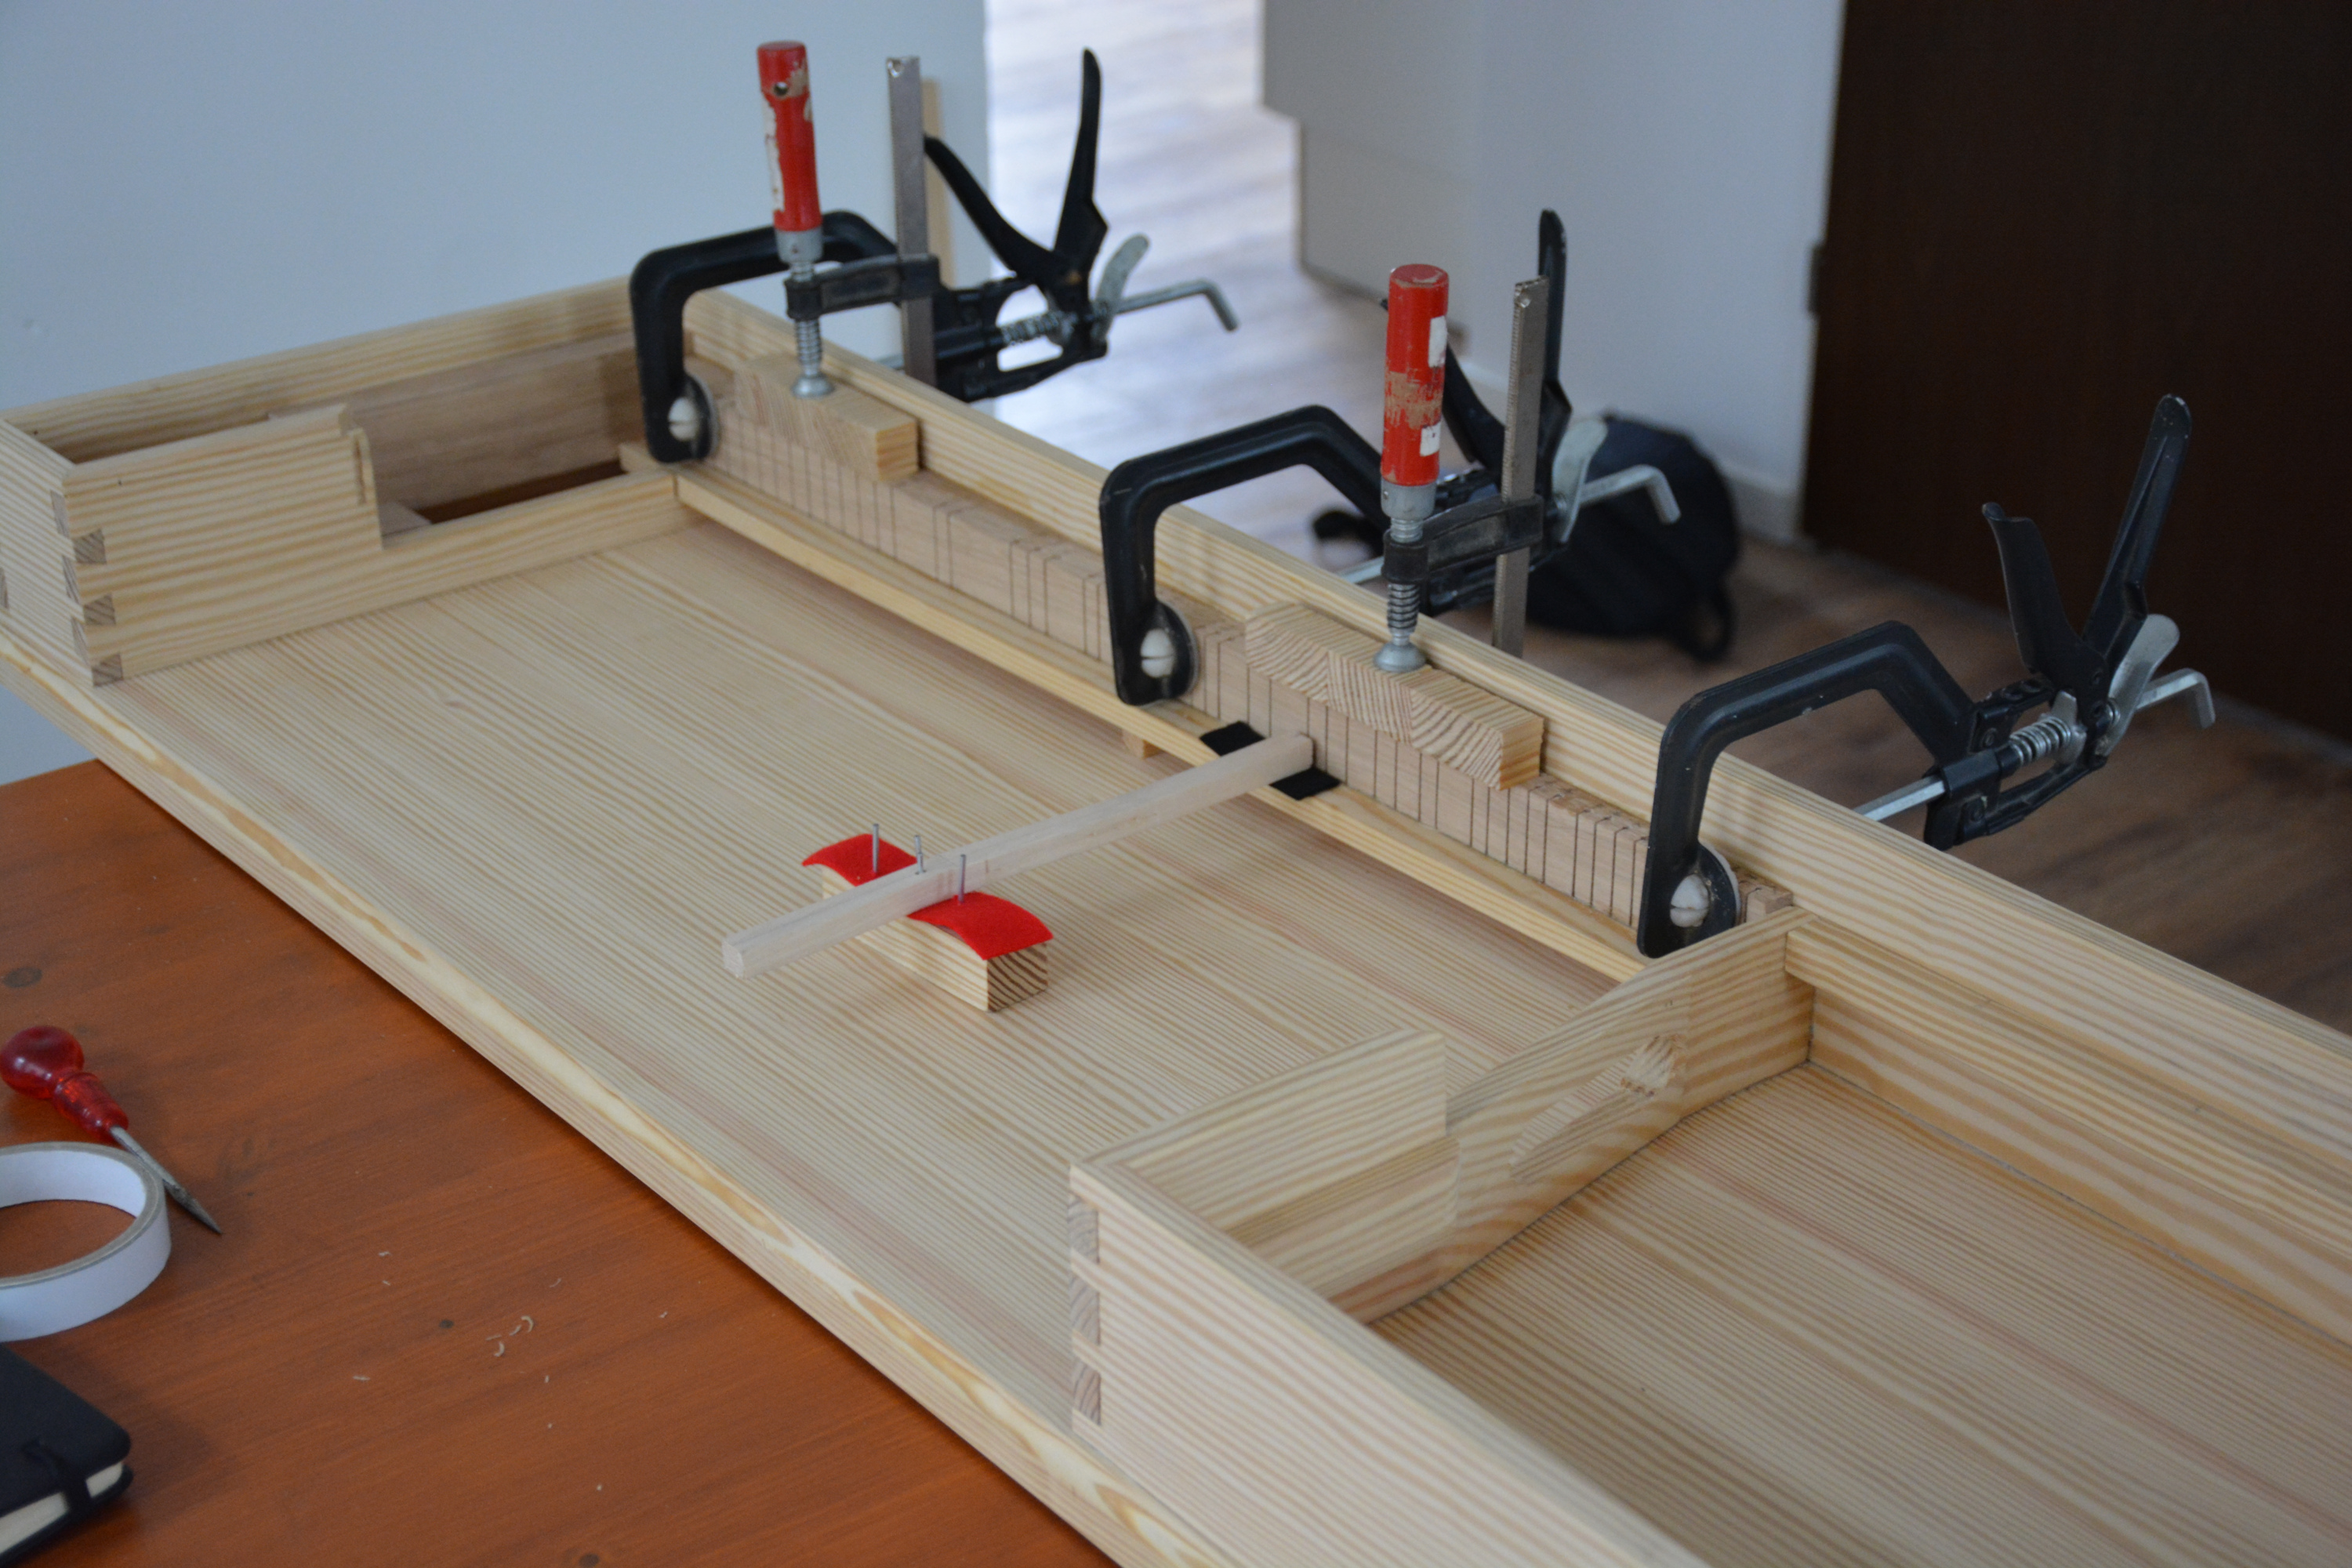 Glueing the rack into the instrument with hide glue.
Once the rack was finished, it had to be attached. I decided to do this using hide glue, and indeed this was first time I’d ever used the stuff, save for maybe one test piece. The reason for this was that I thought I could use some practice for when I’d have to do the soundboard, but also that I’d read somewhere that hide glue has higher shear strength than PVA glue. And, of course, the rack and the treble hitchpin rail (which I also attached to the rack using hide glue) are under quite a lot of shear stress.
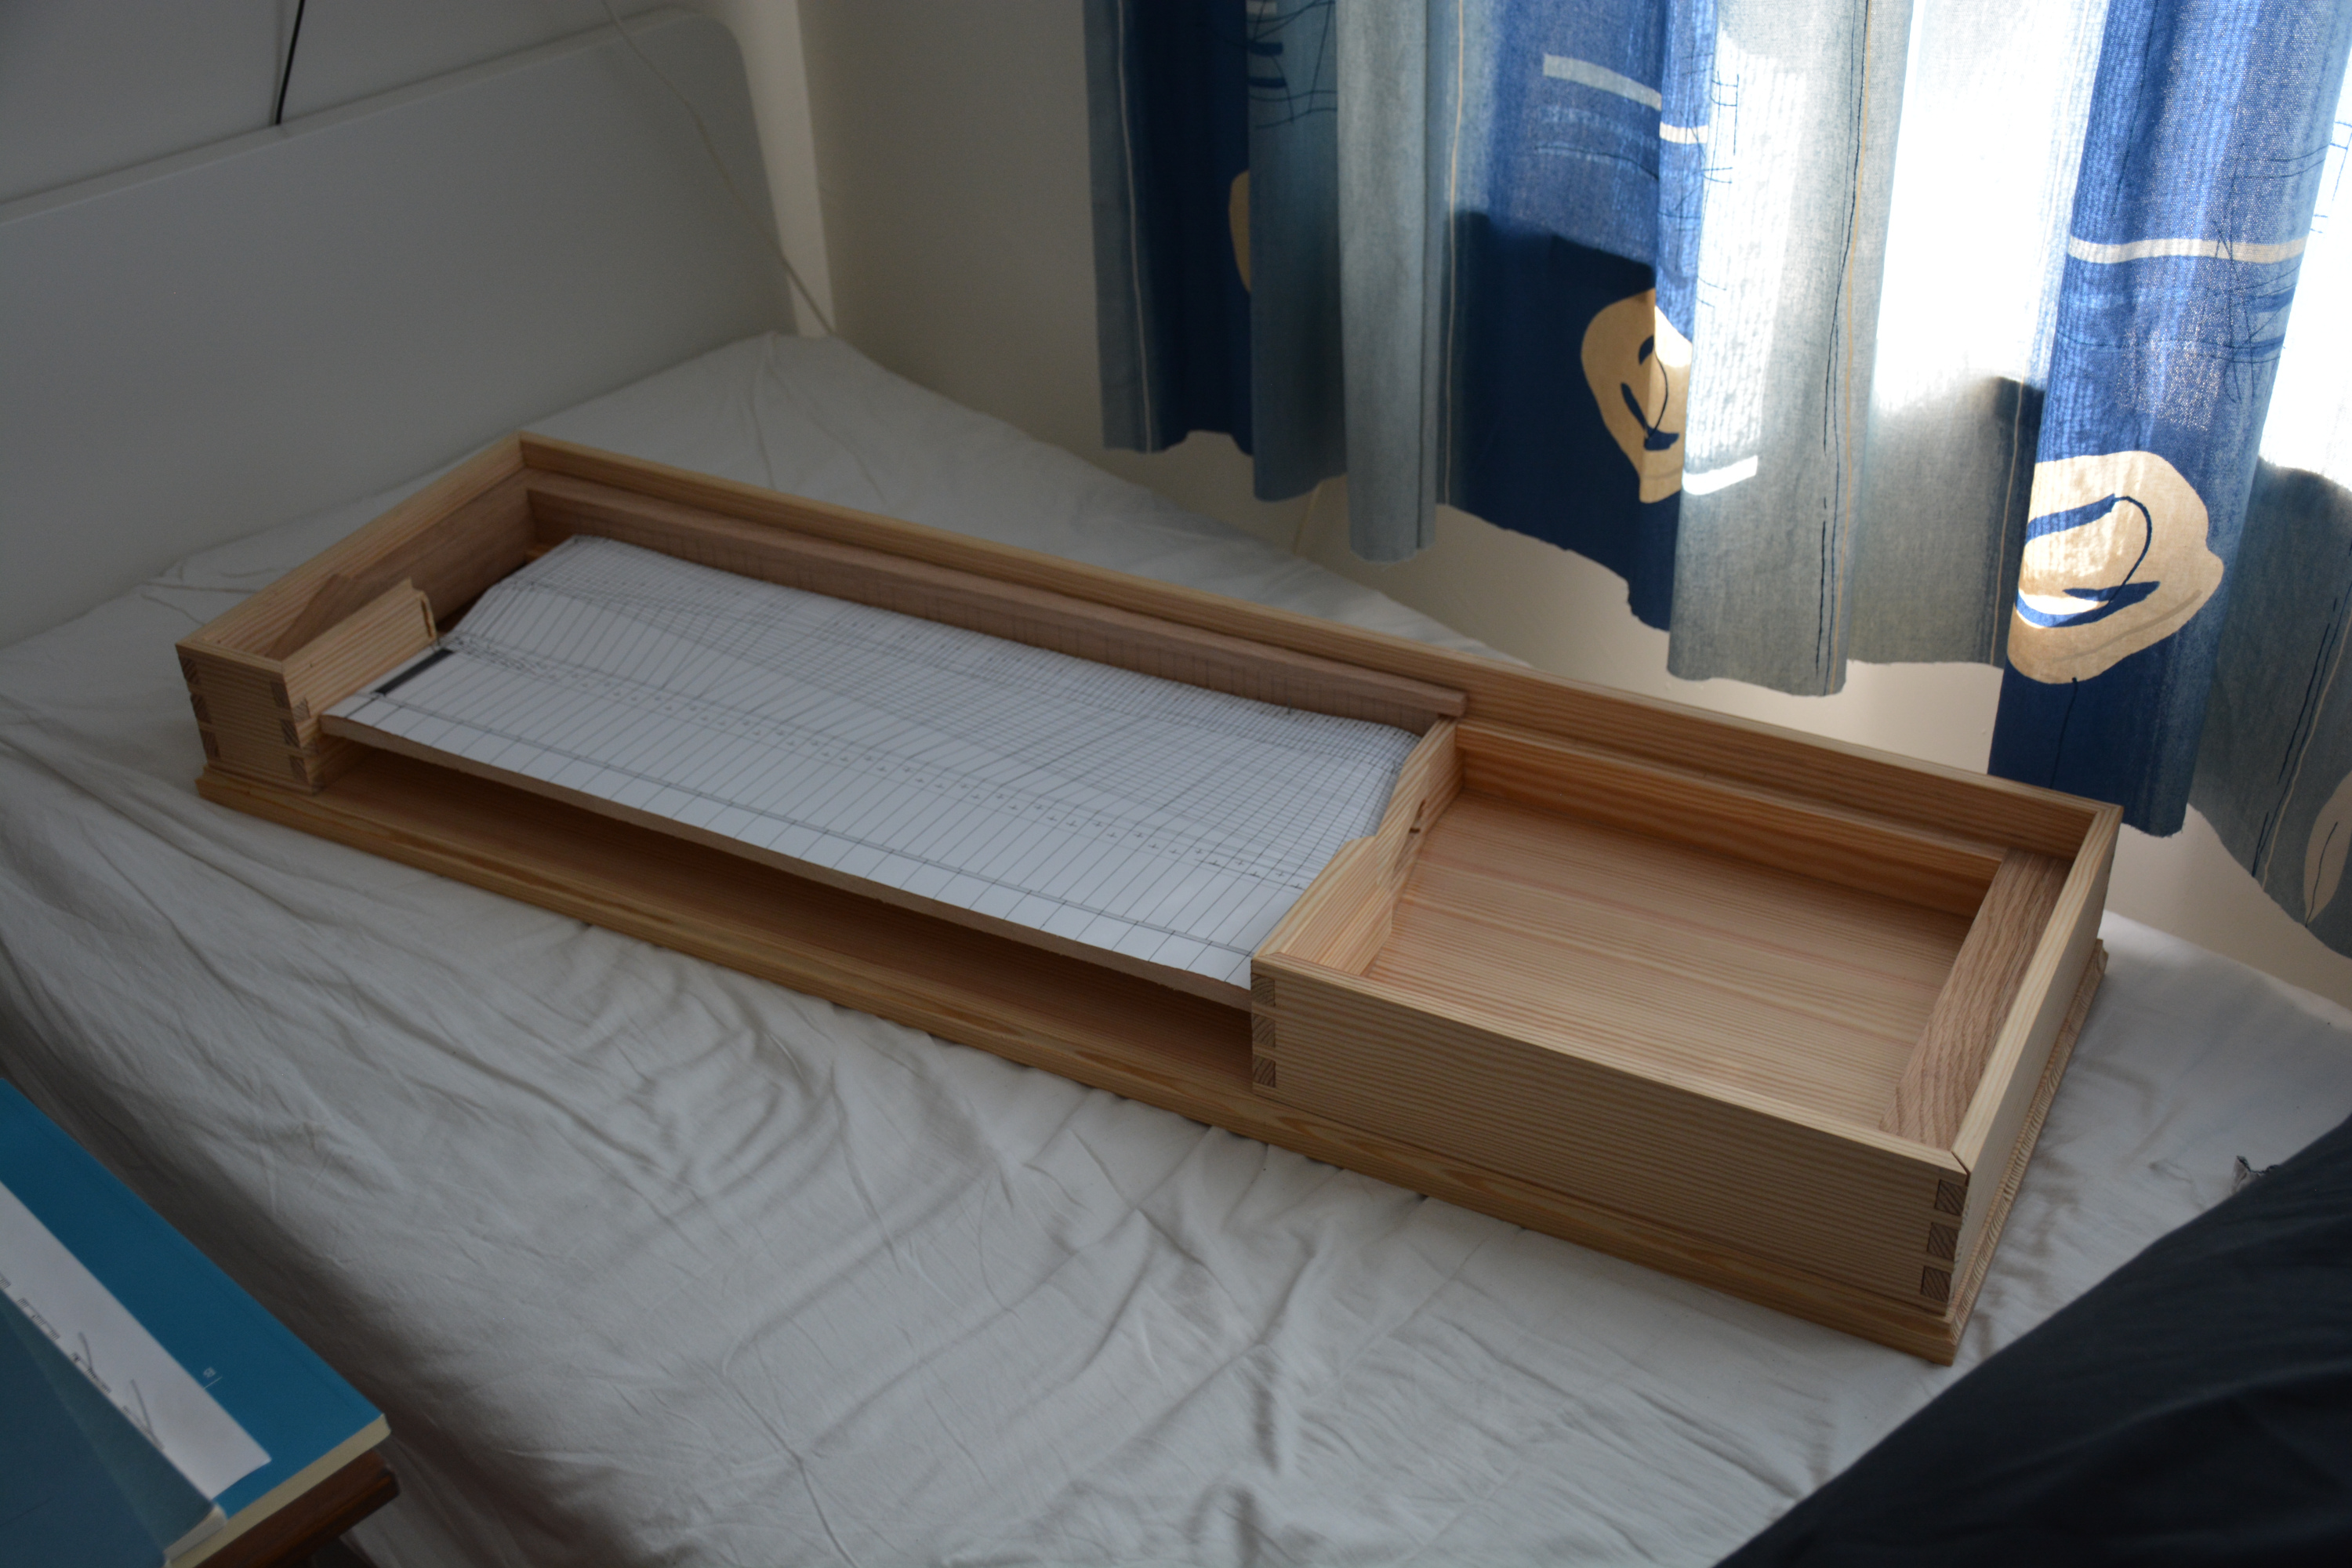 The keyboard cut to size with a paper layout attached.
 Drilling the balance pin holes (freehand! maybe not the best idea).
 My trusty companion.
The keyboard was finished improvisationally. The balance pin holes were drilled through the keyboard plank straight into the balance rail while the keys were still attached. For the balance pins themselves I just used wire nails with their heads cut off. Splitting the keys wasn’t the biggest challenge. My mother’s neighbour had an electric scroll saw that had no trouble working through 14(?) mm of lime. It did, however, leave fuzzy edges (unsurprisingly).
Now come two things that I should have been more careful about. The holes drilled through the keys for the balance pins need to be adjusted into a V-shape to allow for a rocking motion of the keys. Kenneth Sparr mentions that “the holes were widened from above with a special tool with a 2.6-mm point and a metal handle”. I would love to know what exactly this “special tool” looks like. In the end I just rocked a small square awl back and forth a few times through each balance pin, but this made the balance pin holes slightly too big. This meant that the balance pins also allow a very small amount of rocking side to side, resulting in key tops which don’t all align. This is especially noticeable for the naturals.
The other mistake was glueing the key tops. I glued them on after splitting the keys using hot hide glue, because I didn’t want to have to clamp each one thoroughly. Unfortunately the glue warped the key tops a bit, meaning most are now slightly concave. Next time I glue the key tops before splitting the keys, using PVA glue and clamping thoroughly. I’d also opt for key tops of at least 3 mm. For this clavichord I used 2 mm pear for the naturals, which is really too thin.
 The soundboard cut to size.
 Carving the bridge.
I decided to saw and carve the bridge, rather than steam-bend it from a straight piece. The only reason for this was simplicity and lack of familiarity with steam bending. I still do not have a good feeling whether sawn or bent bridges were more common historically.
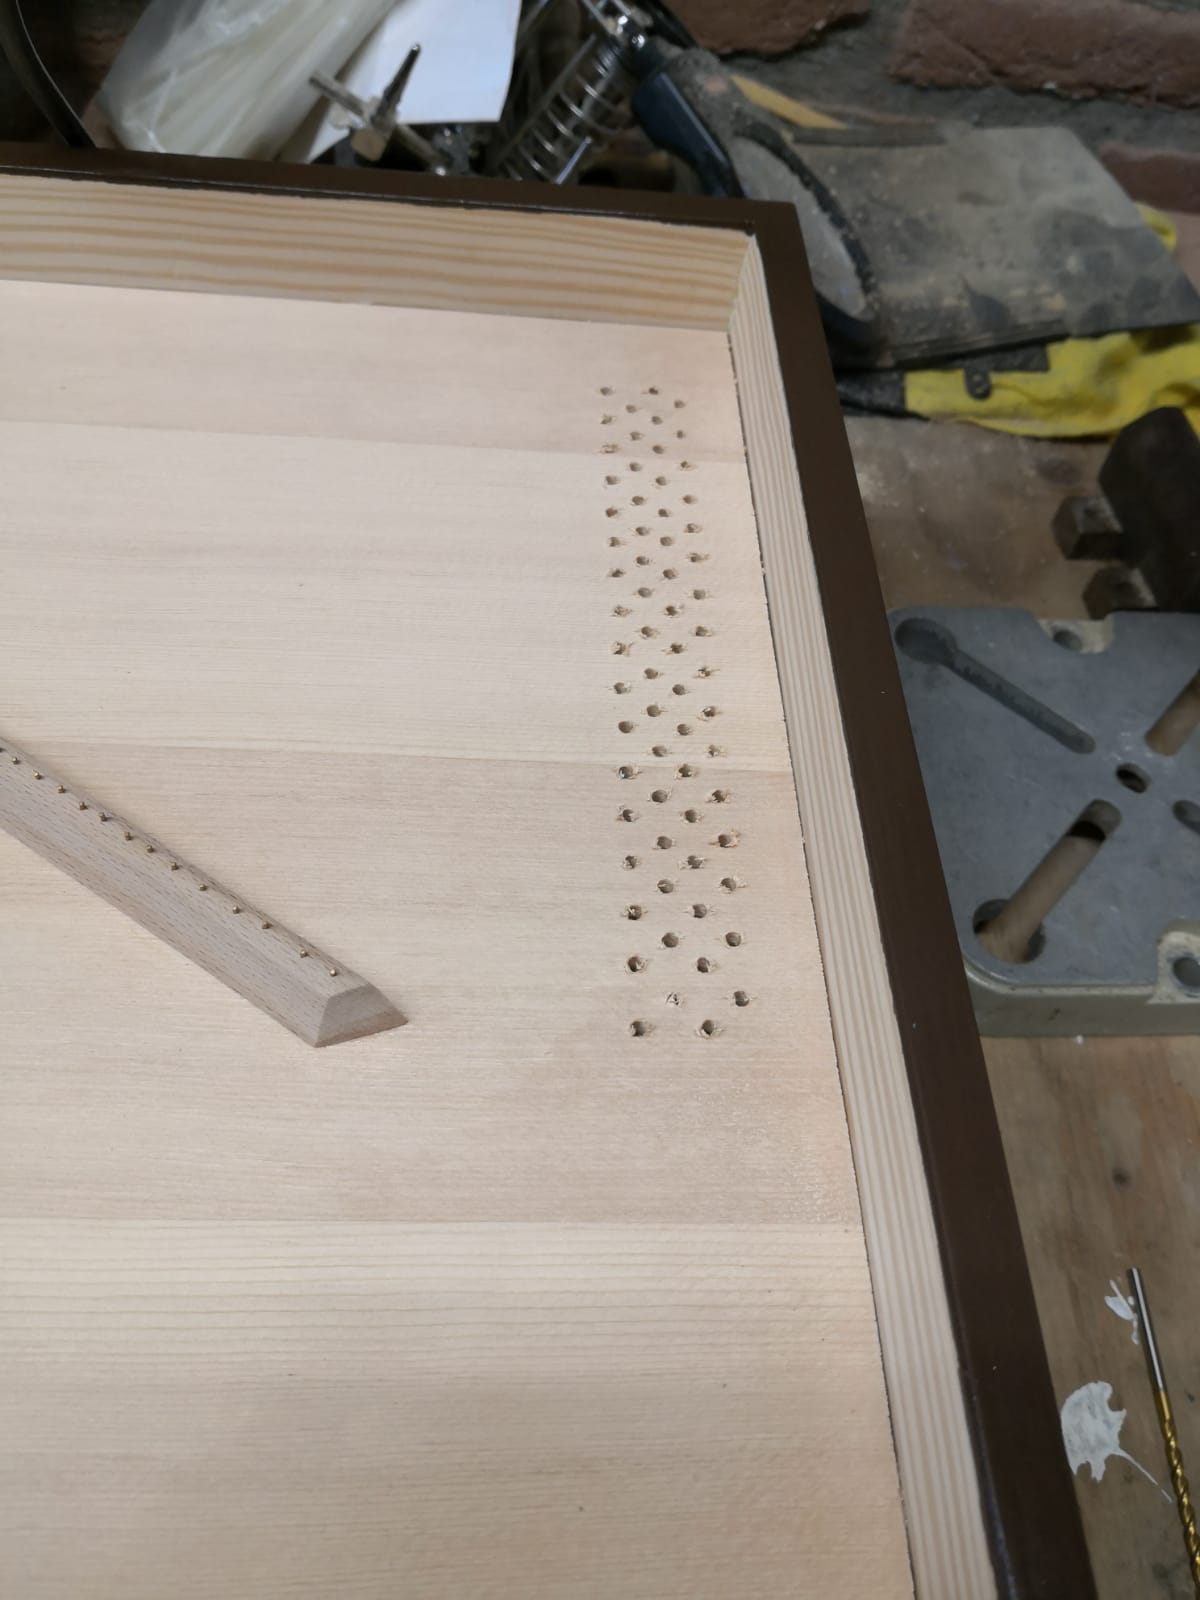
 Bridge pin holes drilled.
The bridge pins were a bit all over the place. I think if I’d spent a little more time here and lined everything up precisely, made sure the pins are all the same height, it would have gone a long way in making the instrument look a bit more professional. I drilled pilot holes for each bridge pin, and I’m pretty sure I used a drill bit the same width as the bridge pins themselves (0.8 mm if I recall correctly). This was a mistake. The bridge pins need to fit very tightly, as ill-fitting pins can cause what is known in piano tuning as “false beats”.
 The bridge glued to the soundboard.
 Gaps in the corners filled with plaster.
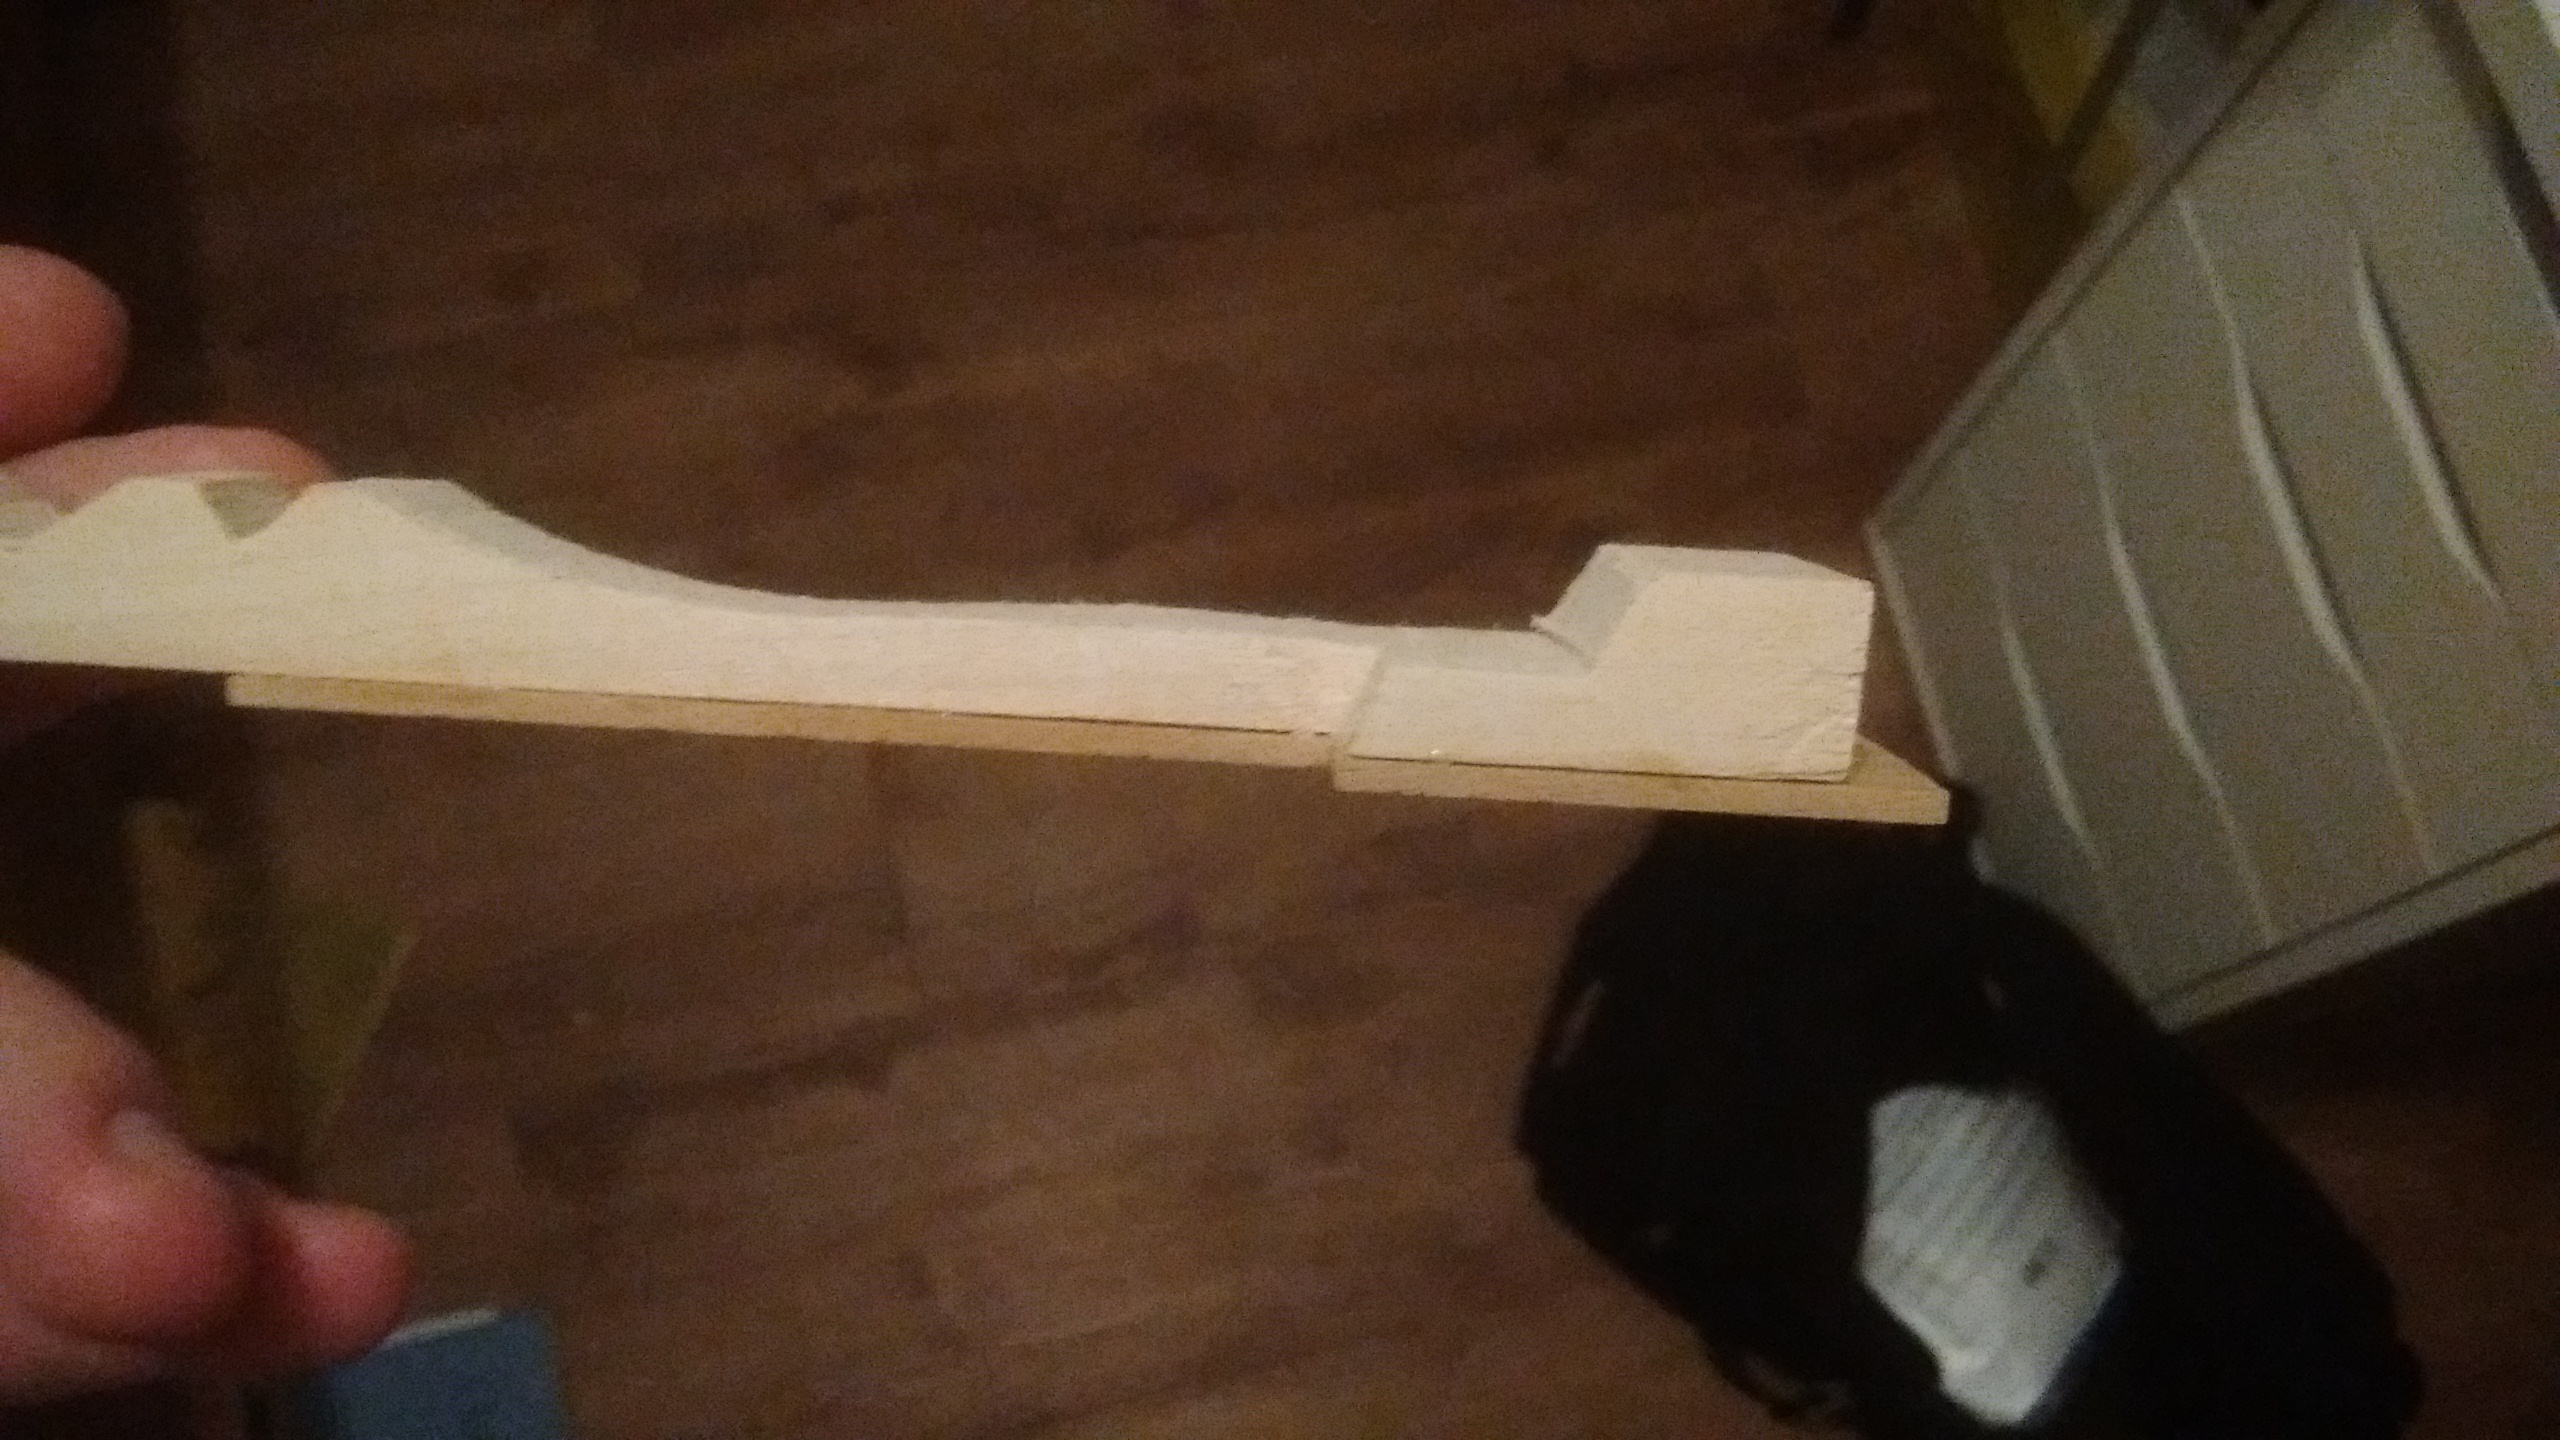
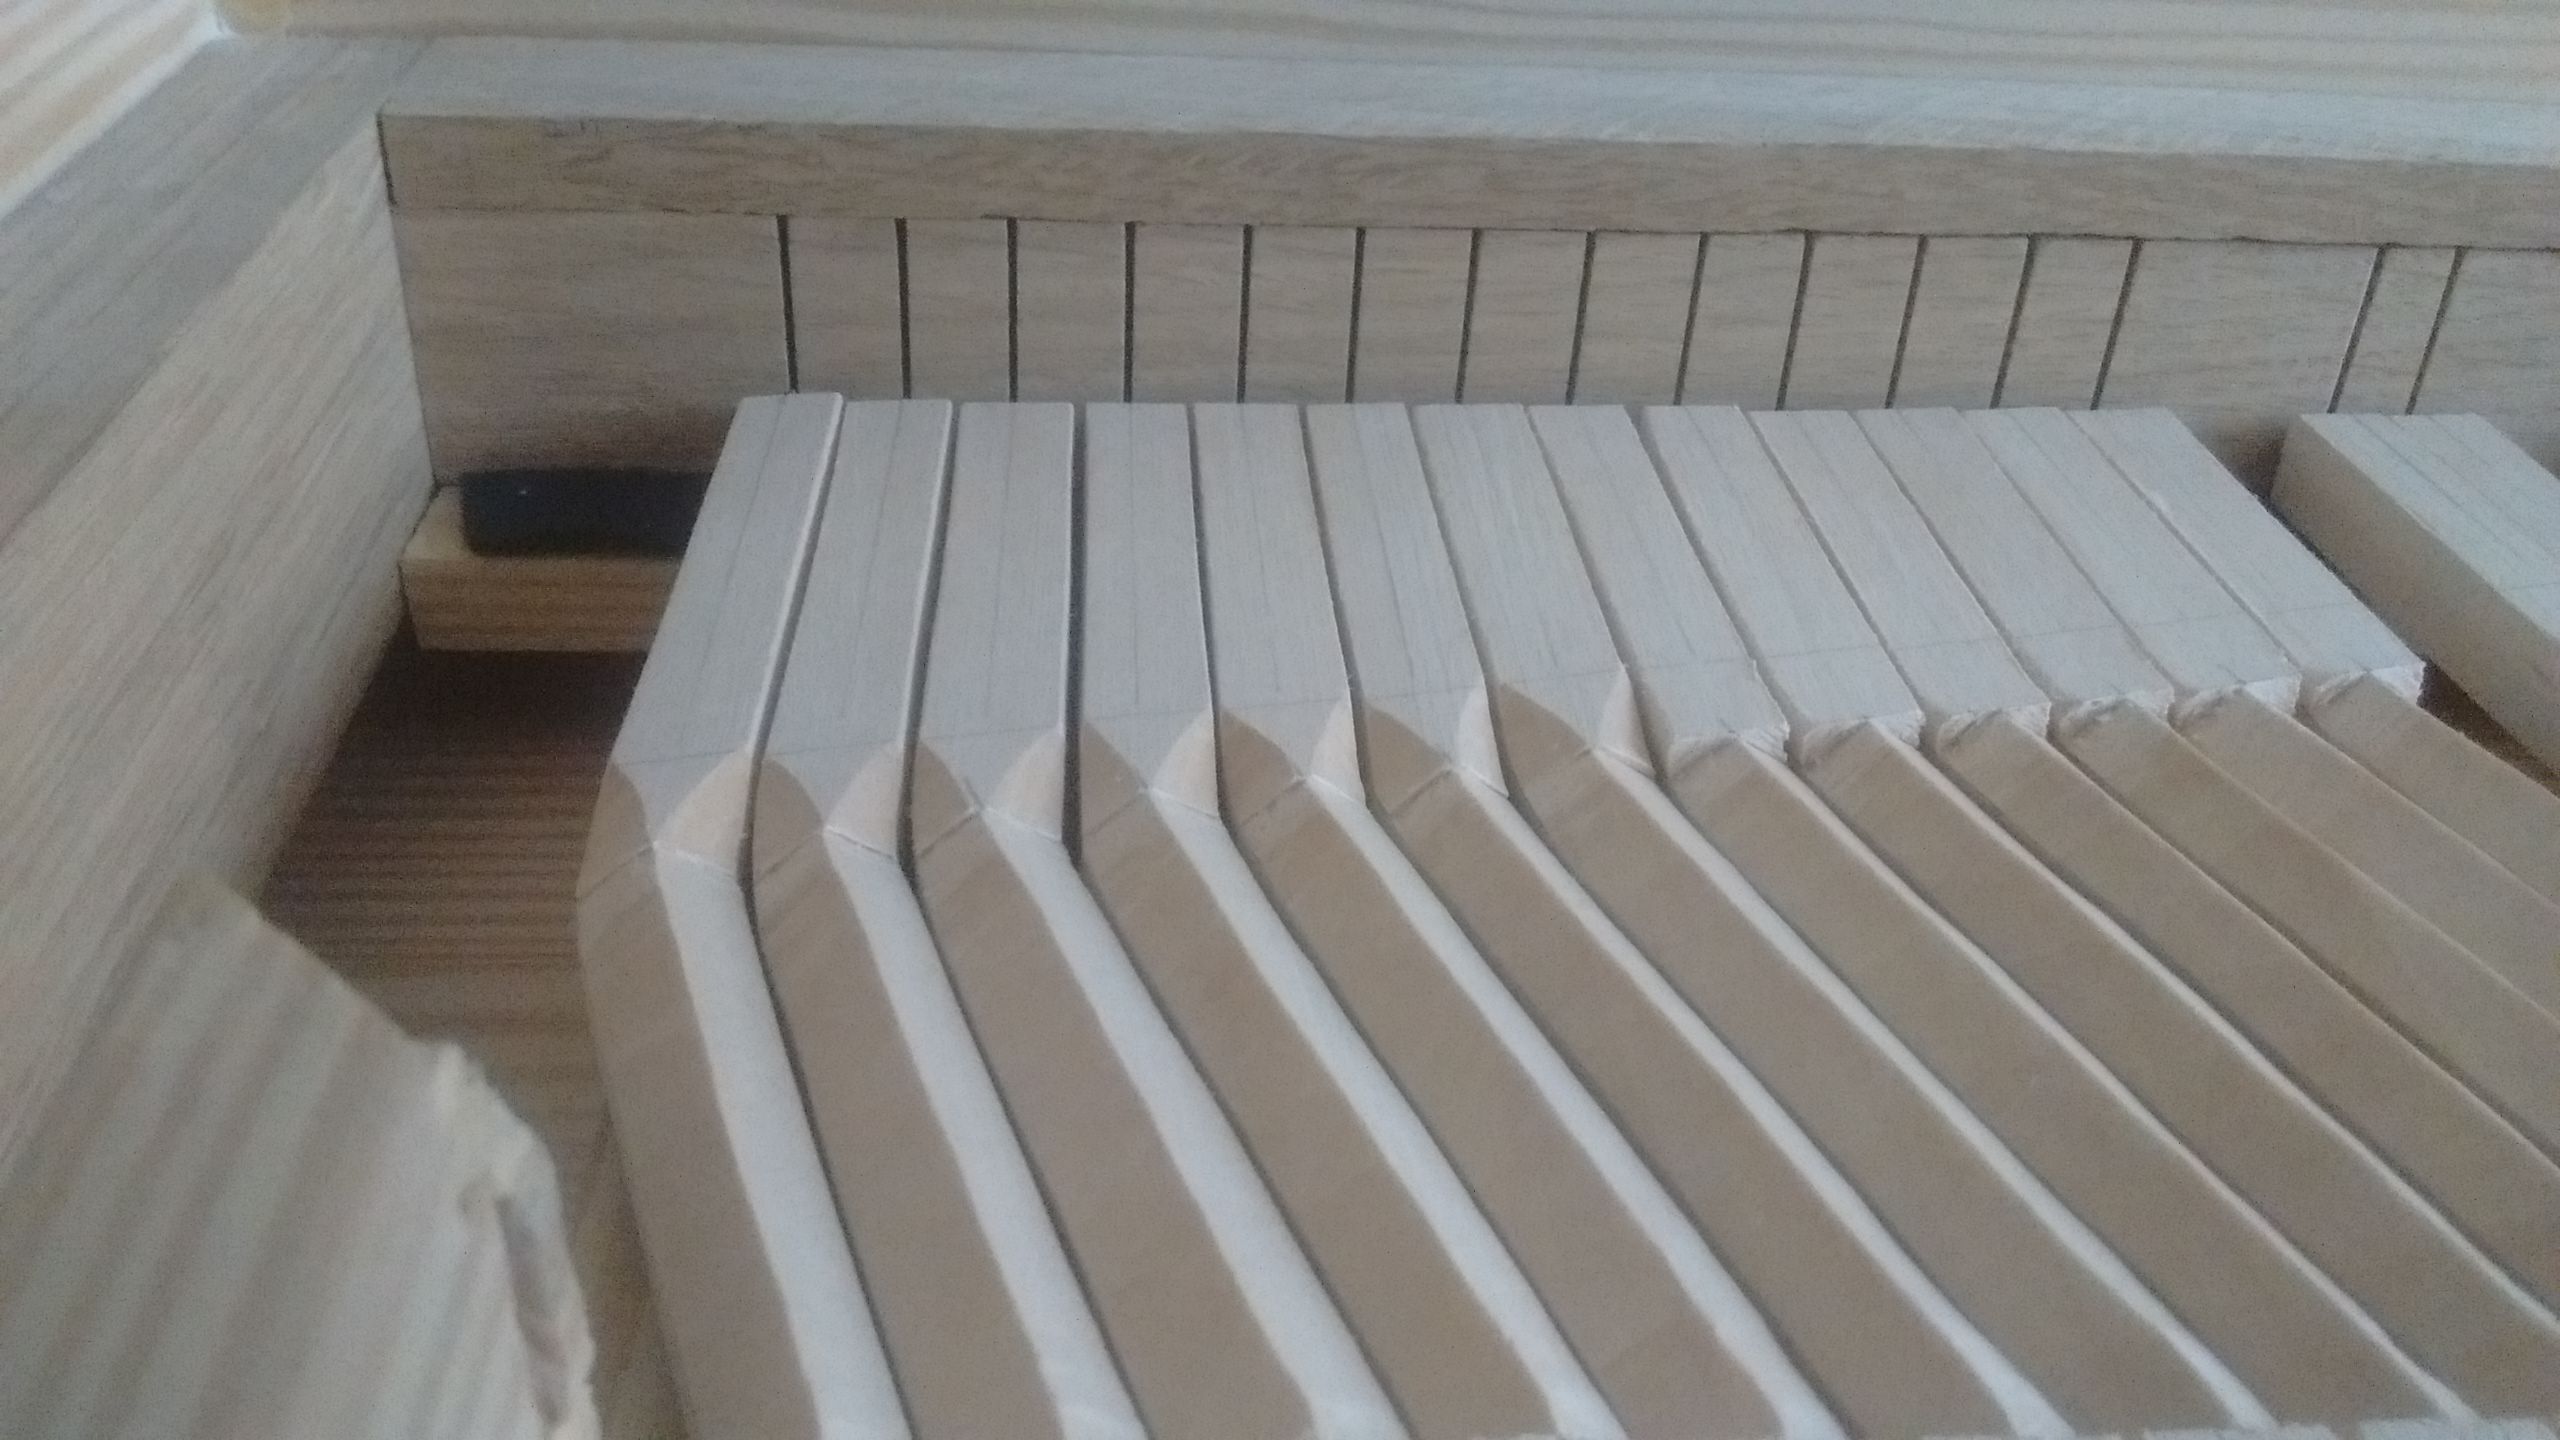 Carving the keys.
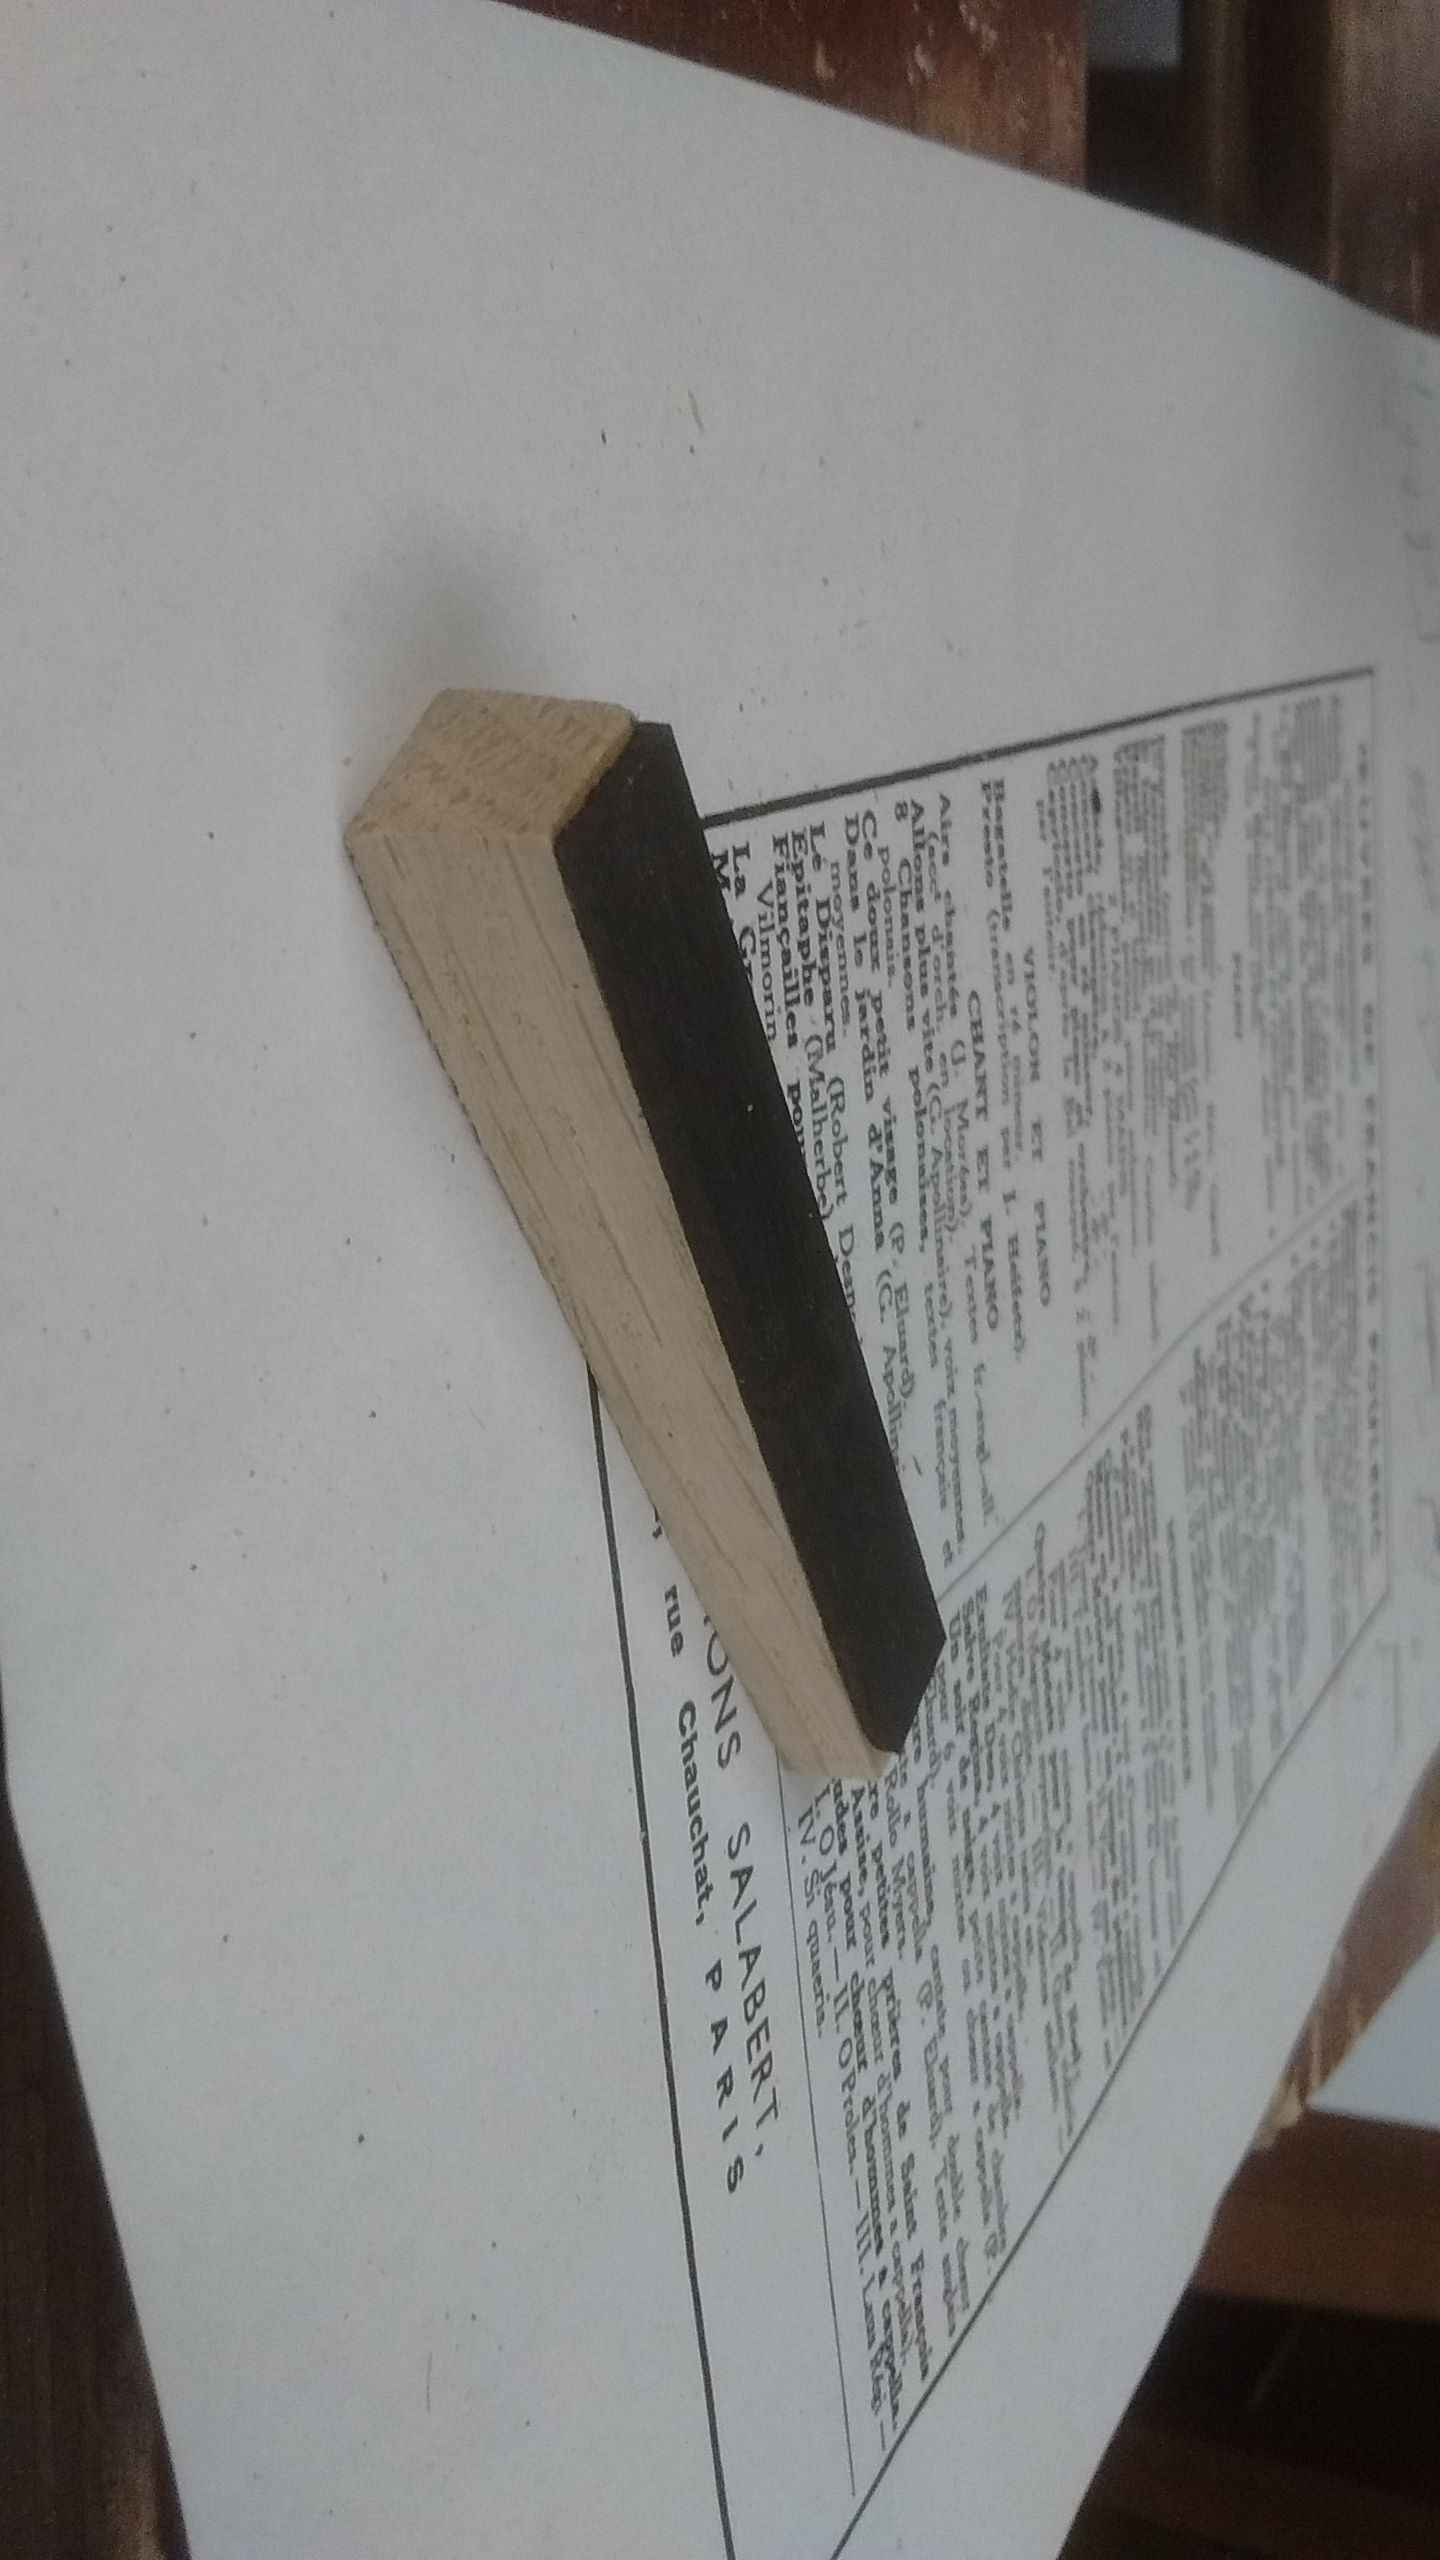 An (unfinished) sharp. Oak and ebony.
 A key with its bottom profile cut out (with bandsaw, not the optimal tool)
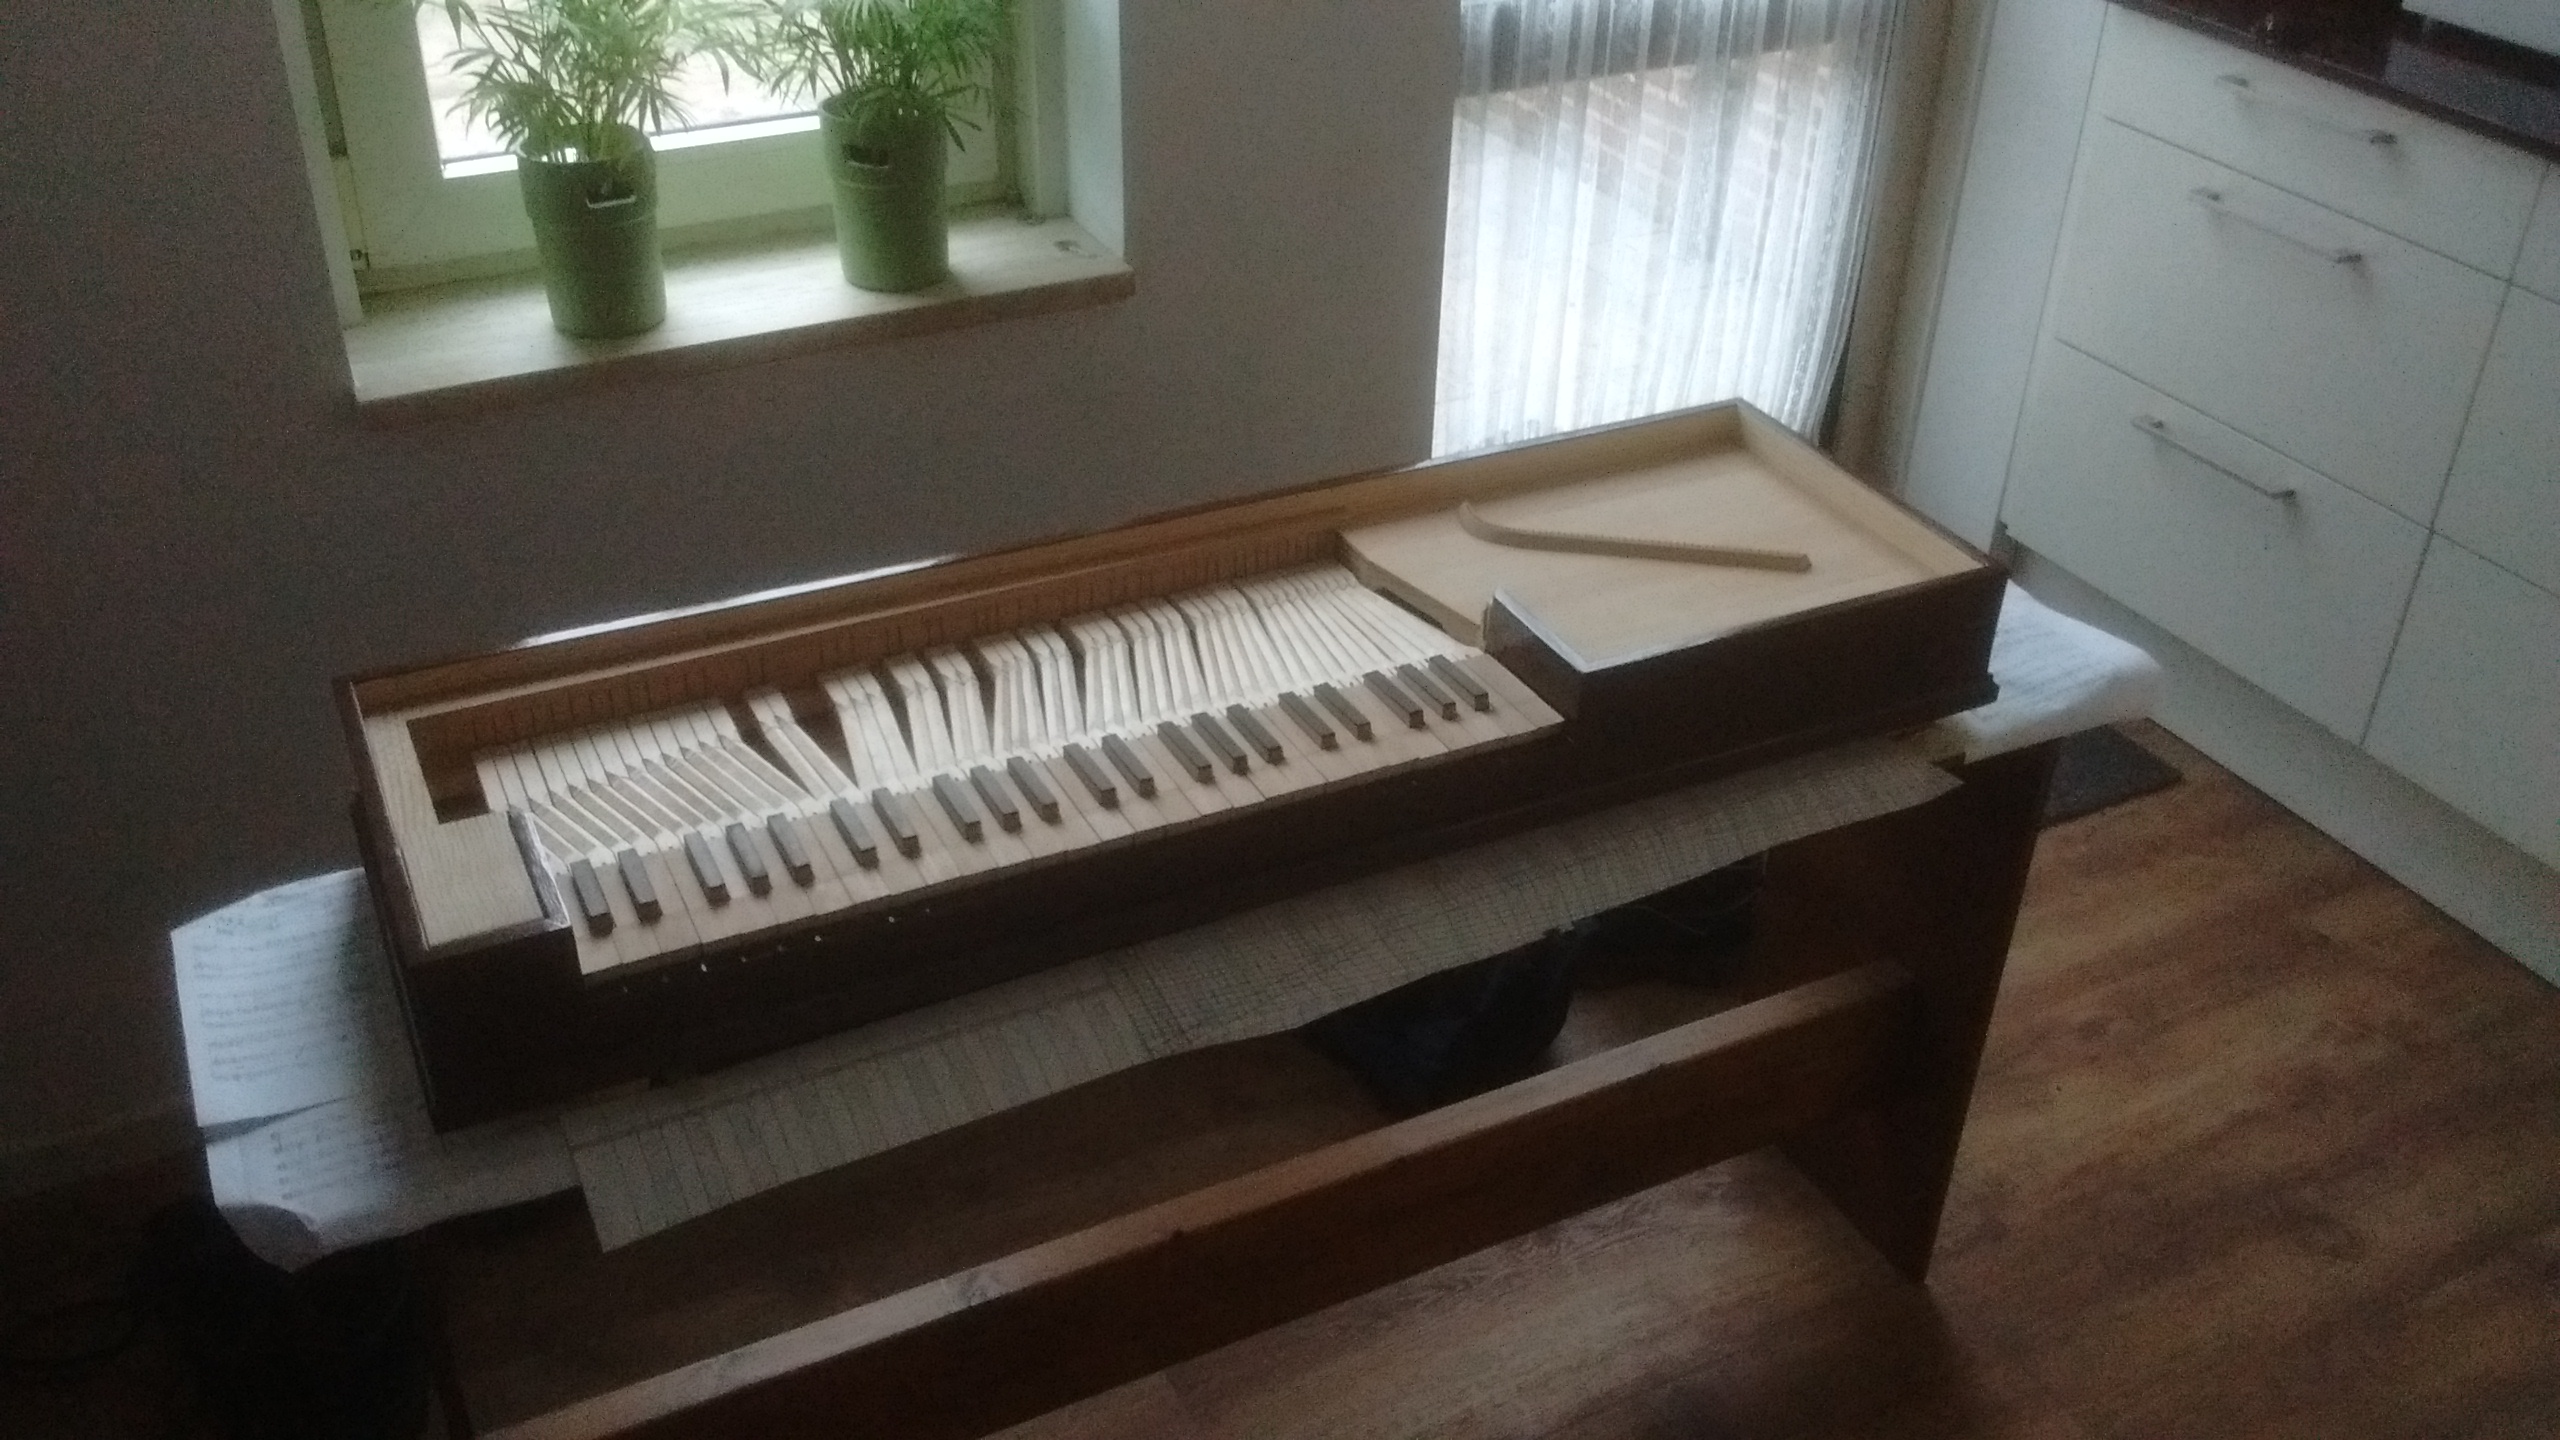
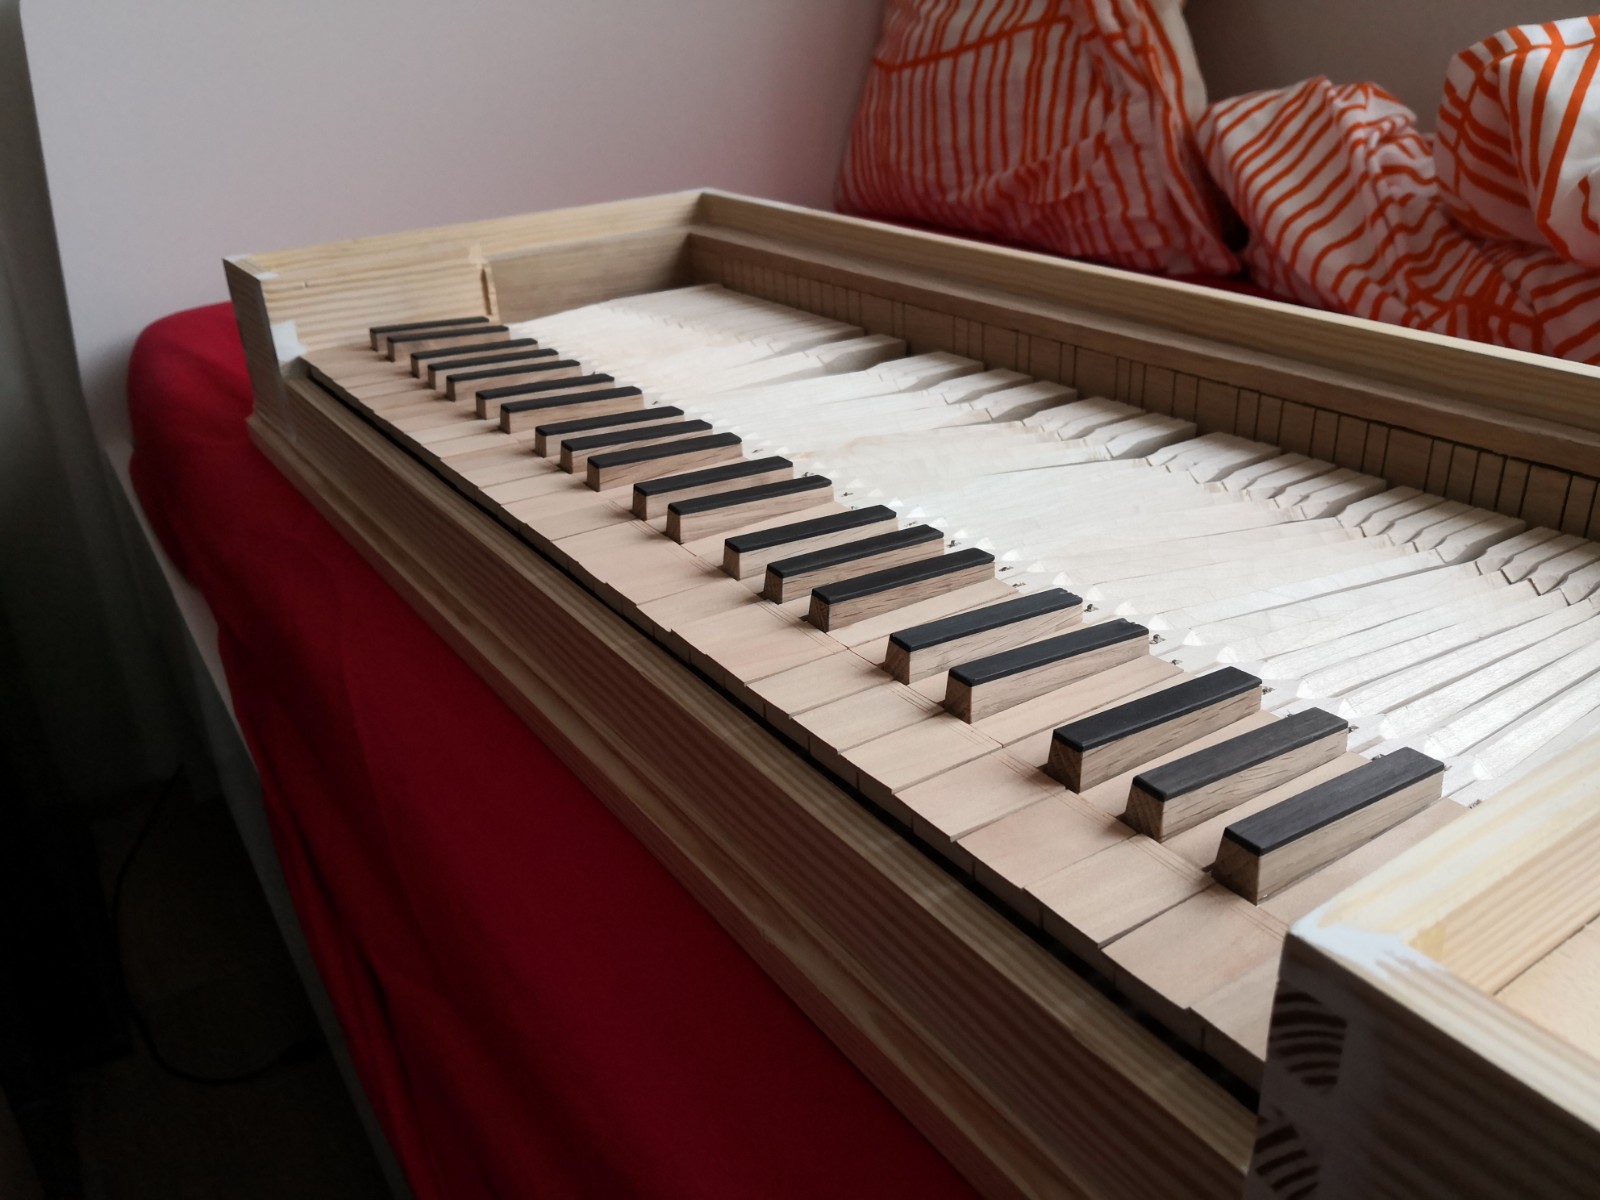 The keyboard with all keytops attached.
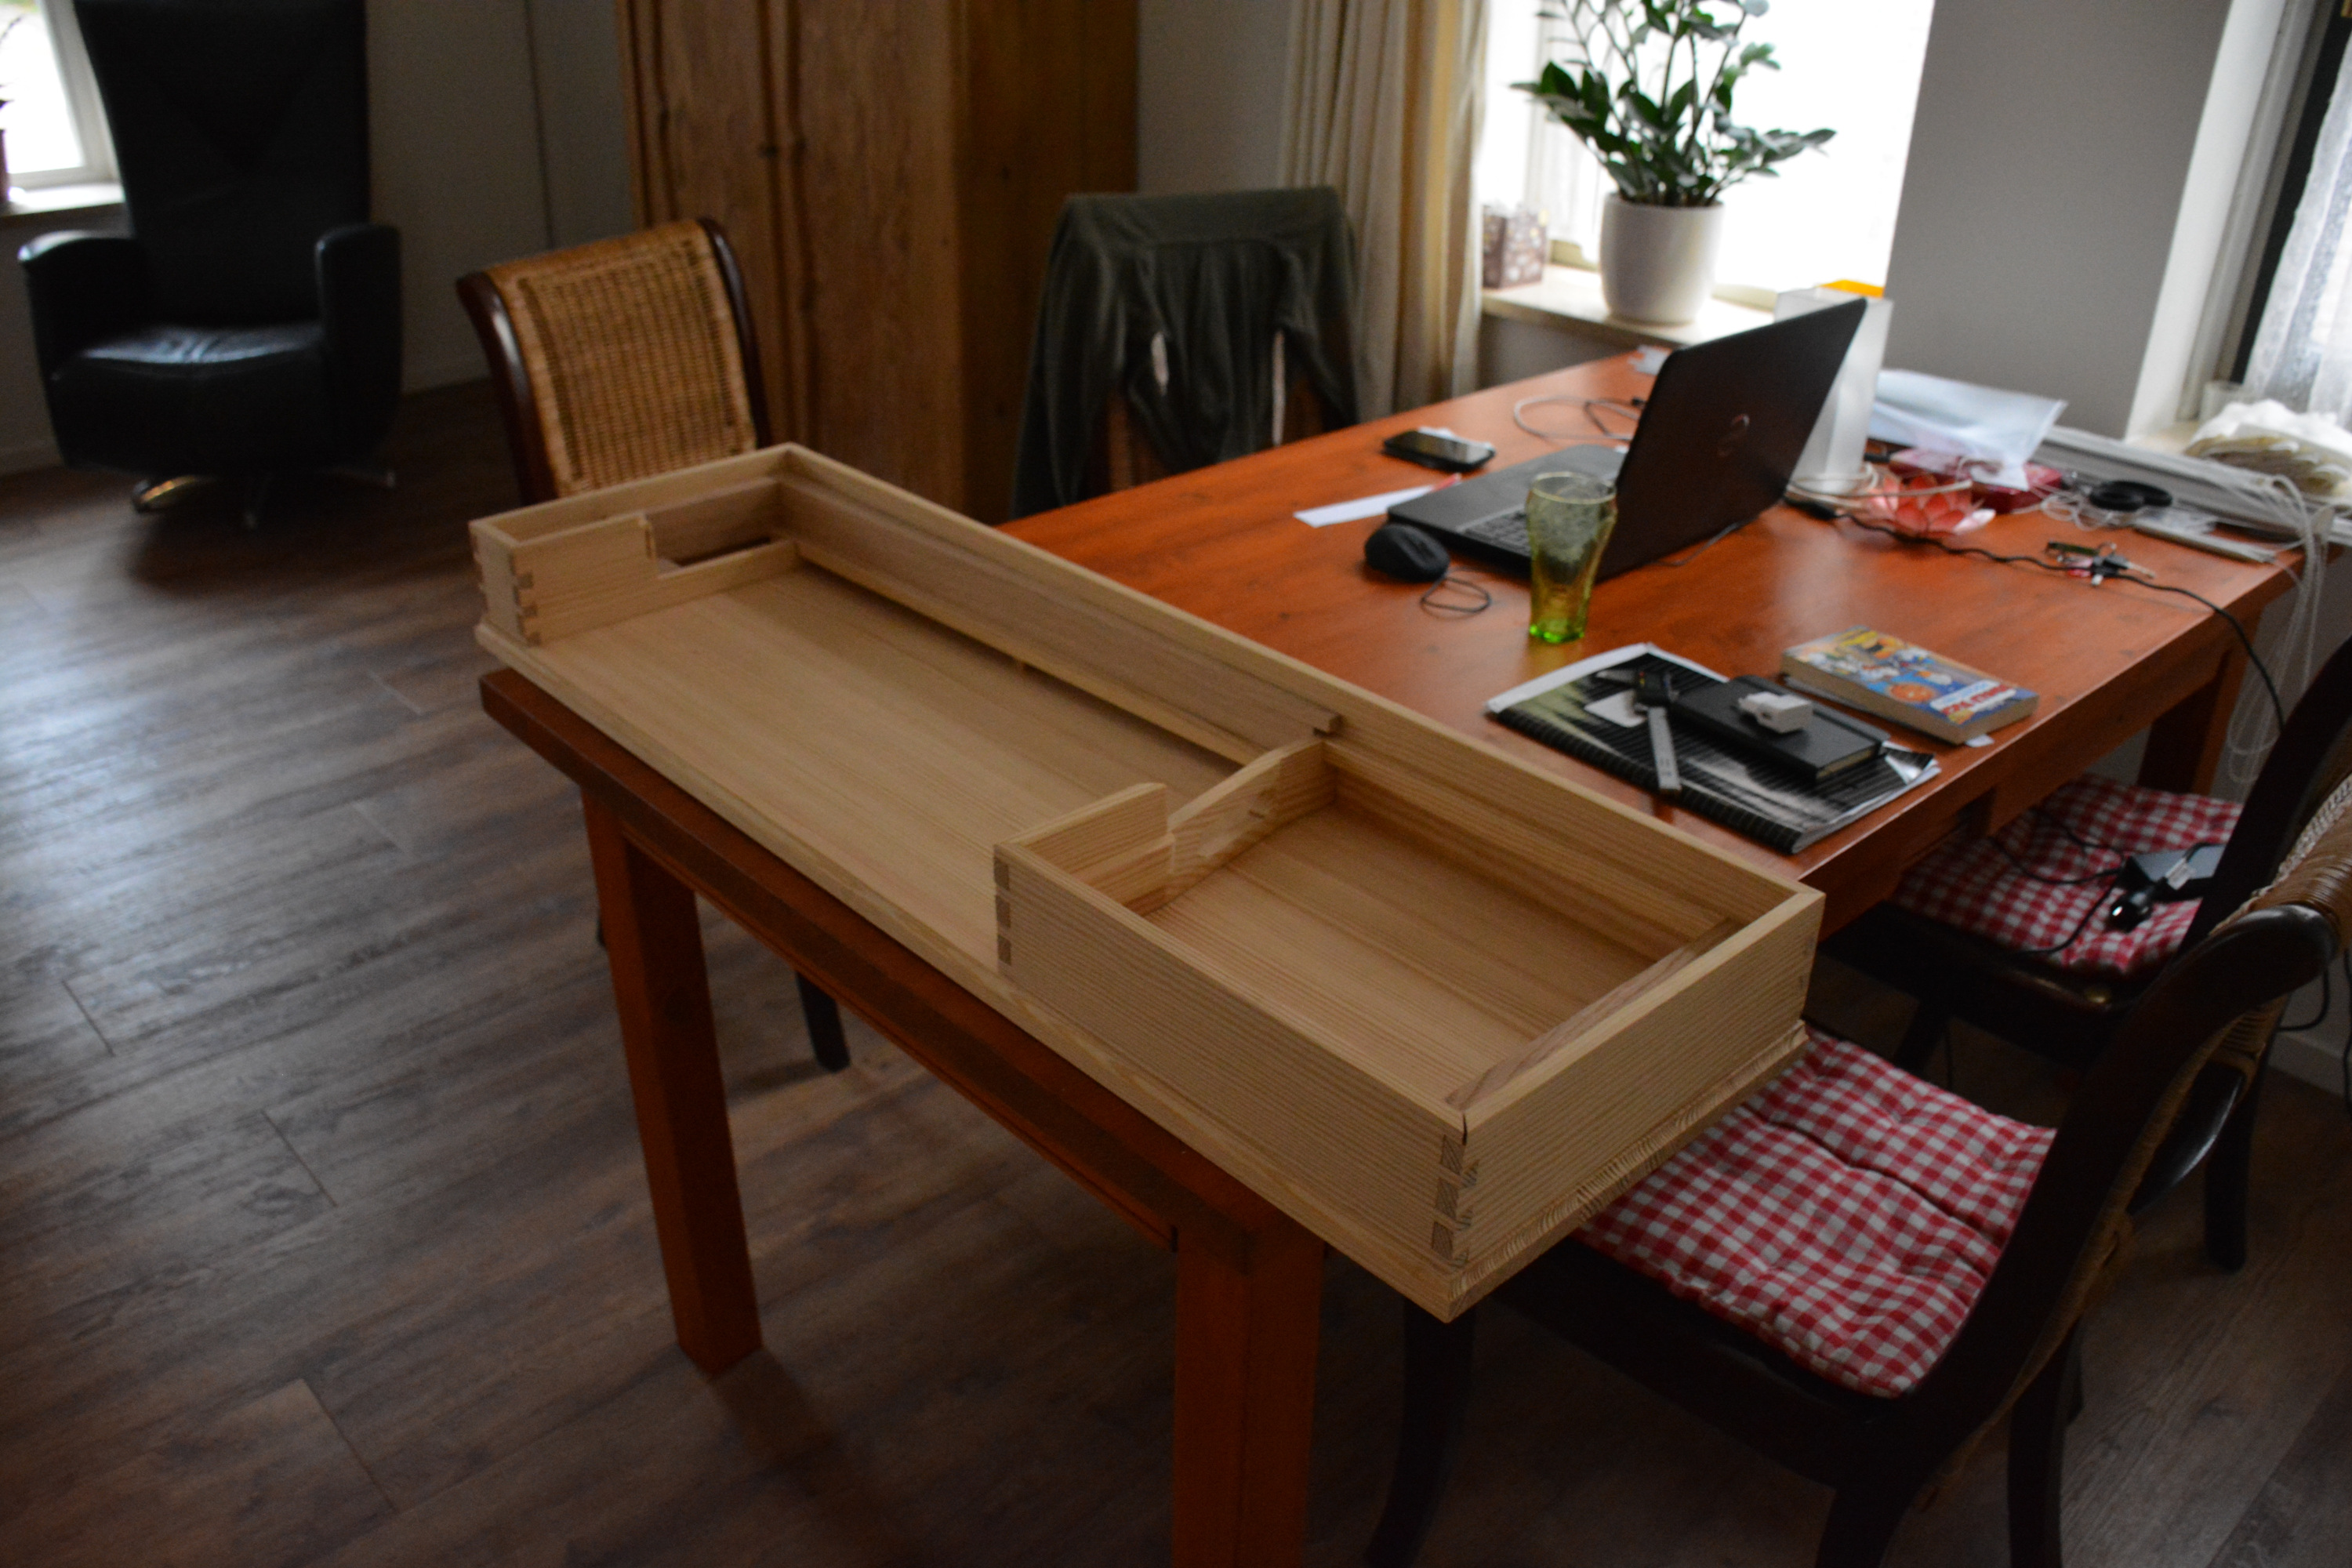
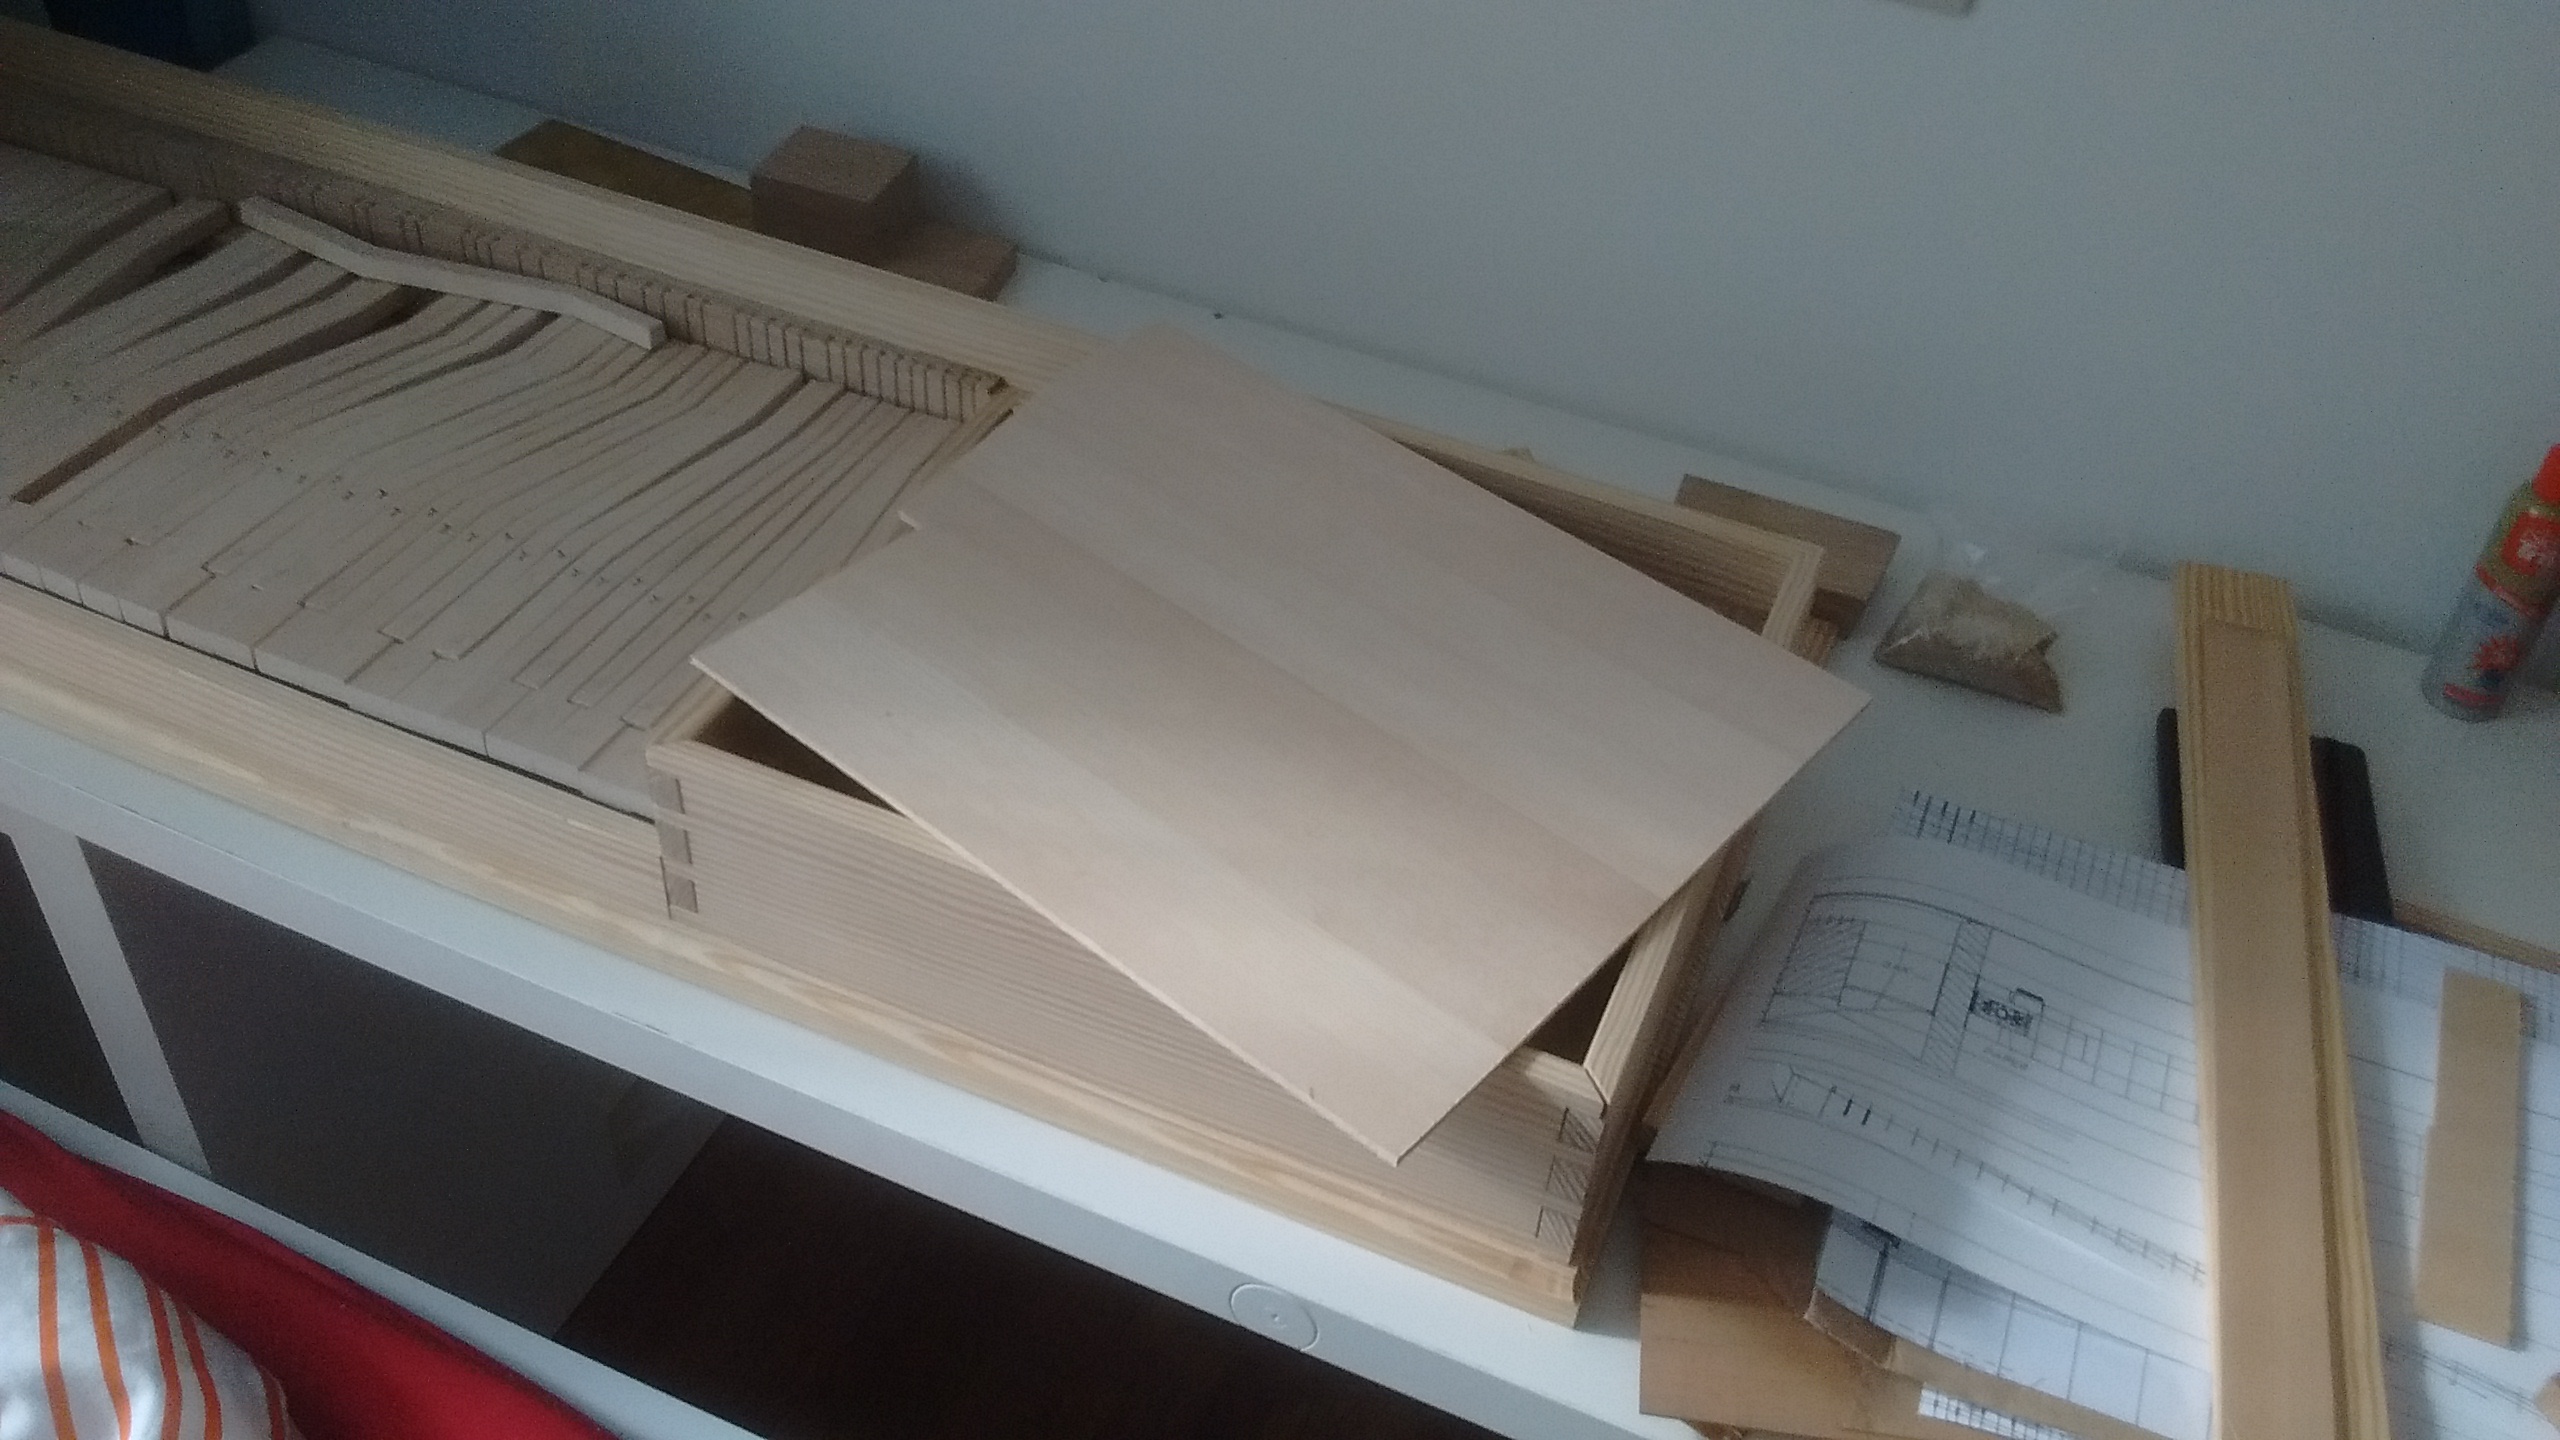
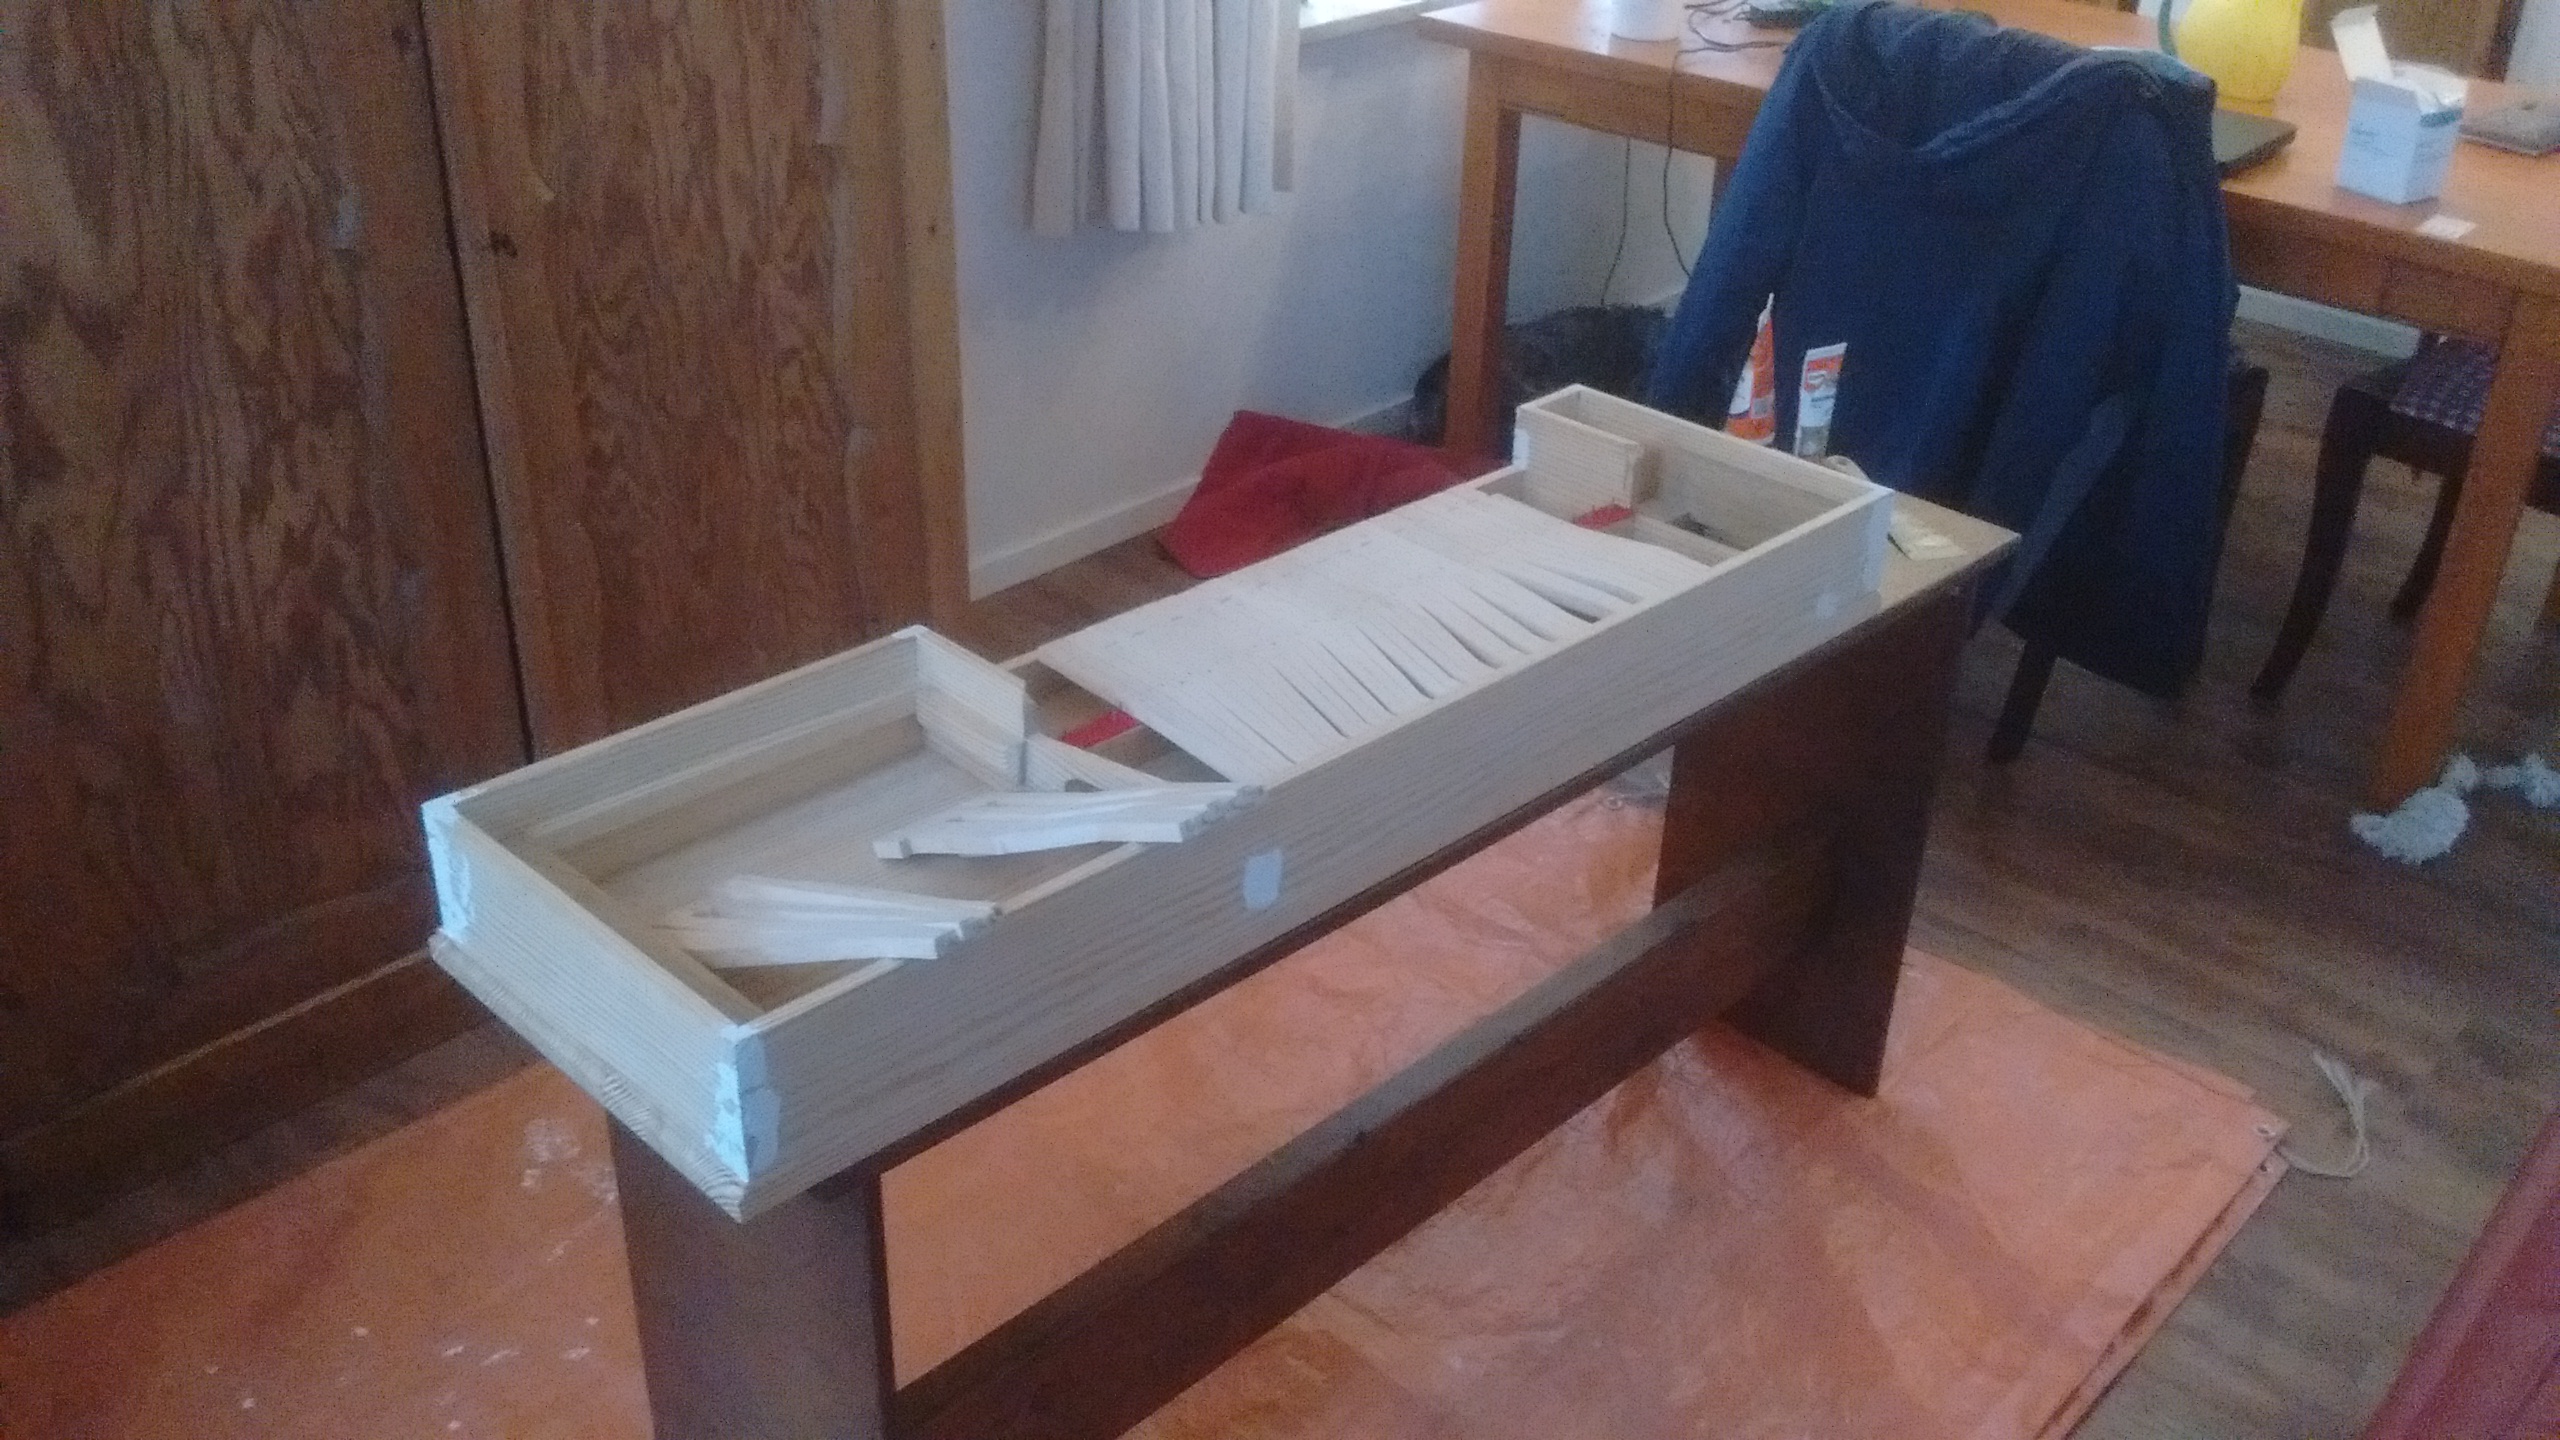
 The soundbox.
 Glueing in the soundboard with hide glue.
 Paint undercoat applied.
 Paint applied.
 Wrestpin holes drilled. Done with a special drill bit on the drill press.
I made sure to angle the instrument slightly while drilling the wrestpin holes, figuring that with the wrestpins about perpendicular to the strings coming from the bridge, the strings wouldn’t creep up. This is a nice idea but probably unnecessary. In reality there’s more than enough friction on the wrestpins that this doesn’t really matter.
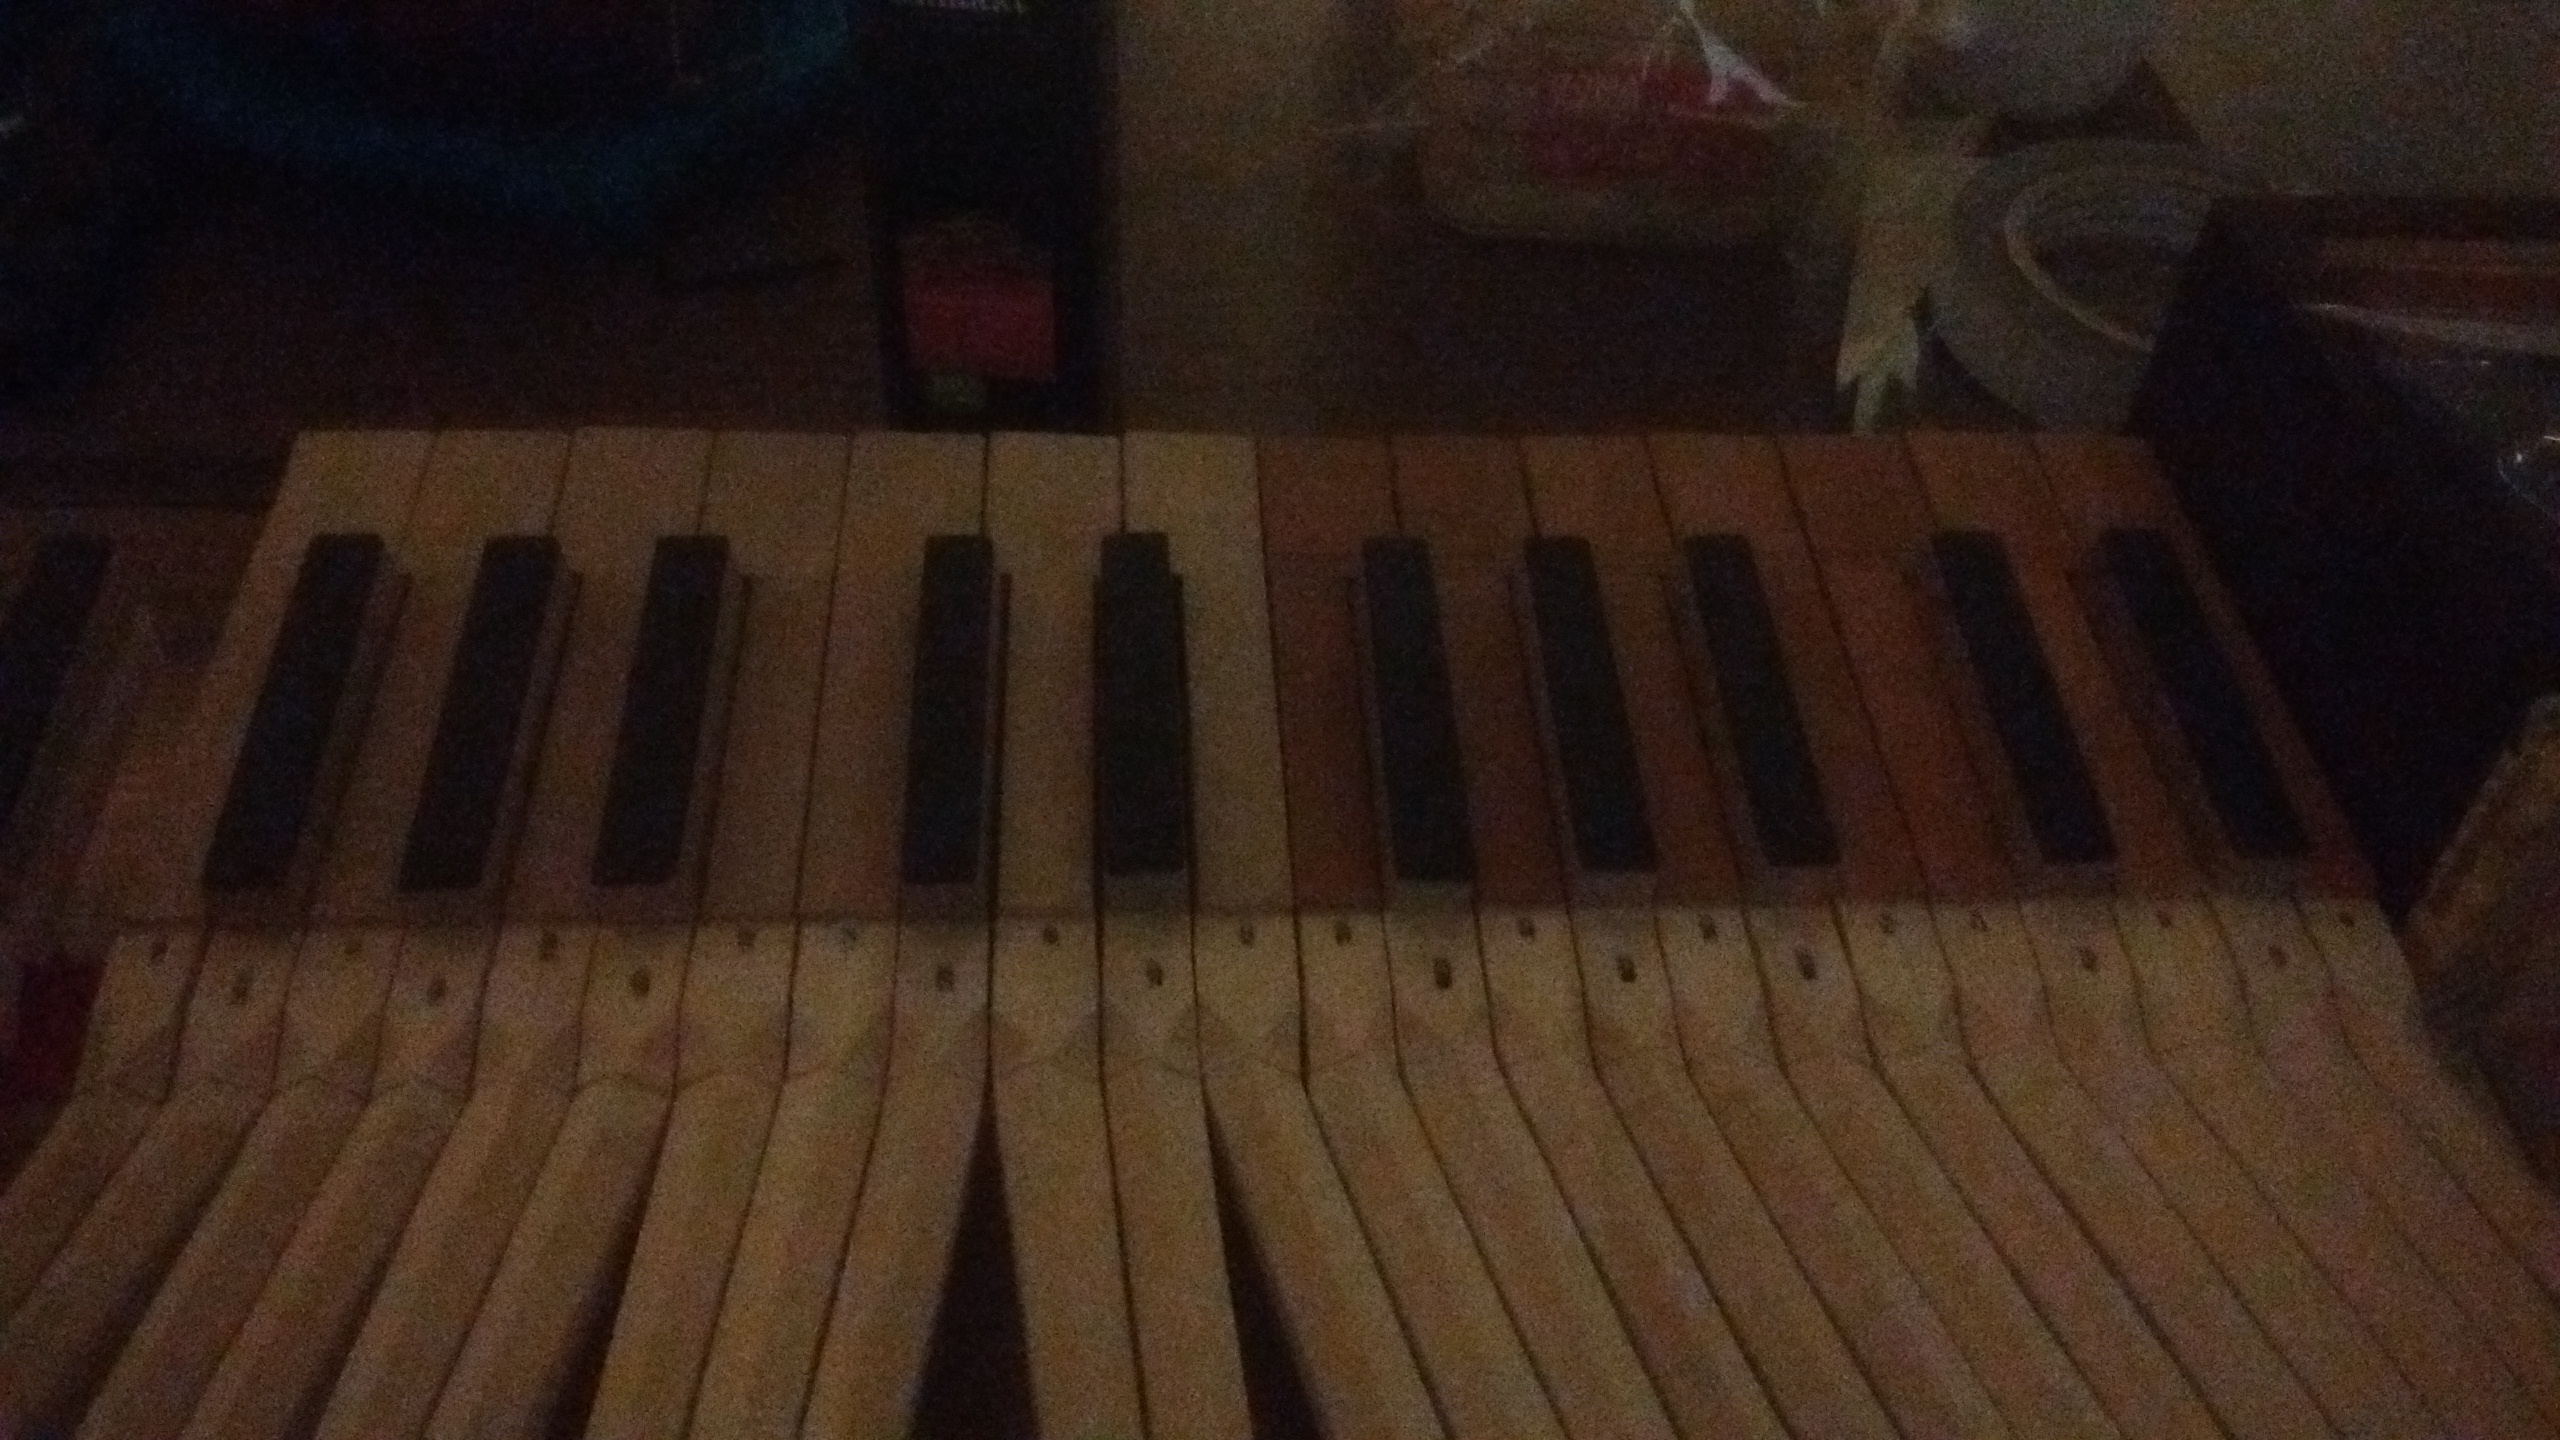 Well, I shouldn’t have oiled those keys…
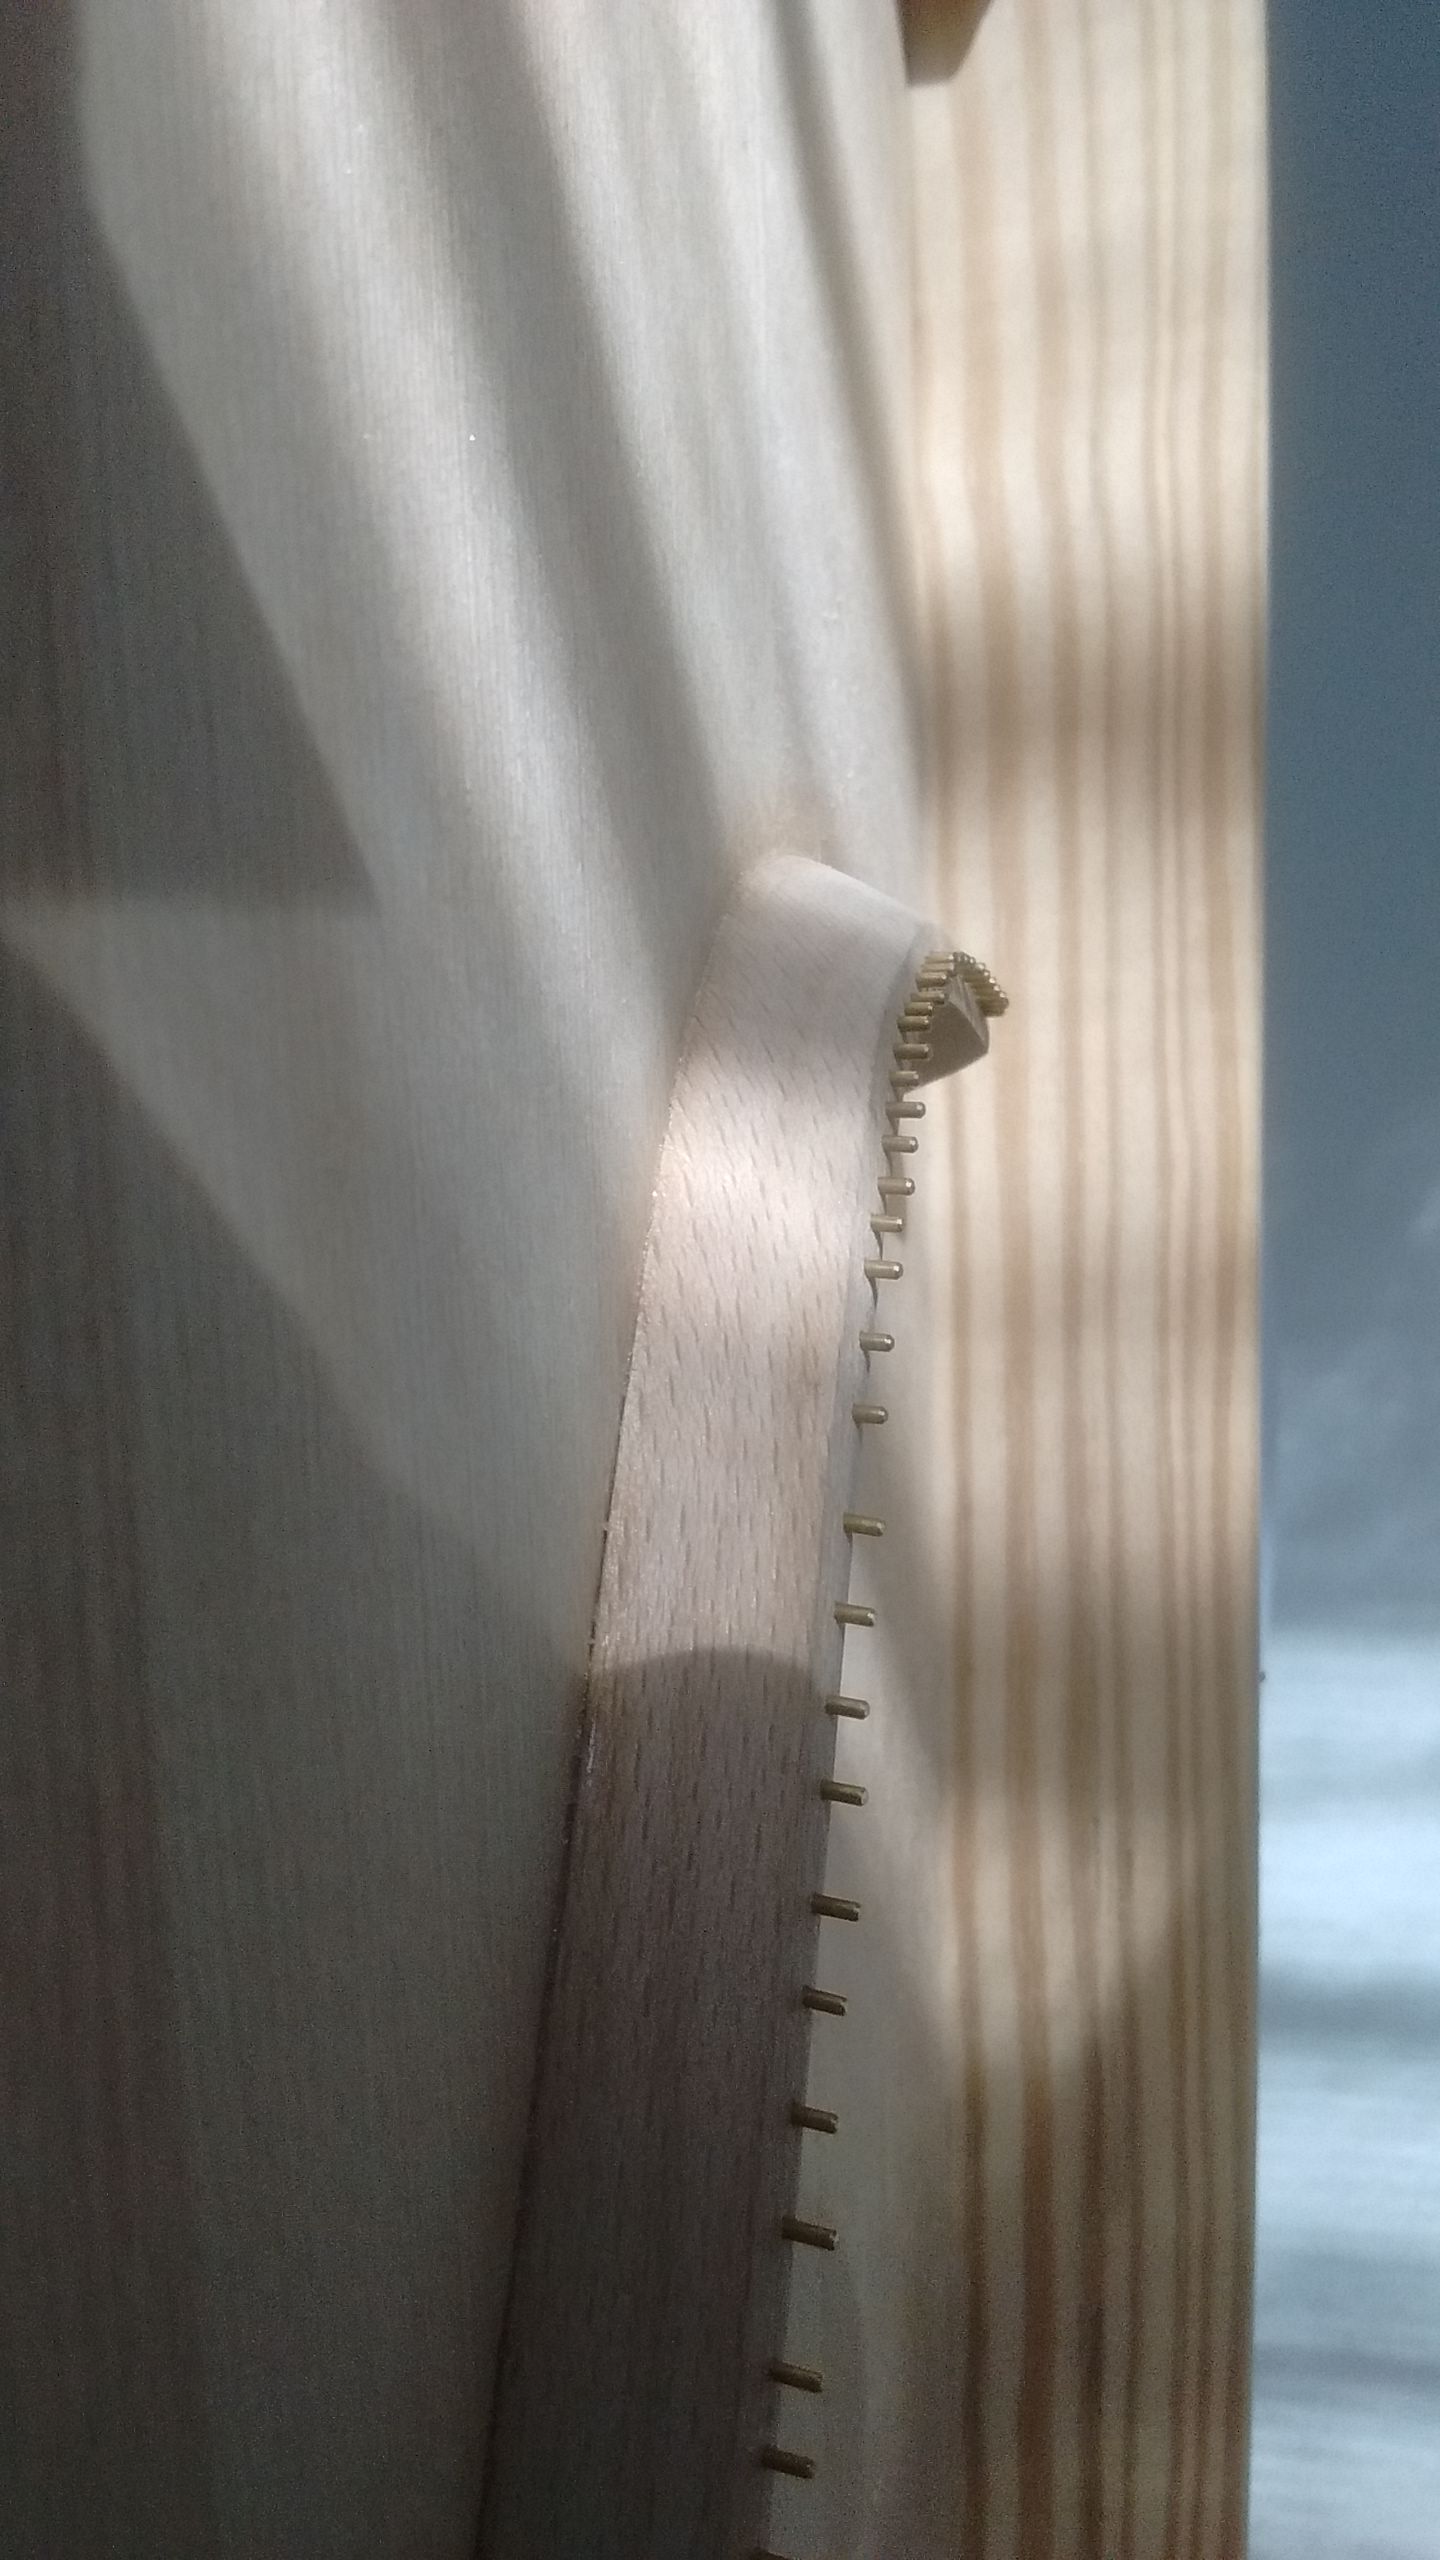
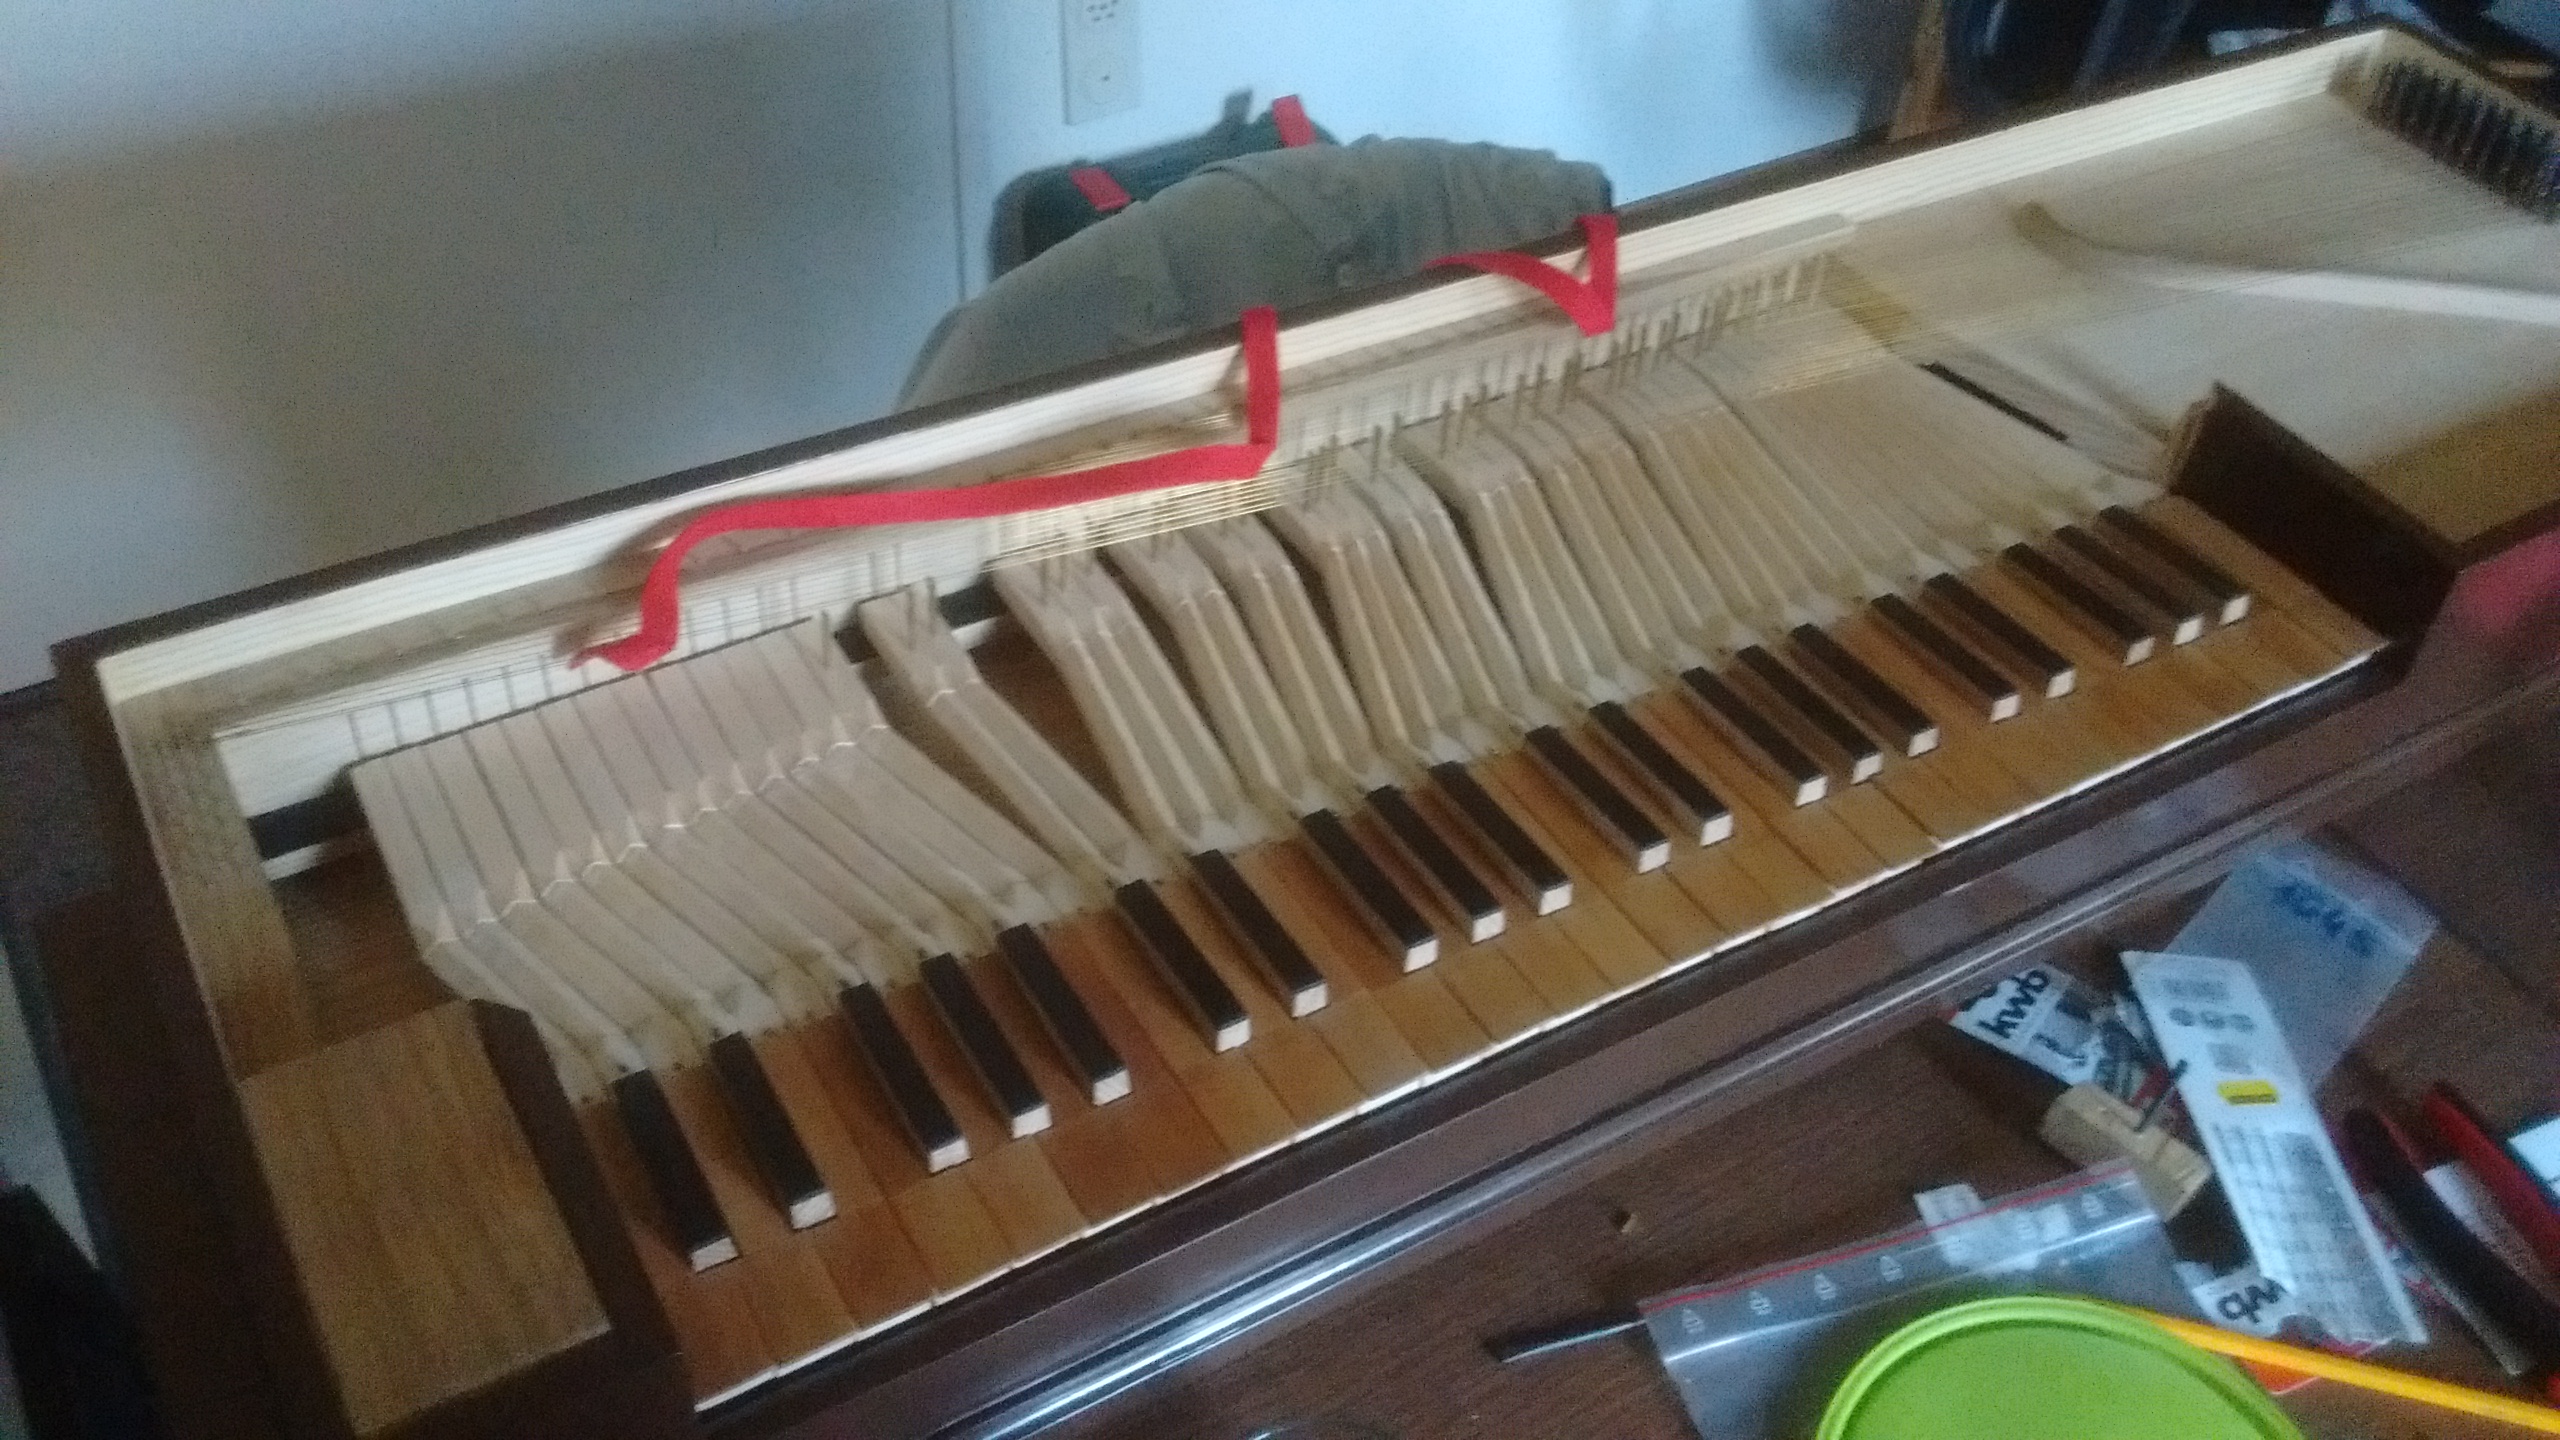 The treble strings installed.
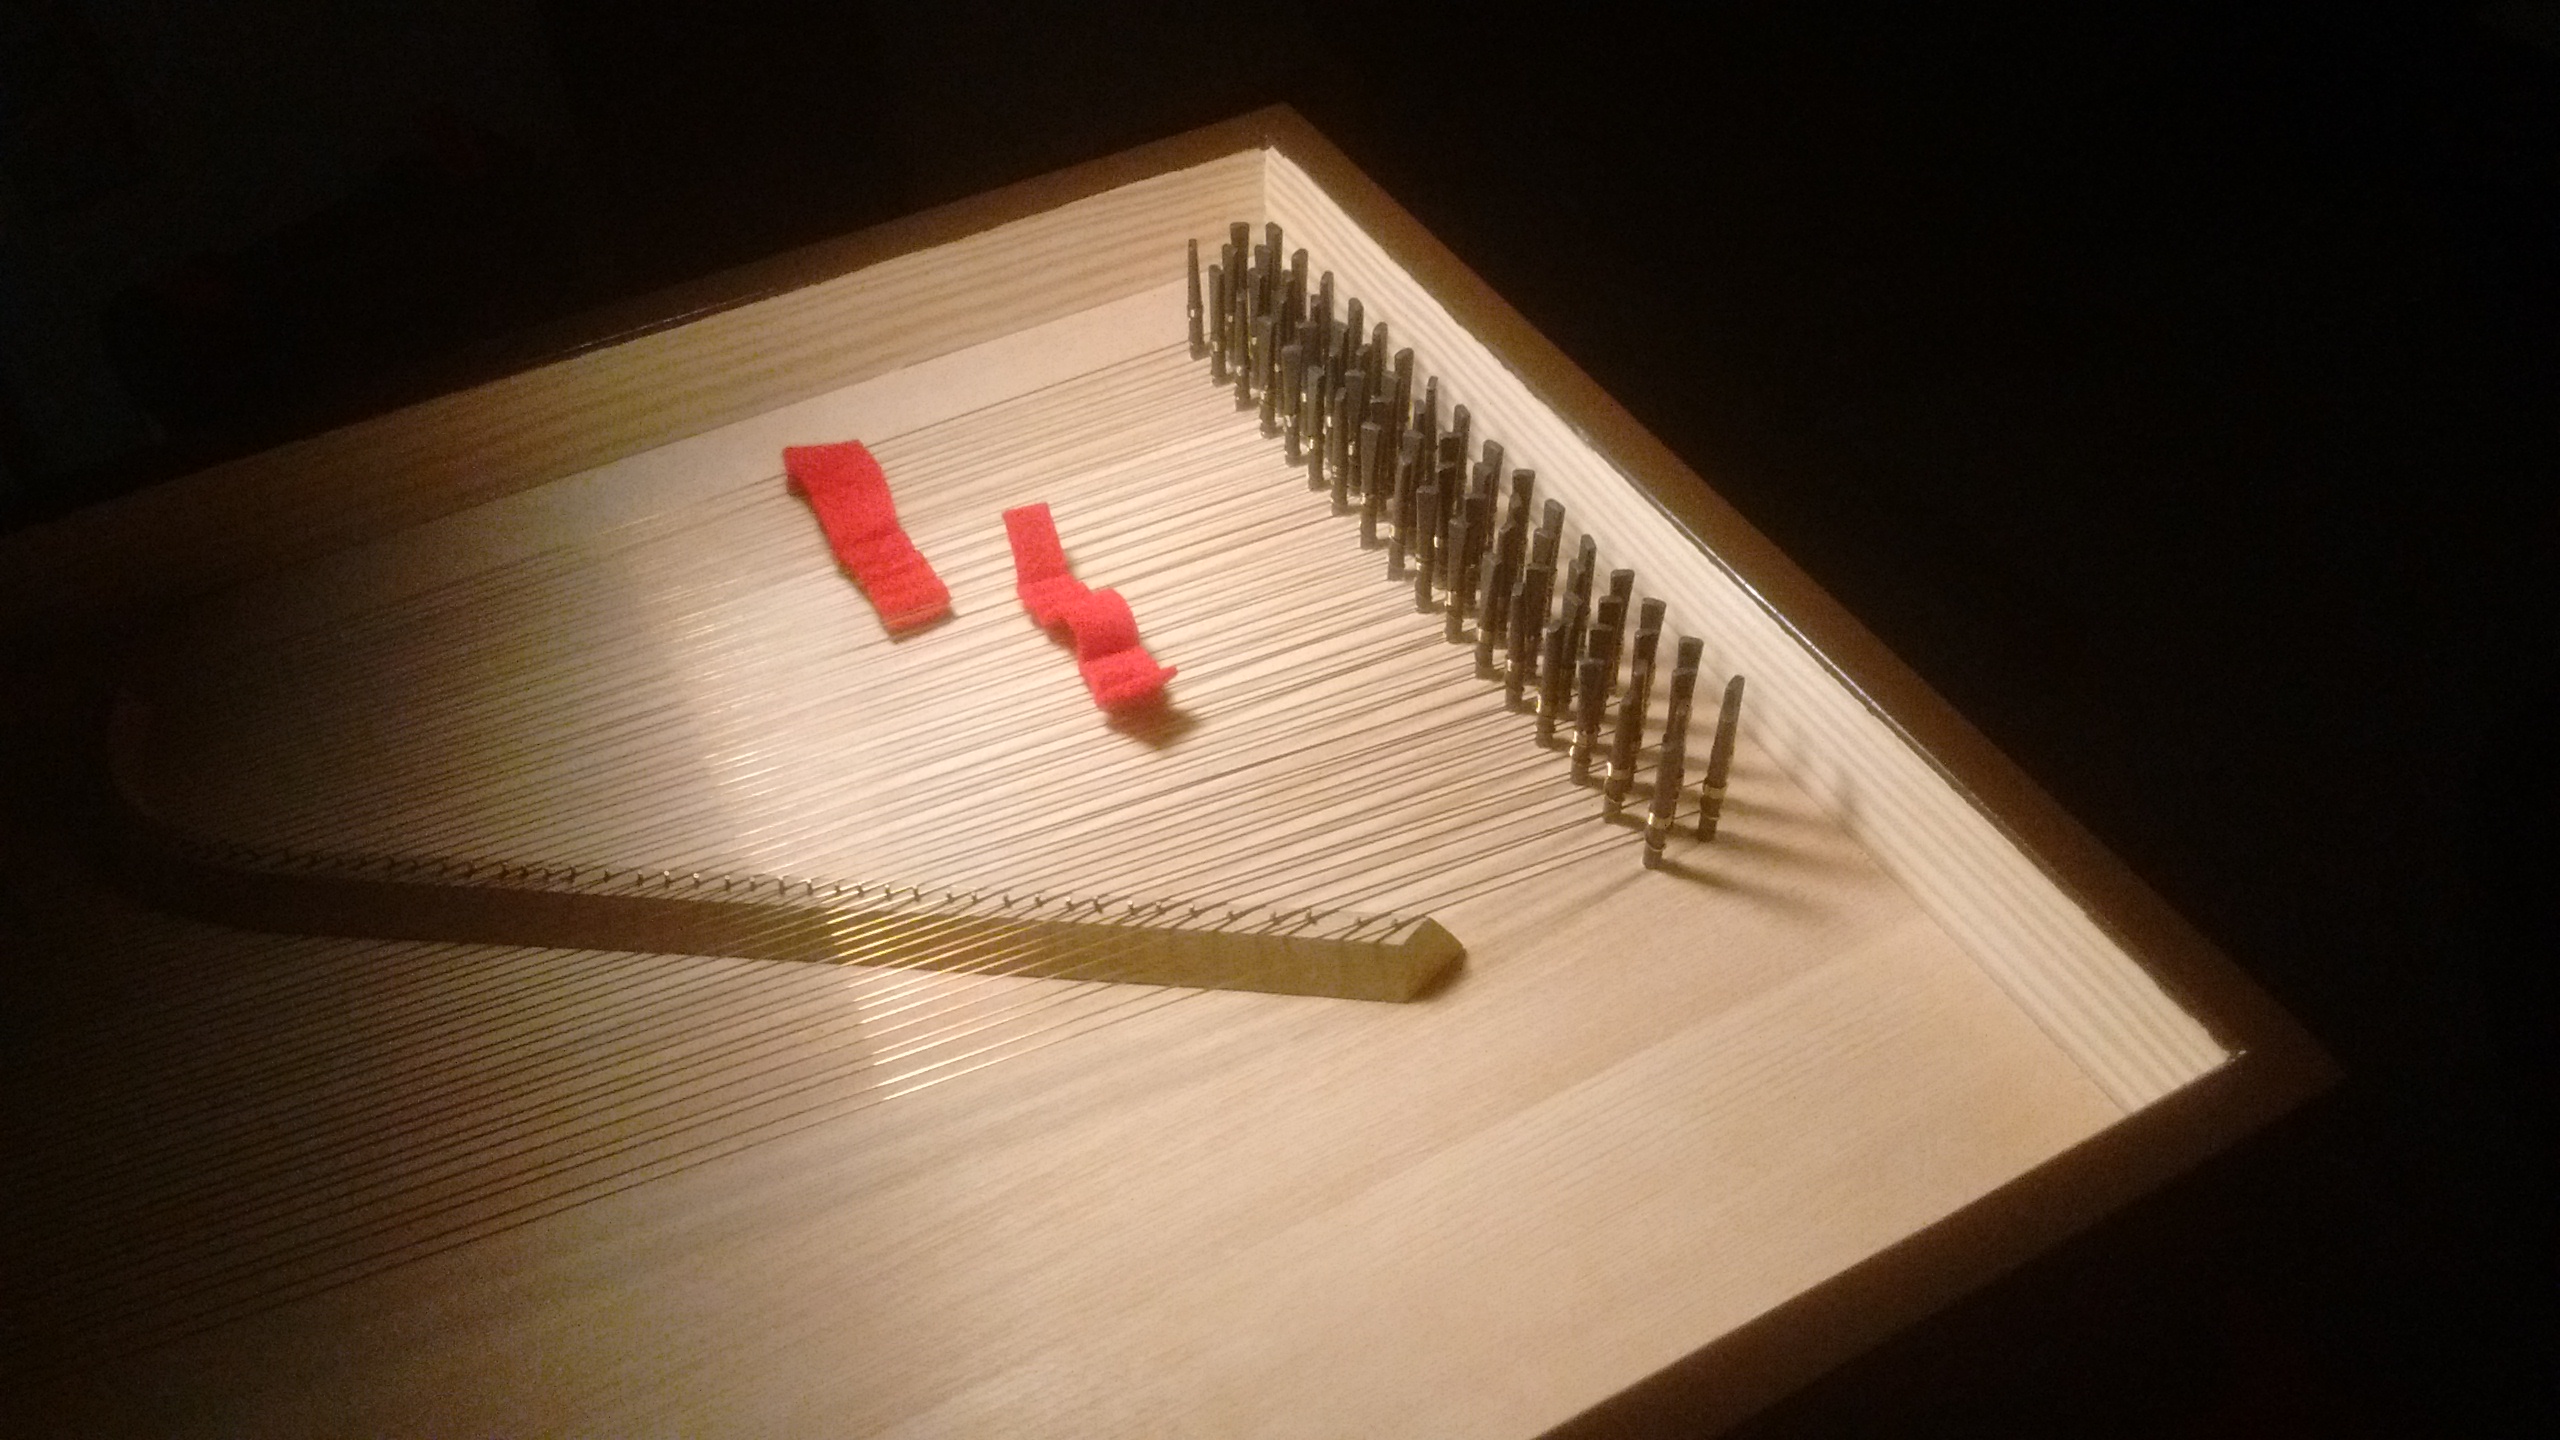 All of the strings installed!
Stringing was another part of process which I approached along the lines of “we’ll cross that bridge when we get to it”. I was quite unprepared. I even considered outsourcing this part to a professional builder. I approached Maarten Hekkelman, but he declined and instead invited me to his workshop to teach me how to do it. He also gave me some other tips, like using a pencil to add graphite to the rack slots to reduce friction, and using talcum powder when hammering in the wrestpins to make tuning easier, for which I am very thankful.
For designing a stringing plan I used a tool from Hekkelman’s website, aiming for between 2.5 and 3.5 kgf per string (2.5 in treble, 3.5 in the bass). One shouldn’t get extremely close to the breaking strength of the strings, as one would on for instance a piano or a harpsichord. This does not work well for clavichords, Hekkelman explained to me.
For the pitch I took a¹ = 466 Hz, based on instinct. I later found out that this indeed corresponds to a rule of thumb that Bernard Brauchli gives in his book “The Clavichord” of a sounding length of 250 mm for c² corresponding to a pitch of about a¹ = 440 Hz.
I used yellow brass for the string material (as is traditional for instruments of this size and time period), with red brass for the lowest courses. An alternative to using red brass is to “twine” your lowest strings.
I strung the instrument from treble to bass. After installing the first string of a course, I used a square to mark the location of the tangent on the key, right below the first string. I then strung the second string. For the tangents I drilled two small holes on each corner of where the tangent would be hammered in, to make sure the key wouldn’t split. I used tangents of various different sizes, ordered along with the strings from Marc Vogel GmbH.
Conclusion
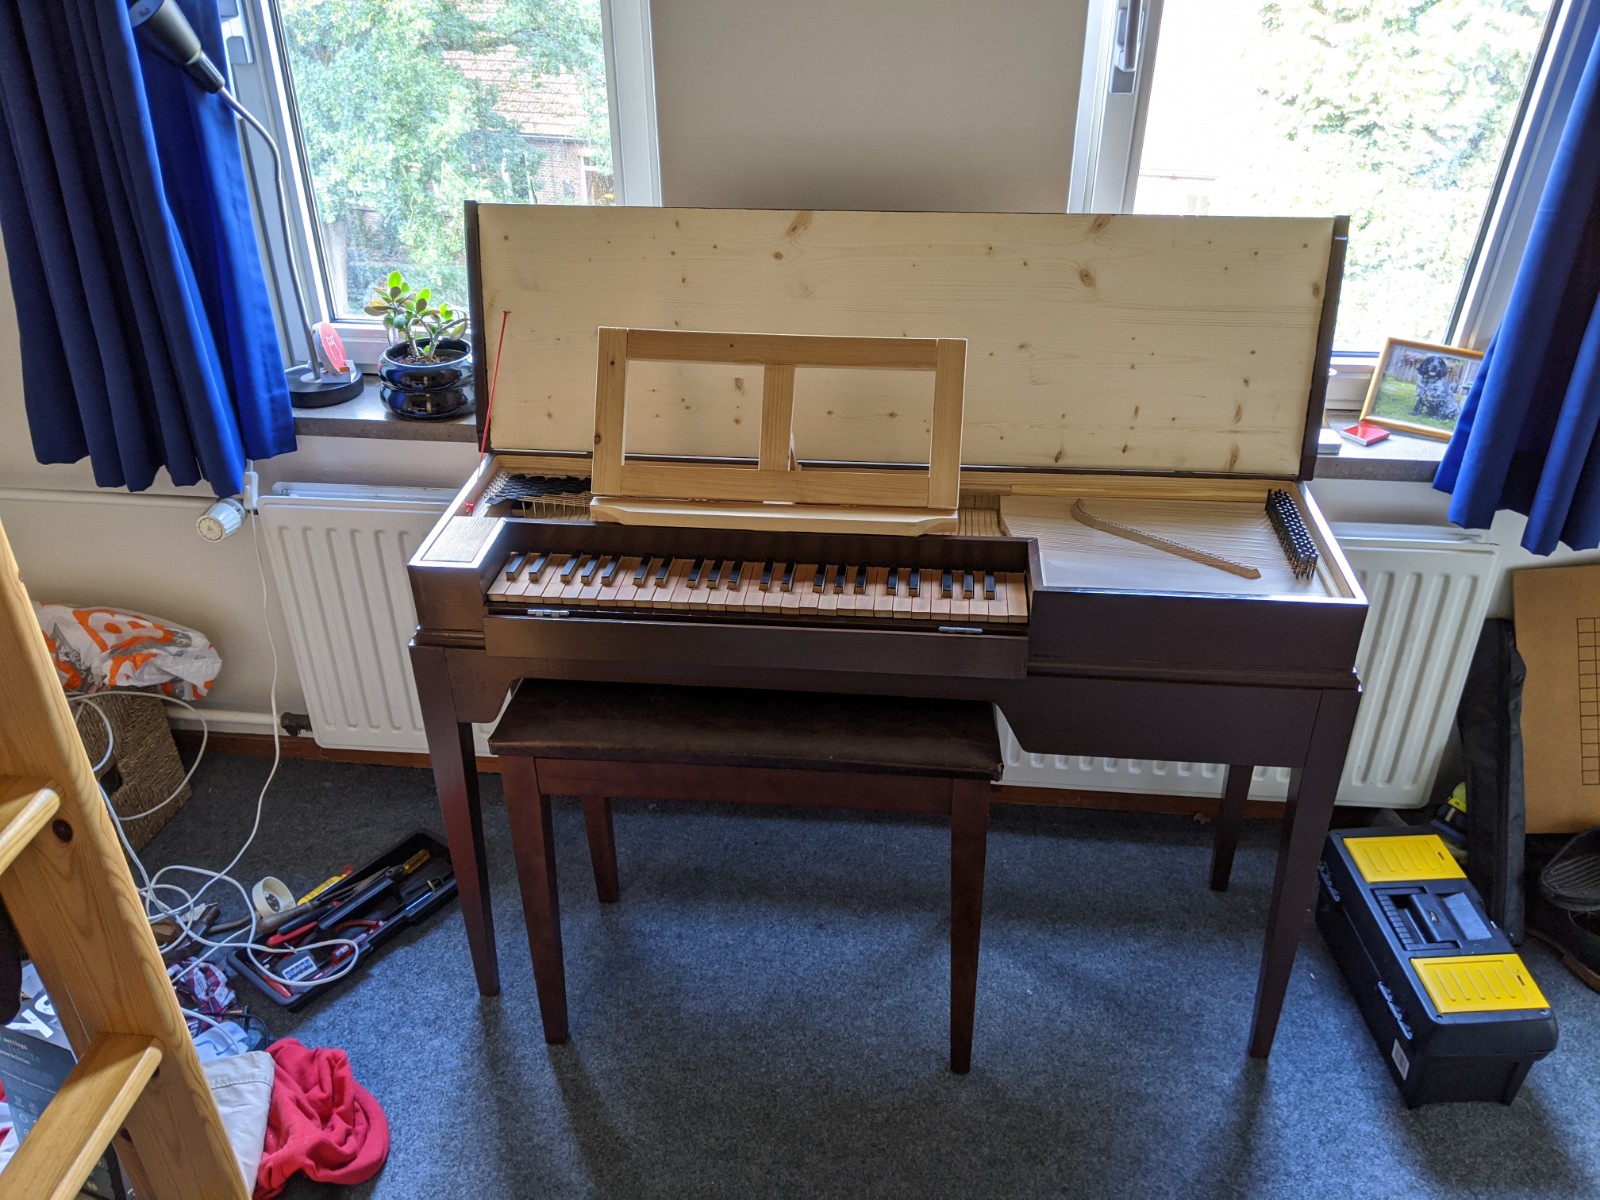
 The instrument on a keyboard stand.
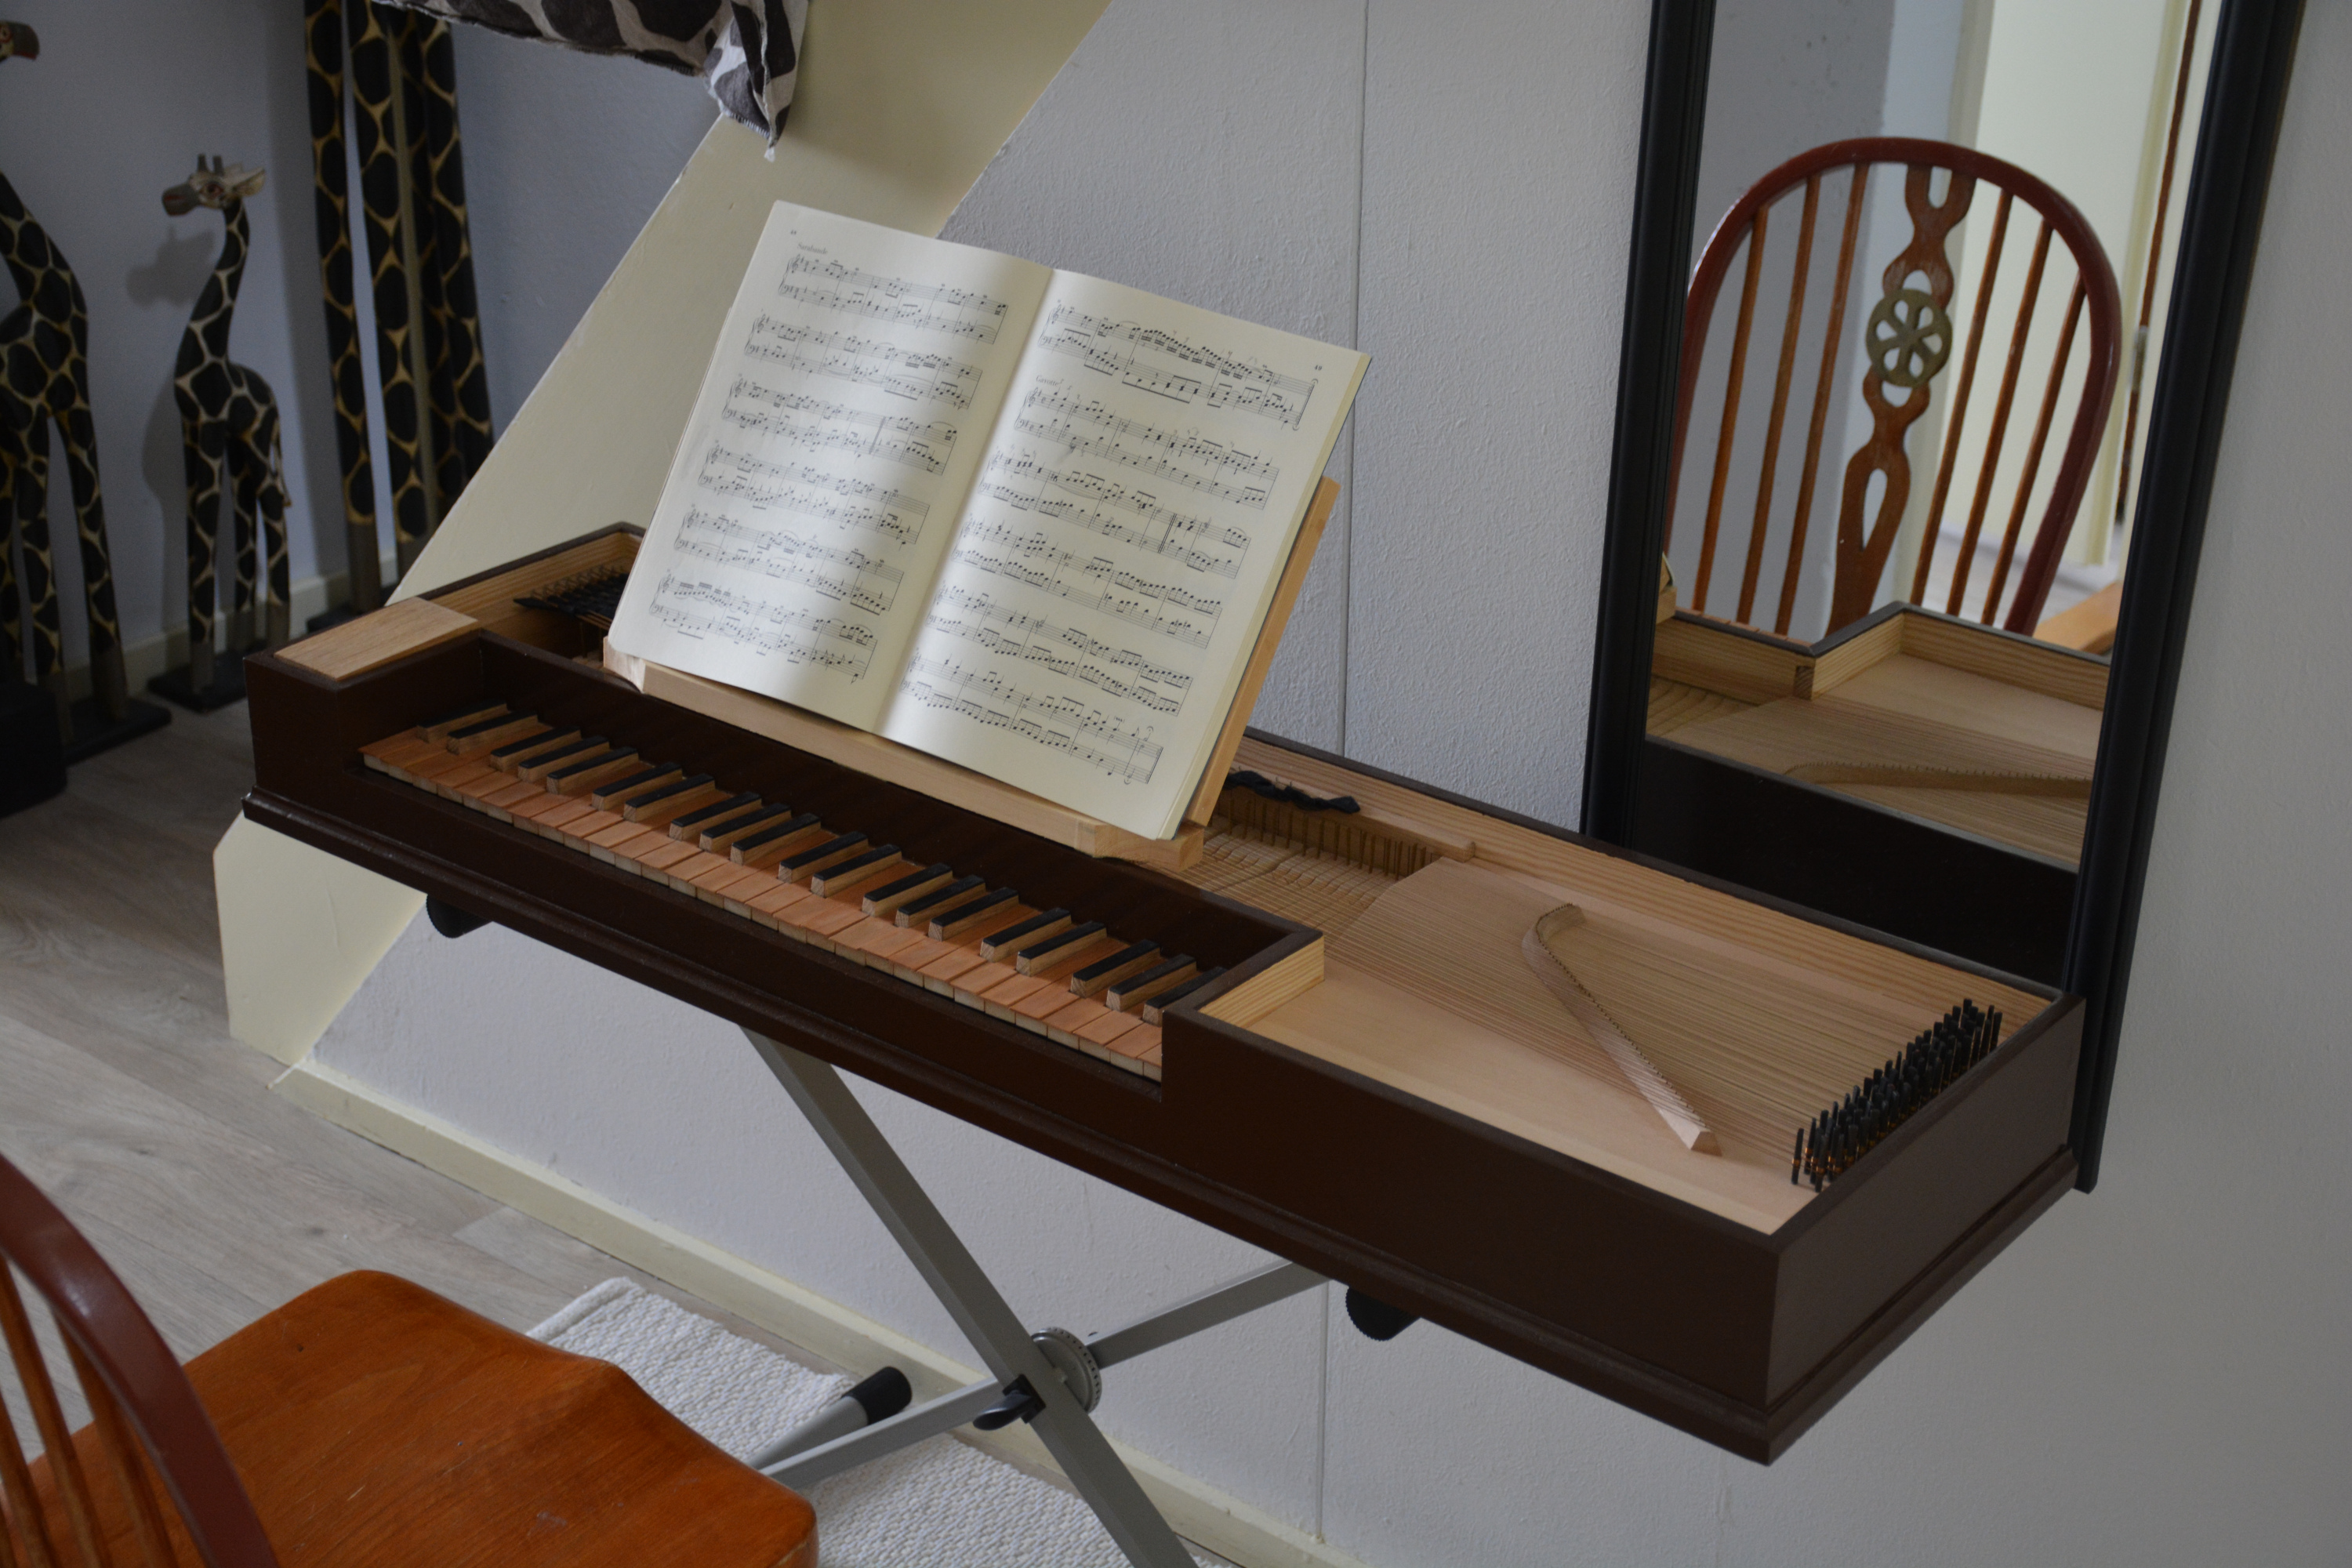
And just like that, I had a functioning instrument.
The instrument turned out much nicer than it had any right to be, working without proper tools, without a proper workbench and – most importantly – with little in the way of skills. I have since picked up woodworking as a hobby, especially focusing on hand tools and traditional methods. Needless to say there’s not a single part of this instrument that I would have made the same way today.
Unfortunately the only recordings I have of the instrument are of poor quality, recorded on my phone. The sound is okay, especially in the tenor register. In the treble it sounds a bit strained. The bass is a bit muddy and weak, but that is common on clavichords of this size. There is a particular resonance in the “sympathetic strings” around b’, which is just a quirk of the Wahlstrom instrument.
Below are some more pictures of the process of making the stand and the (rather poor) lid. At the bottom of the page there’s a list of further resources that I used while building this instrument.
If you have any more questions, don’t hesitate to email me.
Additional pictures
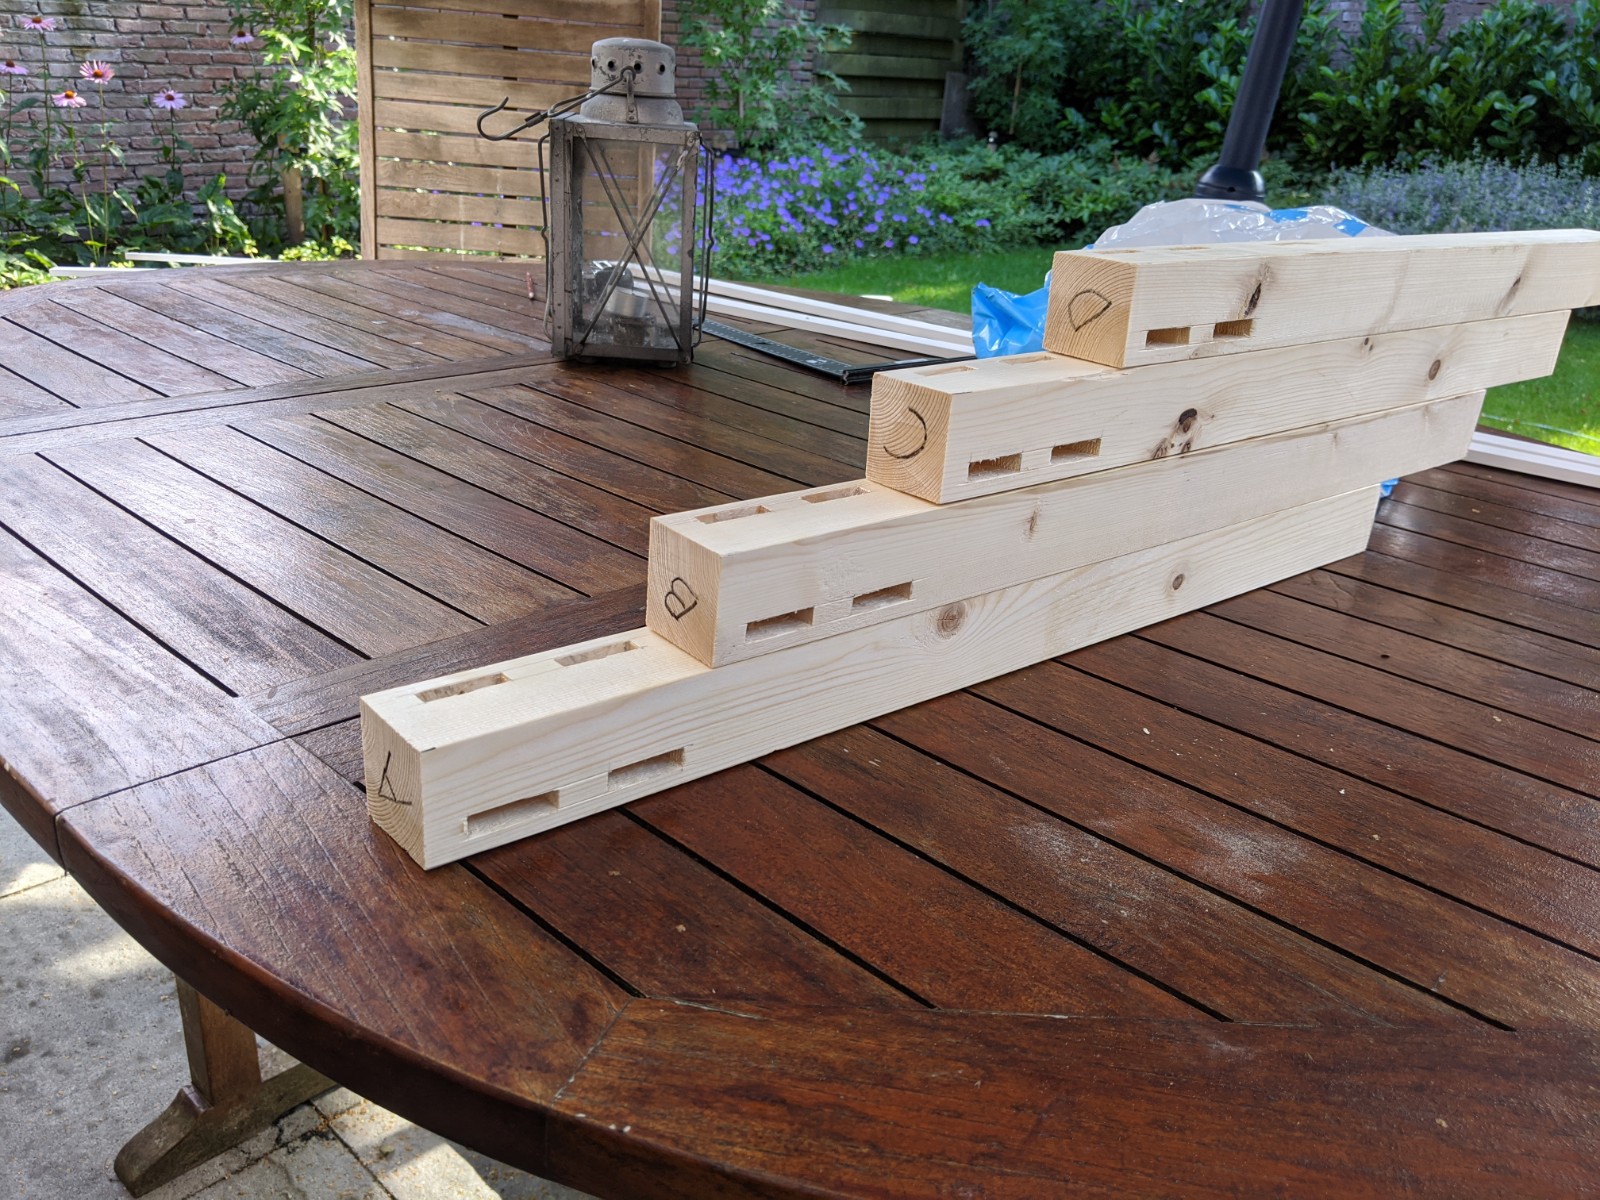 The mortices for the legs of the frame chiseled out.
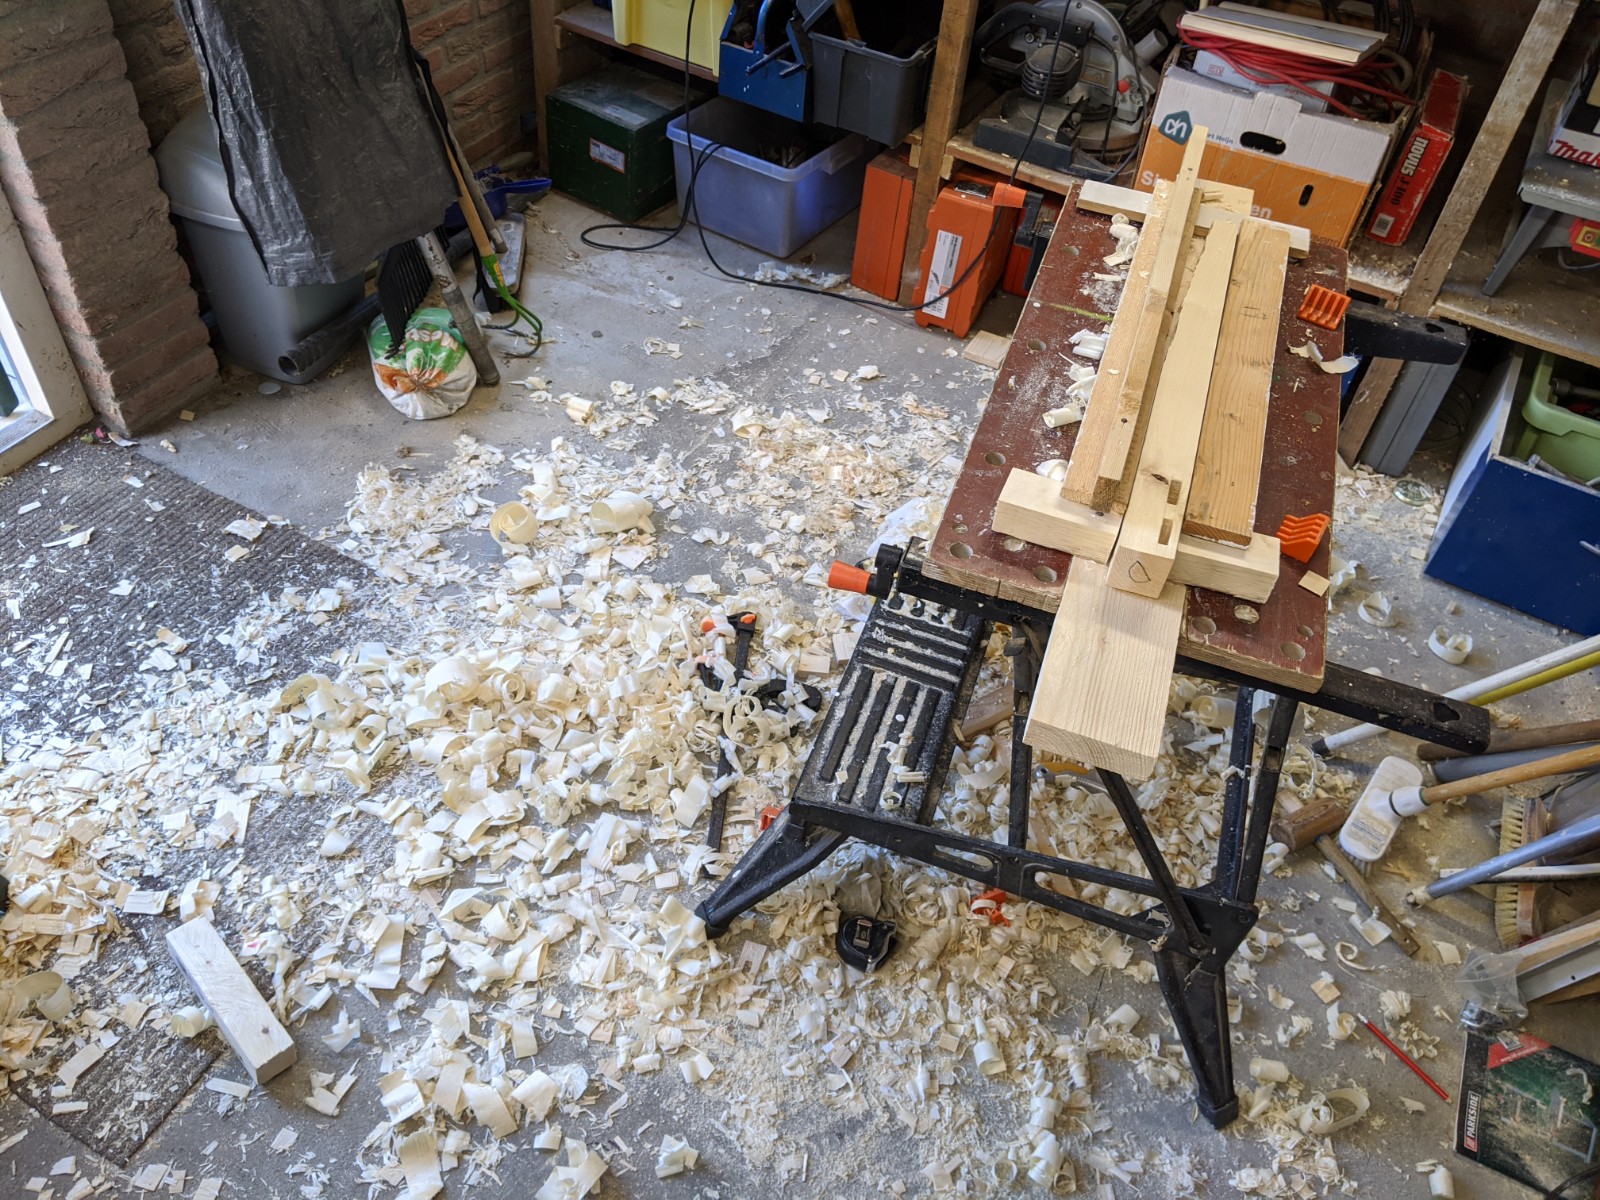
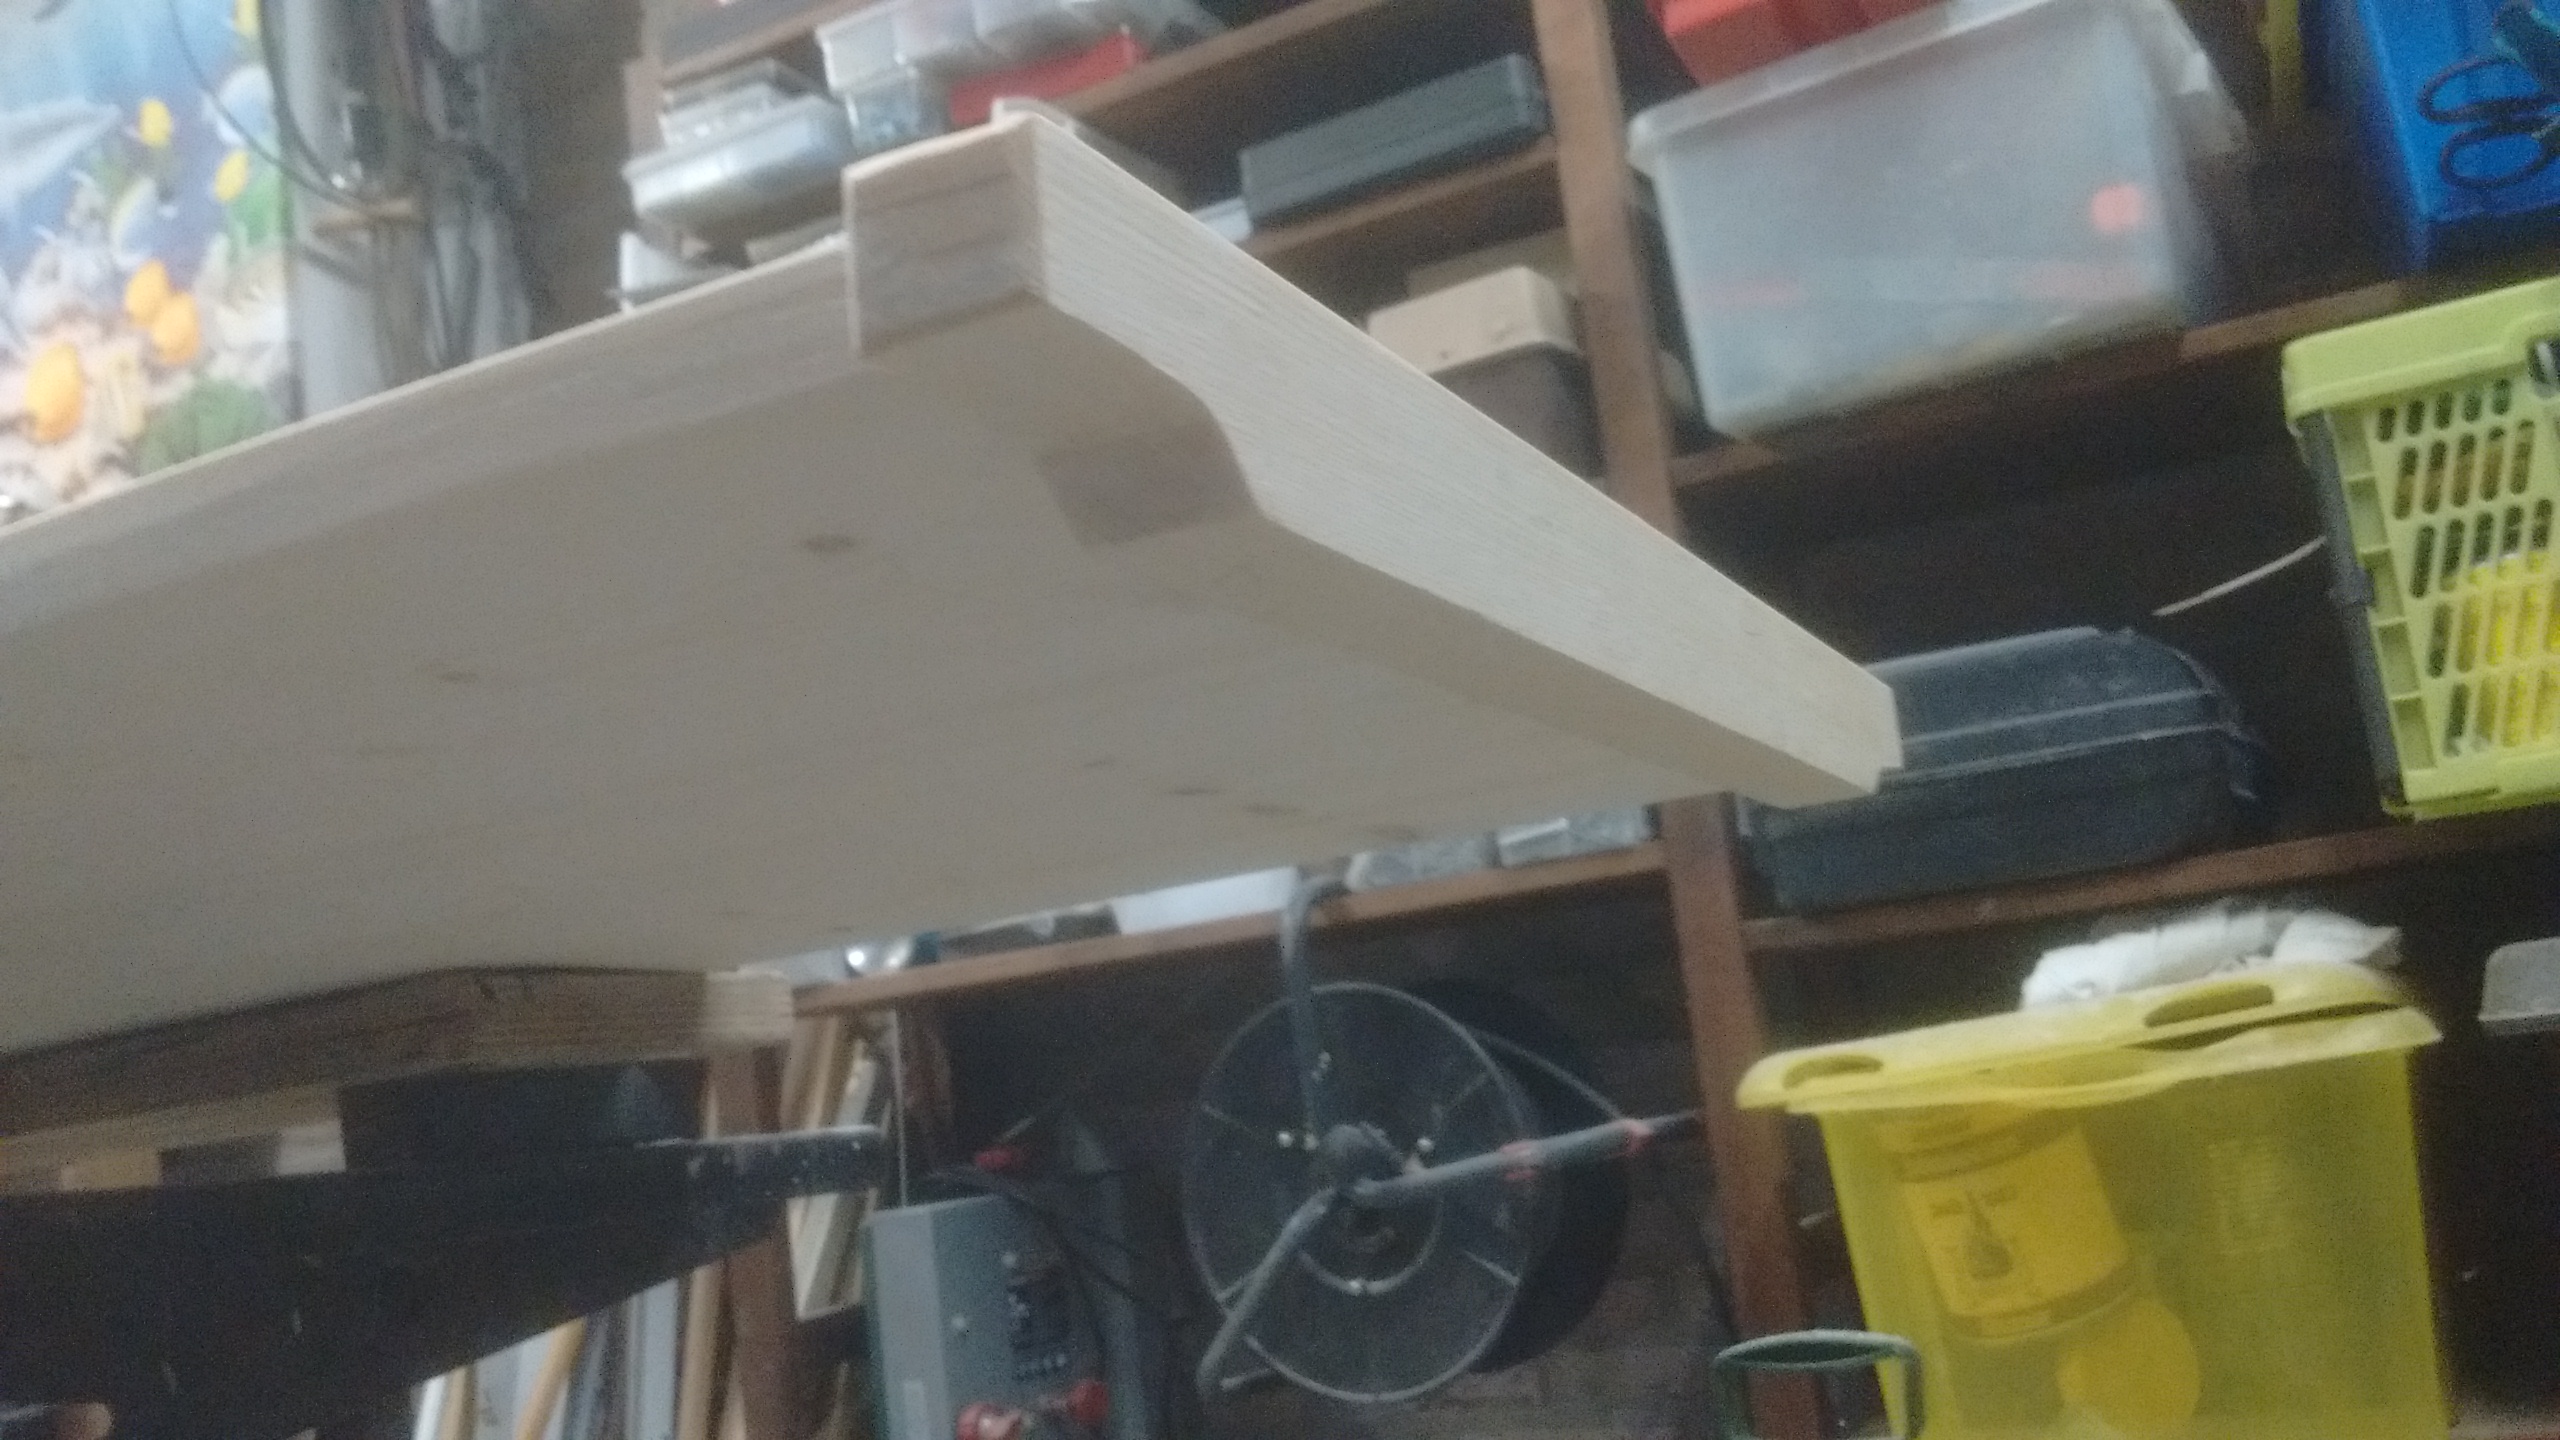
 The frame for the stand nearing completion.
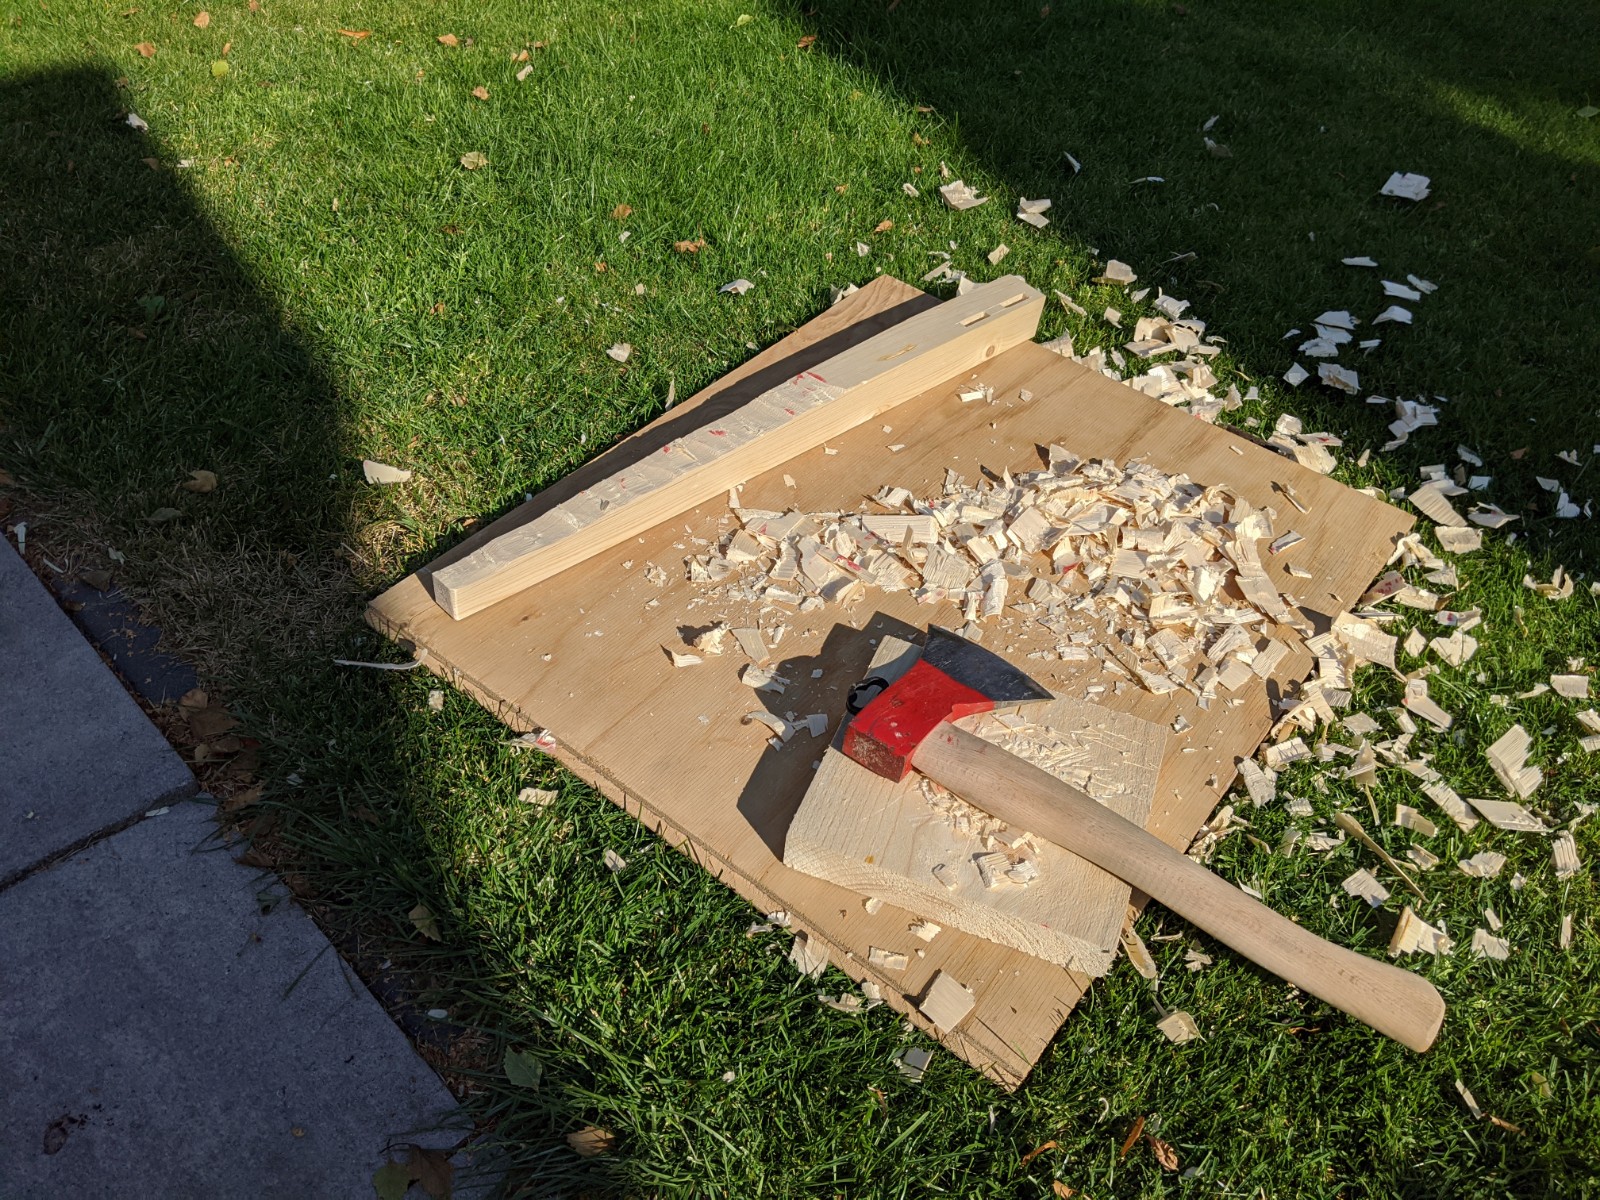 The initial tapering of the legs with an axe.
 Precisely tapering the legs using a planing guide.
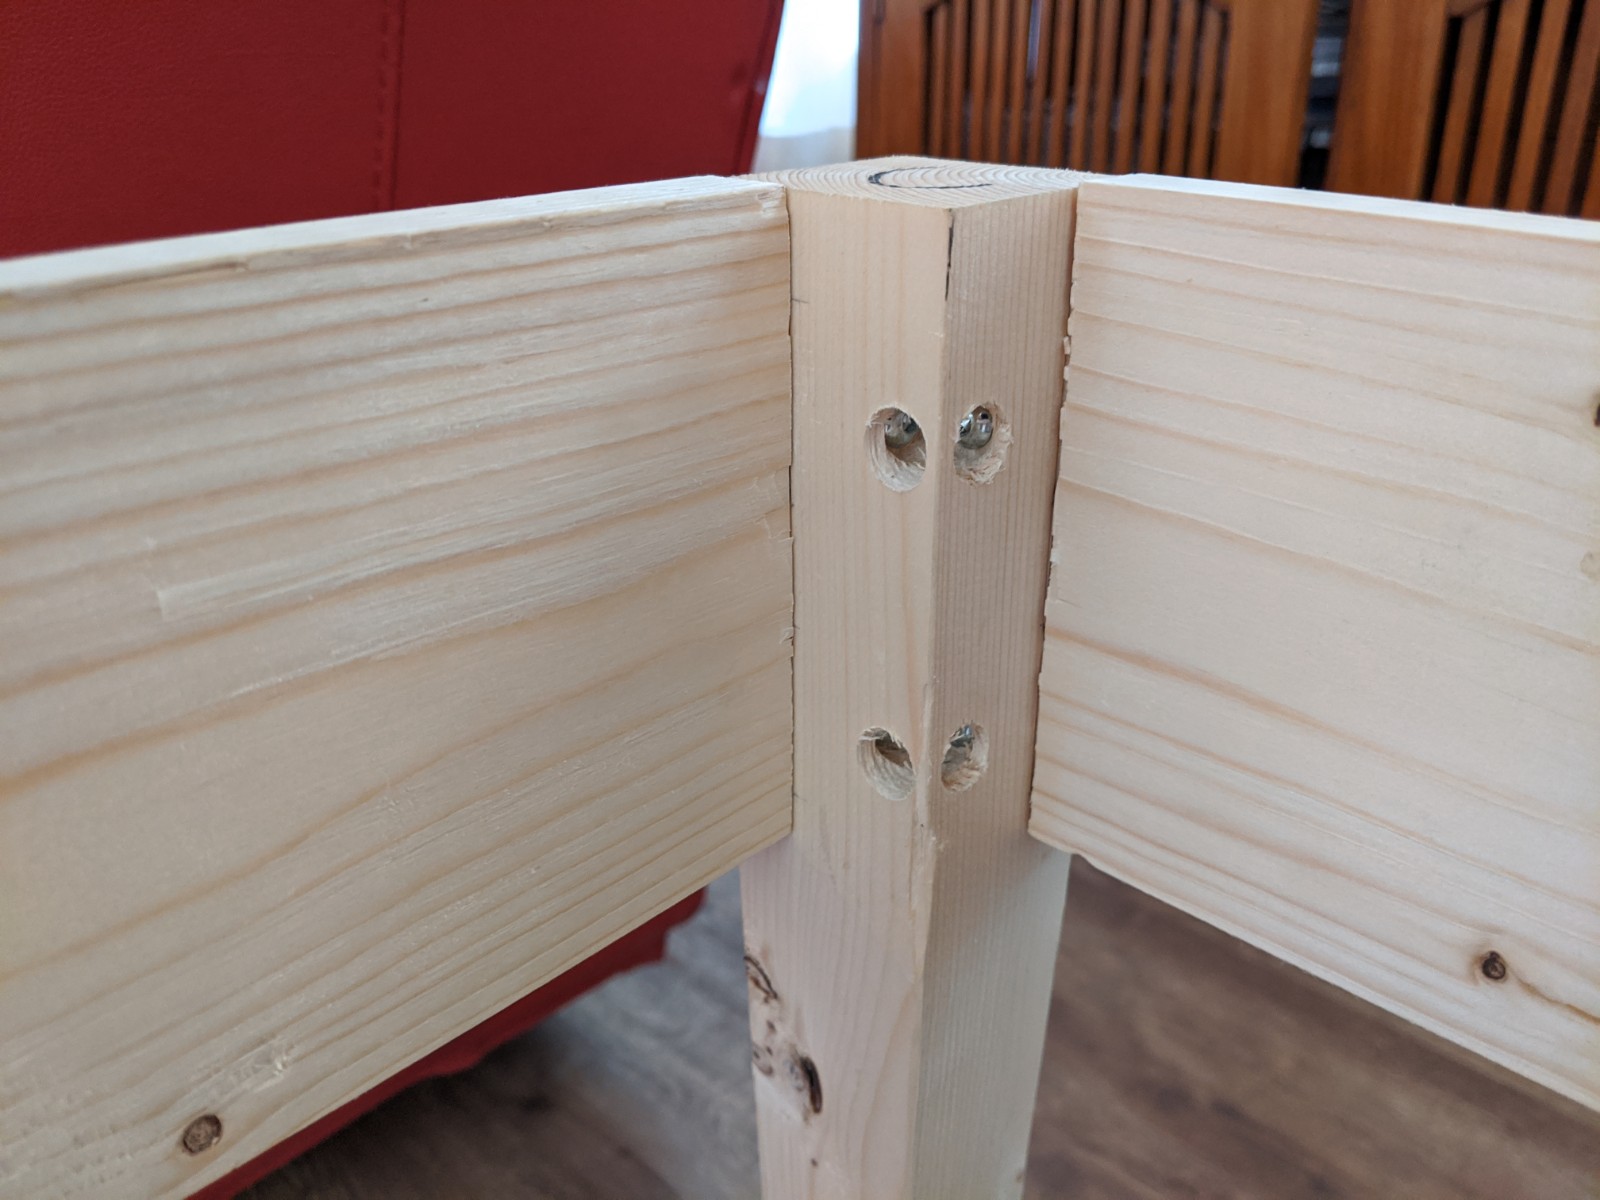 The stand can be disassembled.
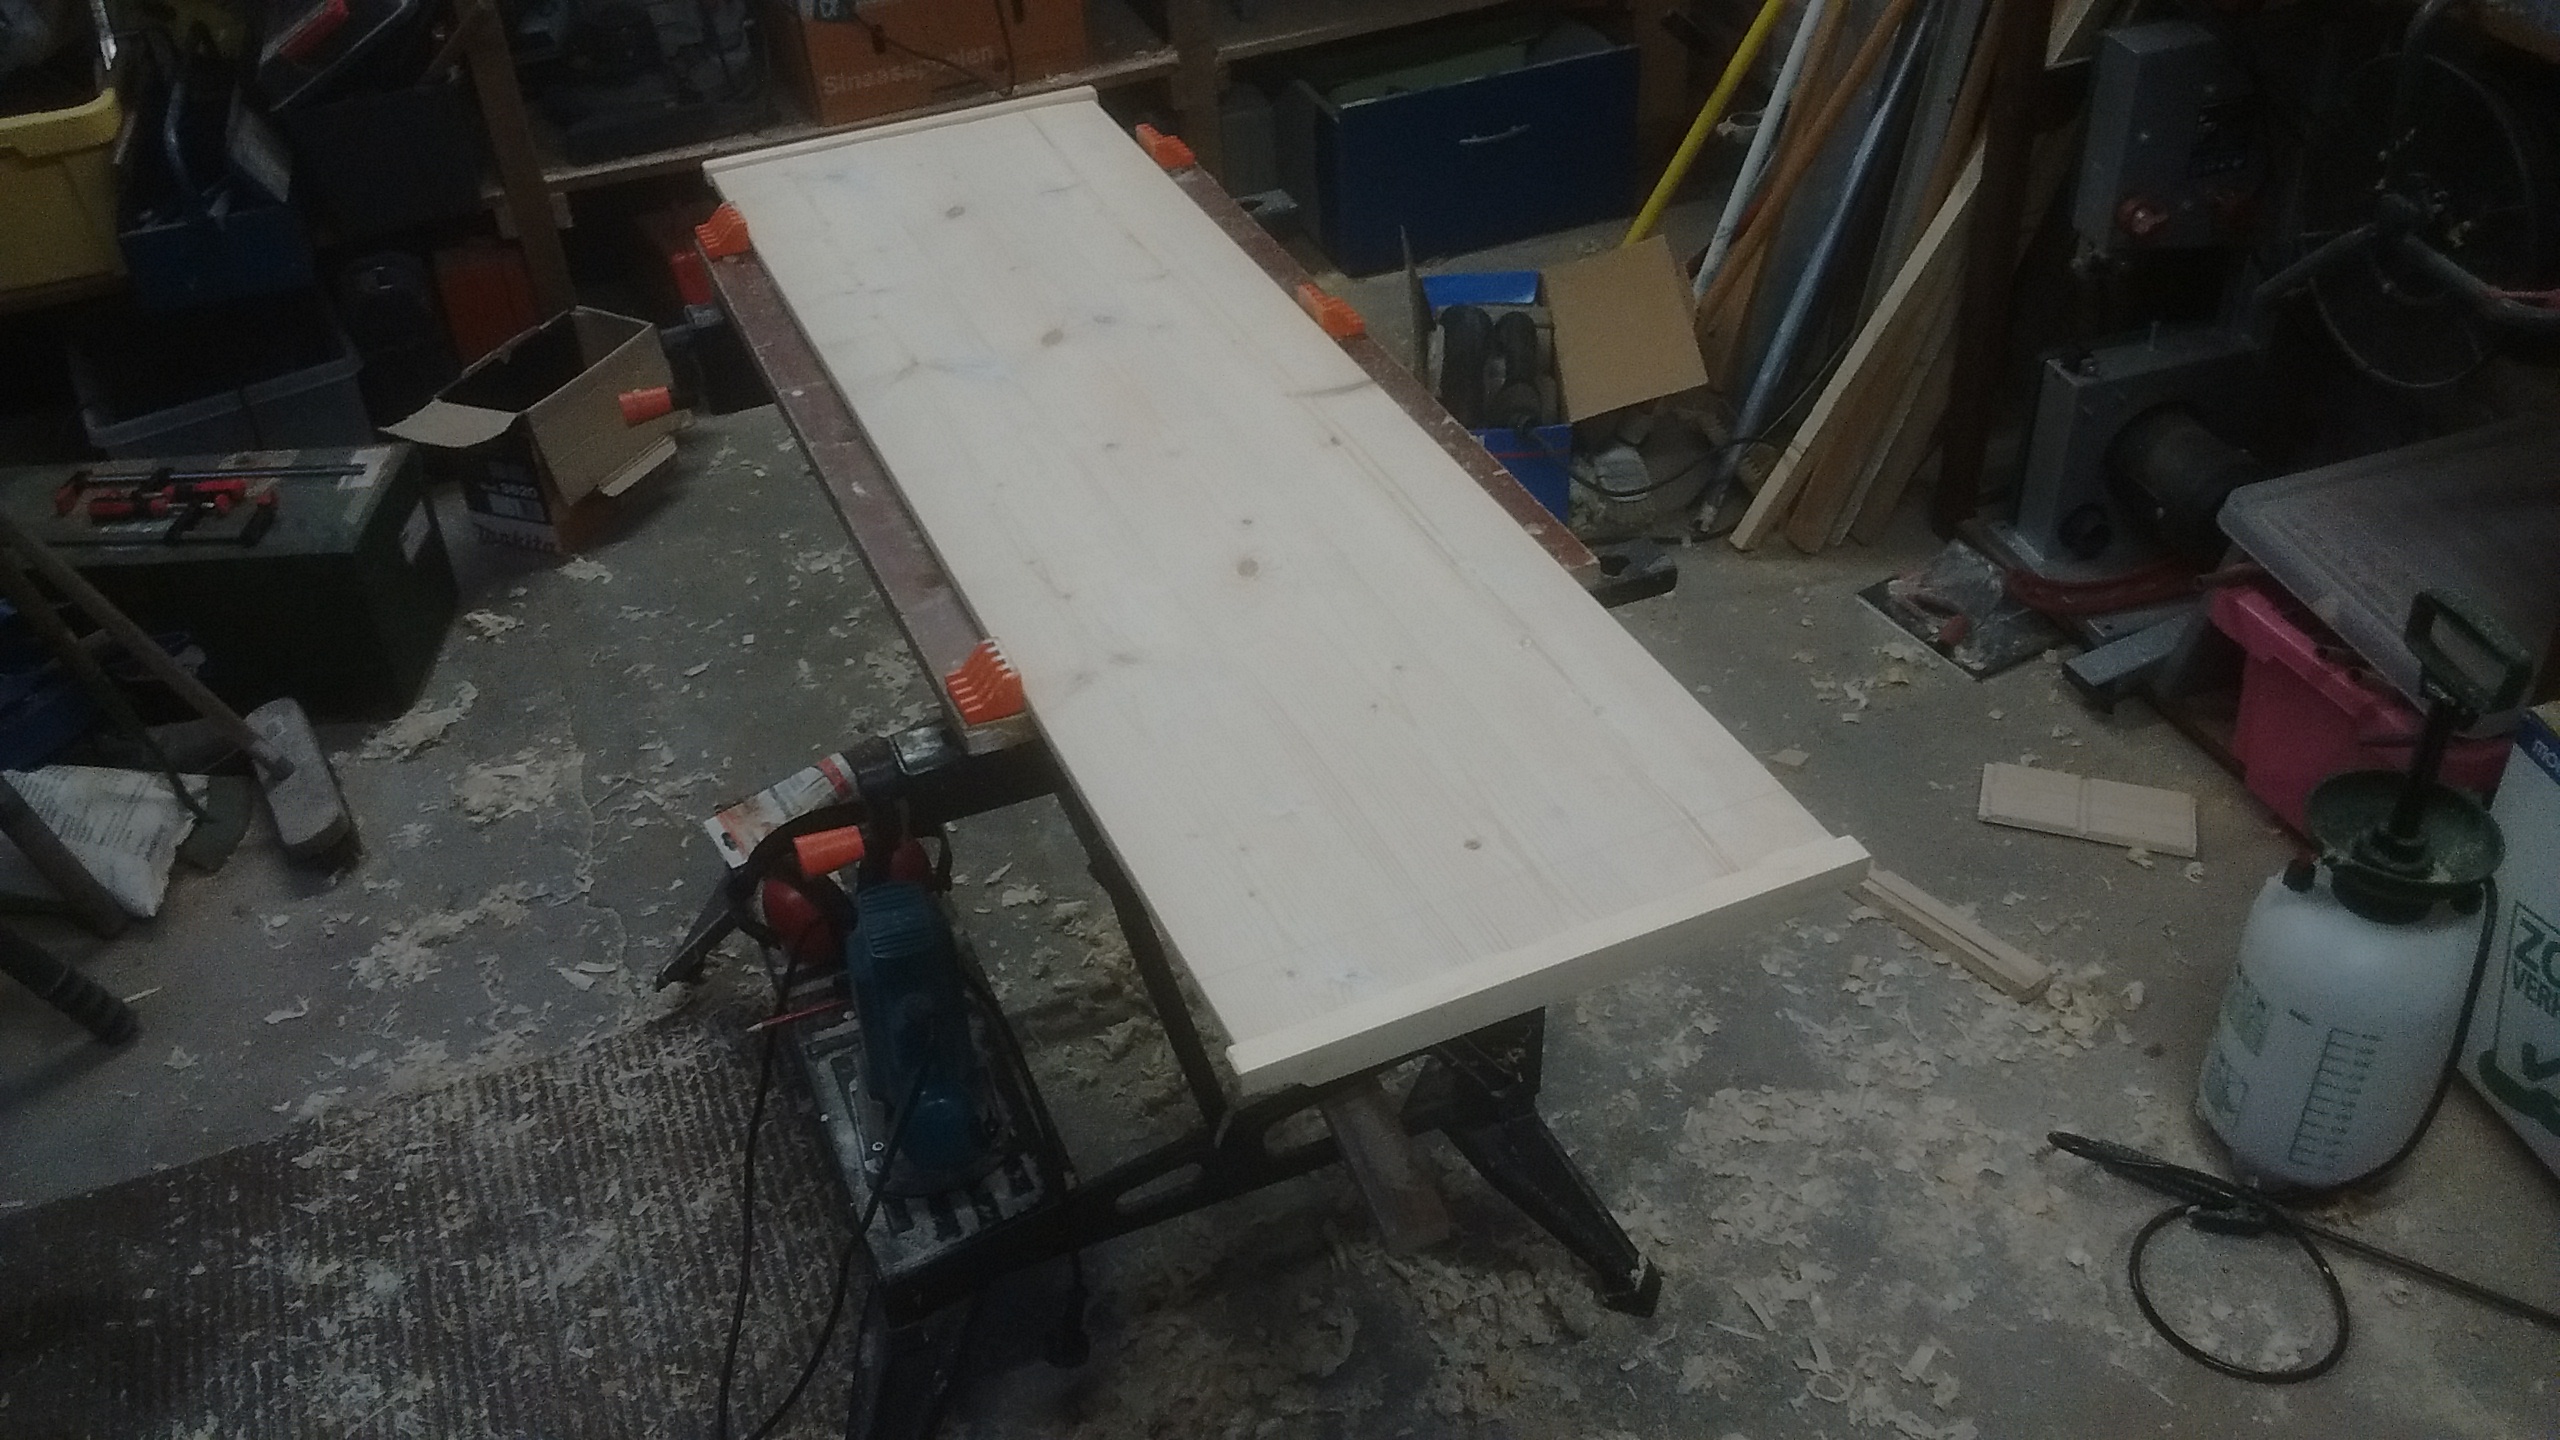 The lid.
 A batten on the lid.
 The lid with an undercoat of paint.
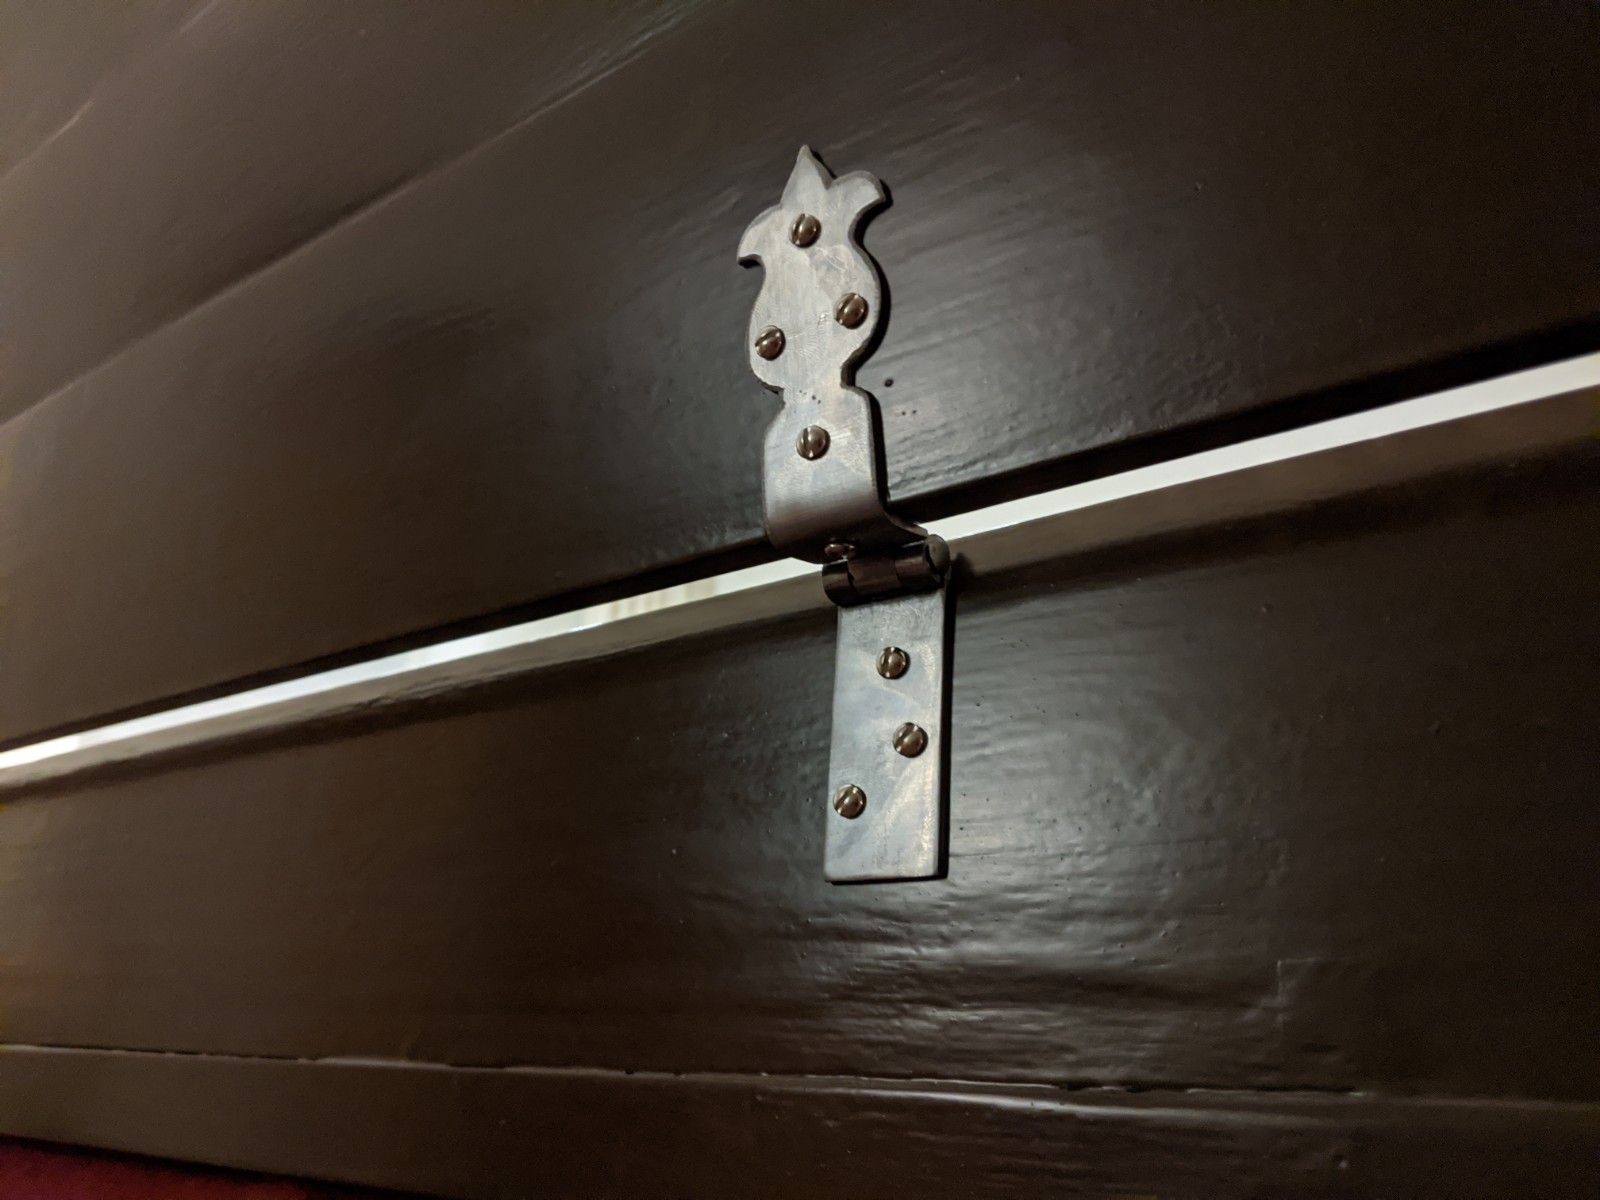 The lid attached to the instrument with a fancy hinge.
 The lid and front flap installed.
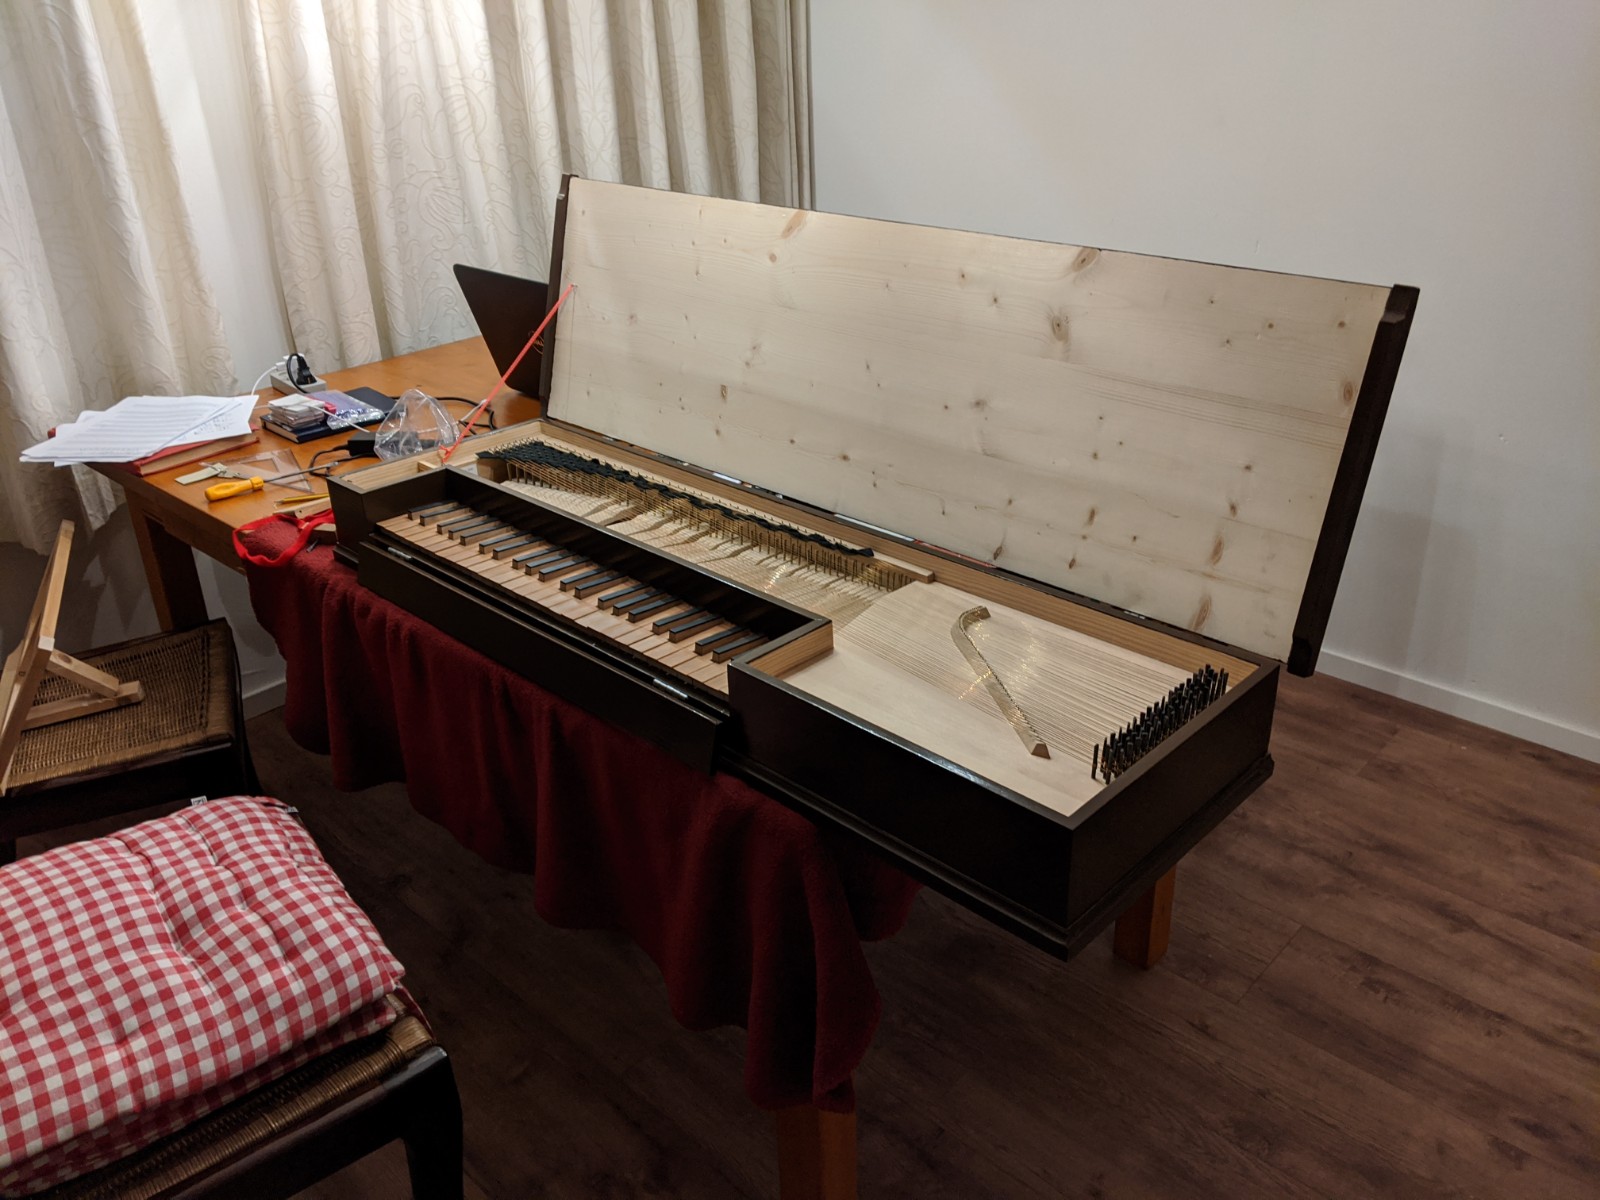
 The finished instrument on its finished stand. Don’t mind the mess. Also don’t mind the fact that I’ve placed the instrument not only by the window, but also directly in front of the radiator. It’s the only spot for it in my student room…
Further resources
- Bernard Brauchli, The clavichord (Cambridge University Press, 2005).
- Grant O’Brien, Ruckers: a harpsichord and virginal building tradition (Cambridge University Press, 1990).
- “Making a clavichord after NM 264.785 in the Musikmuseum”, Kenneth Sparr, https://www.tabulatura.com/clavcho.htm.
- “How to build a clavichord”, a report by Owen Daly, http://dustyfeet.com/mykeyboardbaby1.html.
- Lancelot Edwin Whitehead, “Clavichords of Hieronymus and Johann Hass”, (diss., University of Edinburgh, 1994). http://hdl.handle.net/1842/6534.
- “‘Twined’ Strings for Clavichords”, Peter Bavington, http://www.peter-bavington.co.uk/twined.htm.
- “Paul Sellers”, an excellent woodworking pedagogue, https://www.youtube.com/@Paul.Sellers.
- “Bouwershoek” (in Dutch), Maarten Hekkelman, https://www.hekkelman.com/bouwershoek.
- “A Freeware Application for Analysis of Clavichords”, courtesy of Scenkonstmuseet, https://clavichord.se/.
- “Ruckers enigma?”, William John Story Jurgenson, https://jw.zabernet.de/pdfs/enigma.pdf.